一、AR2220路由器静态路由实验
1.实验原理

本次实验配置上图格式的网络拓扑,由2个主机和三个路由器组成。
2.实验步骤
首先画出网络拓扑图

老师说要在每个设备上写注释,是一种良好的习惯~这里照着老师的流程配。


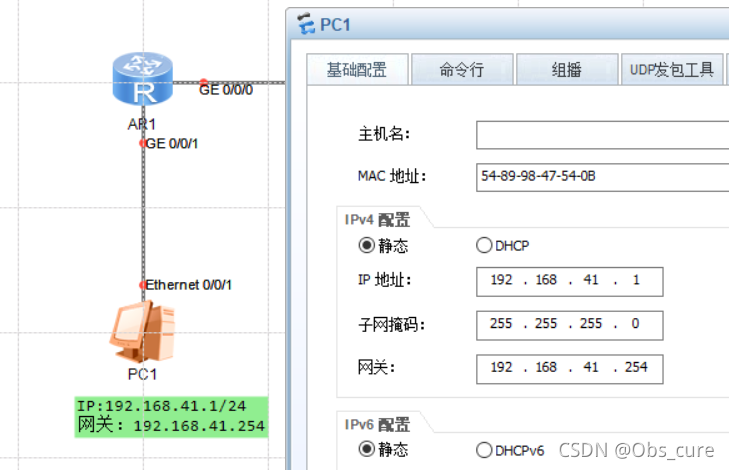
然后开机,配置三台路由器。首先配置路由器AR1,因为不明白老师要怎么改IP,这里直接用他默认的IP了。
system-view
sysname AR1
interface GigabitEthernet 0/0/0
ip address 192.168.12.1 24
interface GigabitEthernet 0/0/1
ip address 192.168.41.254 24
ip route-static 192.168.82.0 24 192.168.12.2
需要注意的是这里配置的路由信息和路由器的接口有关,配置之前注意看一眼接口。并且在这里面IP是相对于两个路由器的地址,每个接口的都有一个IP。
这个代码的前面都好理解,定义接口,最后一句是设置了静态路由,含义为:如果想找192.168.82.x的数据就从192.168.12.2的路由器里去寻找。(大概)

然后配置第二台路由器
system-view
sysname AR2
interface GigabitEthernet 0/0/0
ip address 192.168.12.2 24
interface GigabitEthernet 0/0/1
ip address 192.168.23.2 24
ip route-static 192.168.41.0 24 192.168.12.1
ip route-static 192.168.82.0 24 192.168.23.3
以及第三台路由器
system-view
sysname AR3
interface GigabitEthernet 0/0/0
ip address 192.168.23.3 24
interface GigabitEthernet 0/0/1
ip address 192.168.82.254 24
ip route-static 192.168.41.0 24 192.168.23.2
3.实验结果
三个路由器的路由表如下:


可以看到有static的信息,以及设置成功了。

可以PING通,实验成功。
二、AR2220路由器动态路由RIPv2实验
1.实验原理

拓扑图和上面的一样,不同的是路由器使用了RIP协议。通俗的理解就是,上个实验我们是手动配置的路由信息,而RIP协议下,每30s可以自动检索一遍路由信息。
RIP协议提出的年代是20世纪80年代,年代较为久远,因此有很多局限性。在后来的发展中出现了2.0版本,因此这次实验的命令协议都是RIPv2。但其网络路径不能超过15,不适合大型网络,以被OSPF协议淘汰。
2.实验步骤
首先配置IP,和上个实验一样,不再赘述,然后是配置三个路由器,这里我随手连的,和老师连的不一样,和上个实验也不一样!一定要注意:
system-view
sysname AR1
interface GigabitEthernet 0/0/0
ip address 192.168.41.254 24
interface GigabitEthernet 0/0/1
ip address 192.168.12.1 24
rip 1
version 2
network 192.168.12.0
network 192.168.41.0
然后是路由器2
system-view
sysname AR2
interface GigabitEthernet 0/0/0
ip address 192.168.12.2 24
interface GigabitEthernet 0/0/1
ip address 192.168.23.2 24
rip 1
version 2
network 192.168.12.0
network 192.168.23.0
然后是路由器3
system-view
sysname AR3
interface GigabitEthernet 0/0/0
ip address 192.168.23.3 24
interface GigabitEthernet 0/0/1
ip address 192.168.82.254 24
rip 1
version 2
network 192.168.23.0
network 192.168.82.0
3.实验结果
直接查看RIP路由表,命令为:
display ip routing-table protocol rip
各个路由器的RIP表为:


PING成功了。第一次PING的时候没PING通,可能是路由表没更新吧~所以有丢失还请重新PING一下吧!