1、安装emqx
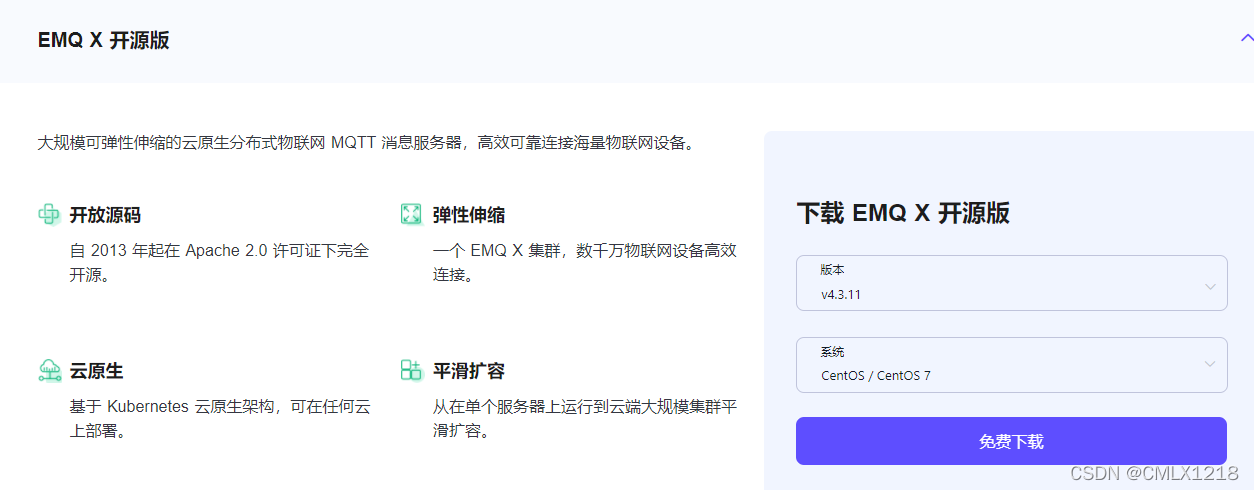
- 通过 emqx.io (opens new window)选择 Centos 版本,然后下载要安装的 EMQ X 版本的 zip 包(我们这里选择开源版)。
 - 解压并启动EMQX
./bin/emqx start
./bin/emqx_ctl status
2、集群搭建
- 修改各节点 emqx.conf
node.name = emqx@192.168.10.102
- 加入集群
./bin/emqx_ctl cluster join emqx@192.168.10.102
./bin/emqx_ctl cluster status
- 退出/移除 集群
./bin/emqx_ctl cluster leave
./bin/emqx_ctl cluster force-leave emqx@192.168.10.102
3、端口
- 4370:集群节点发现端口
- 8883:SSL监听器
- 8083:Websocket监听器
- 1883:TCP监听器
- 8084:WebSocket with SSL 监听器
- 8080:HTTP API 端口
- 18083:Dashboard 管理控制台端口
- 5369:集群节点 PRC 通道
- 6369: 集群节点控制通道
4、相关配置
- 关闭匿名用户可访问
allow_anonymous = false
- 共享订阅配置
(1) 共享订阅:订阅前缀$queue/,多个客户端订阅了$queue/topic,发布者发布到topic,则只有一个客户端会接收到消息。
(2) 分组订阅:订阅前缀$share/<group>/,多组客户端订阅了$queue/group1/topic、$queue/group2/topic...,
		     发布者发布到topic,则消息会发布到每个group中,但是每个group中只有一个客户端会接收到消息。
| 