一、获取阿里云免费证书


创建证书,然后点击申请证书。

填写好相关的申请信息,提交后,大概10分钟内会通过。
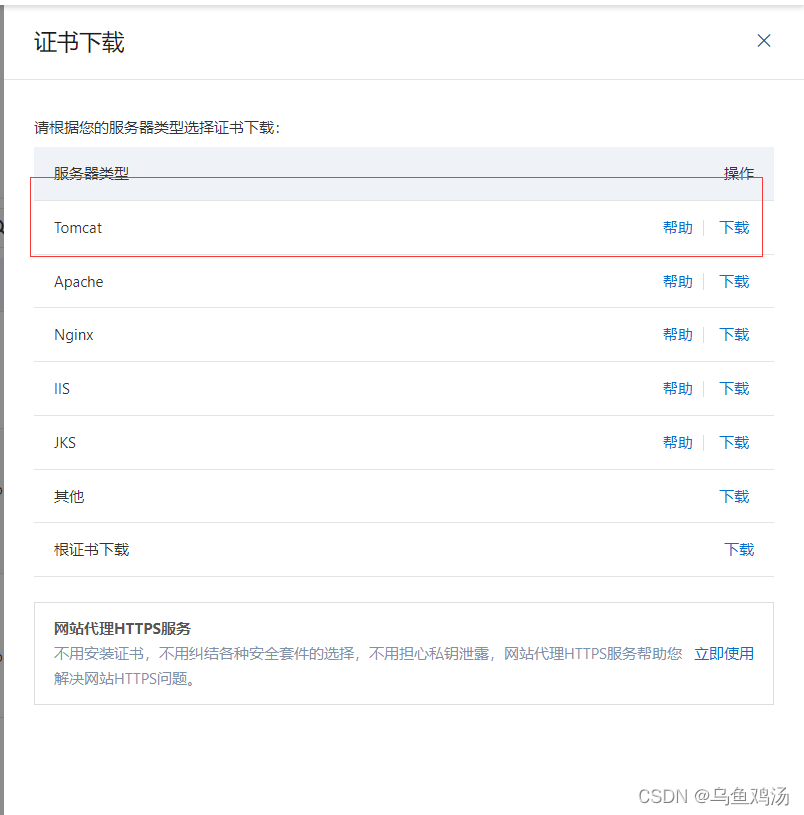
通过后,就可以下载证书了

在这里根据自己的服务器下载对应的证书,spring boot项目默认是使用tomcat服务器
下载后会得到一下压缩包

解压后得到一个证书,加一个证书密码

二、配置ssl
(一)修改配置文件
# 应用名称
spring.application.name=validator-and-ssl
server.port=443
#SSL配置
# 证书 ,将证书放到resources文件下,路径根据需求自己定
server.ssl.key-store=classpath:xxx.pfx
# 密码,在密码文件中复制
server.ssl.key-store-password=password
# 这个跟我保持一致就好
server.ssl.keyStoreType=PKCS12
(二)转发http和80端口
这个不是必须的,配置好上面的application.properties后就能使用https了
package com.lihua.validator_ssl.config;

import org.apache.catalina.Context;
import org.apache.catalina.connector.Connector;
import org.apache.tomcat.util.descriptor.web.SecurityCollection;
import org.apache.tomcat.util.descriptor.web.SecurityConstraint;
import org.springframework.boot.web.embedded.tomcat.TomcatServletWebServerFactory;
import org.springframework.context.annotation.Bean;
import org.springframework.context.annotation.Configuration;

/**
 * @author hs
 * @date 2022/1/24 14:43
 */
@Configuration
public class SslConfig {
    /**
     * http重定向到https
     * @return
     */
    @Bean
    public TomcatServletWebServerFactory servletContainer() {
        TomcatServletWebServerFactory tomcat = new TomcatServletWebServerFactory() {
            @Override
            protected void postProcessContext(Context context) {
                SecurityConstraint constraint = new SecurityConstraint();
                constraint.setUserConstraint("CONFIDENTIAL");
                SecurityCollection collection = new SecurityCollection();
                collection.addPattern("/*");
                constraint.addCollection(collection);
                context.addConstraint(constraint);
            }
        };
        tomcat.addAdditionalTomcatConnectors(httpConnector());
        return tomcat;
    }

    @Bean
    public Connector httpConnector() {
        Connector connector = new Connector("org.apache.coyote.http11.Http11NioProtocol");
        connector.setScheme("http");
        //Connector监听的http的端口号 , 注意这个端口,根据需求更改
        connector.setPort(80);
        connector.setSecure(false);
        //监听到http的端口号后转向到的https的端口号
        connector.setRedirectPort(443);
        return connector;
    }
}
四、如果配置后无法启动项目
- 先clean一下项目
- 查看证书是否已经在编译文件target中
- 如果不在,那么在build项目时可能将这个文件排除掉了,百度解决
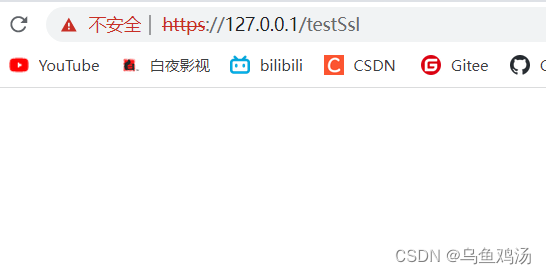
五、配置后还是报不安全

原因:认真看看访问的地址,是不是证书申请时填写的域名。域名与证书匹配才是安全的
解决: 将测试代码打包到 对应域名的服务器上,通过域名进行访问。
六、测试
将测试项目打包到对应服务器上,通过证书对应的域名进行访问。
