最近终于完成了自己的个人博客:线上地址
项目已经在github开源:github 源码地址
安装配置
本博客权由本人自主建造,最终解释权归本人所有,本人不承担博客所造成的任何问题责任
博客不采用服务器存储功能,所有的资源皆放在三方对象存储中(如七牛云)
数据库请自行安装:mongodb、redis
服务端采用 pm2,请自行安装
前端
nginx 部分
80 端口负责重定向到 443 端口,强制使用 https
此处需要配置的地方有:
1、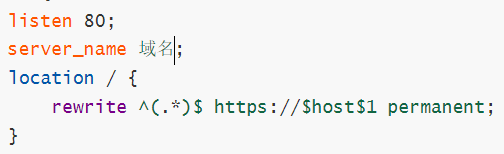

2、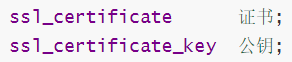
3、例:https://www.abc.cn、ww.abc.com(注意前后两者的区别,也分别对应下面两个位置)

server {
    listen 80;
    server_name 域名;
    location / {
        rewrite ^(.*)$ https://$host$1 permanent;
    }
}

server {
	listen  443 ssl http2;
    server_name  域名;
    root /目标文件路径/dist/;

    gzip on;
    gzip_static on;
    gzip_disable "MSIE [1-6]\.";
    gzip_vary on;
    gzip_min_length 100;
    gzip_proxied any;
    gzip_comp_level 8;
    gzip_buffers 16 8k;
    gzip_http_version 1.1;
    gzip_types text/plain text/css application/json application/x-javascript text/xml application/xml application/xml+rss text/javascript image/jpeg image/gif image/png image/jpg;

    ssl_certificate      证书;
    ssl_certificate_key  公钥;
    ssl_session_cache    shared:SSL:1m;     #配置共享会话缓存大小
    ssl_session_timeout  5m;    #缓存有效期
    ssl_ciphers ECDHE-RSA-AES128-GCM-SHA256:ECDHE:ECDH:AES:HIGH:!NULL:!aNULL:!MD5:!ADH:!RC4;    #加密算法
    ssl_protocols TLSv1 TLSv1.1 TLSv1.2;    #安全链接可选的加密协议
    ssl_prefer_server_ciphers on;   #使用服务器端的首选算法

    add_header X-Content-Type-Options nosniff;
    add_header X-XSS-Protection "1";
    # script-src 前者的内容 hash 值是为了保证第三方的 script 脚本
    add_header Content-Security-Policy "default-src 'self'; script-src 'self' 'sha256-MS6/3FCg4WjP9gwgaBGwLpRCY6fZBgwmhVCdrPrNf3E=' 'sha256-tQjf8gvb2ROOMapIxFvFAYBeUJ0v1HCbOcSmDNXGtDo=' 'sha256-4m6wOIrq/wFDmi9Xh3mFM2mwI4ik9n3TMgHk6xDtLxk=' 'sha256-uS7/g9fhQwNZS1f/MqYqqKv8y9hCu36IfX9XZB5L7YY=' 'sha256-9vpql/NLyCCe3HPEb2b/lcLKPbkRi48w2Lfn0AbTxsQ=' 'sha256-kLMTdbP3pLQRHzI4AYMXim60x6usVWoGAc2ydjKVFcc='; style-src 'self' 'unsafe-inline'; style-src-elem 'self'; img-src https: data:; media-src https:; child-src 'none'; frame-src 'self' 简历托管的域名; connect-src 'self' 服务端域名";

    # 为了保证带有 vue-router 的路径刷新不导致 nginx 的错误解析
    location / {
        index  index.html;
        try_files $uri $uri/ /index.html;
    }

    location ~* .(ico|jpg|jpeg|png|woff) {
        expires 10d;
    }
}
代码部分
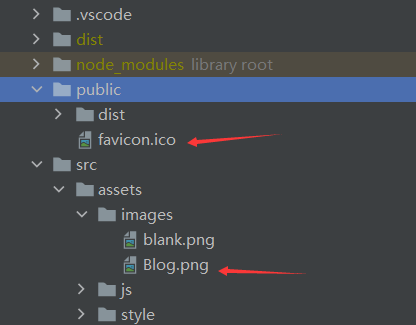
1、替换两张图片(名称不变,如需改变可以自己找代码中的相关内容更改):tab 栏的图标(需要 ico 格式)、站点的 logo(logo 会在首页没有设置内容资源的时候展示)
2、修改备案号
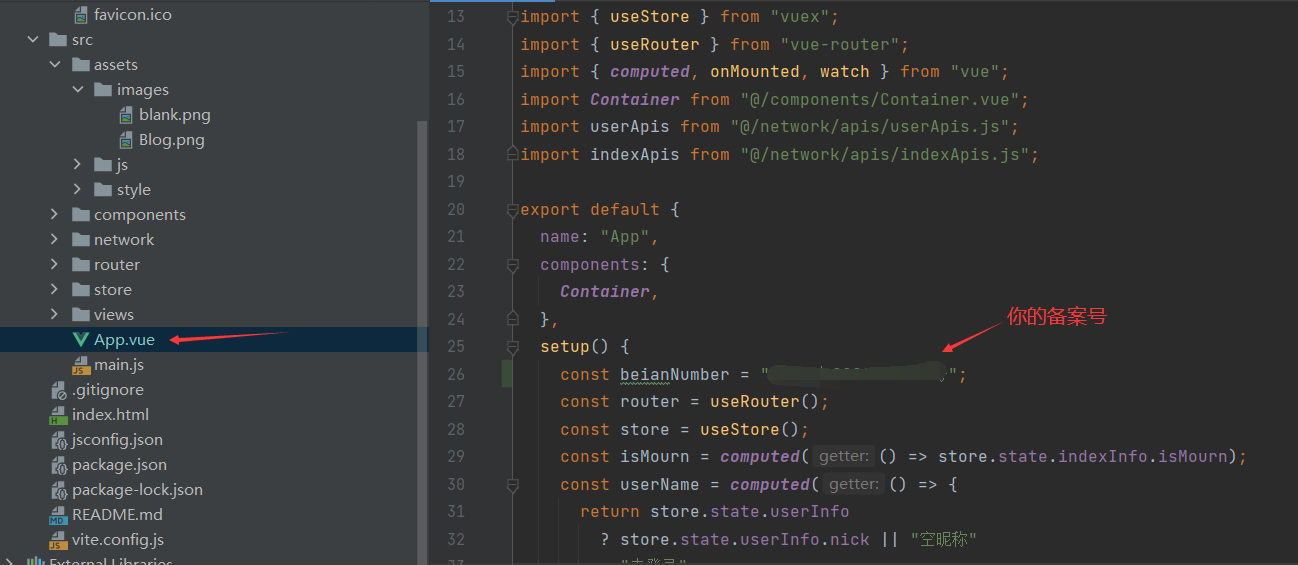
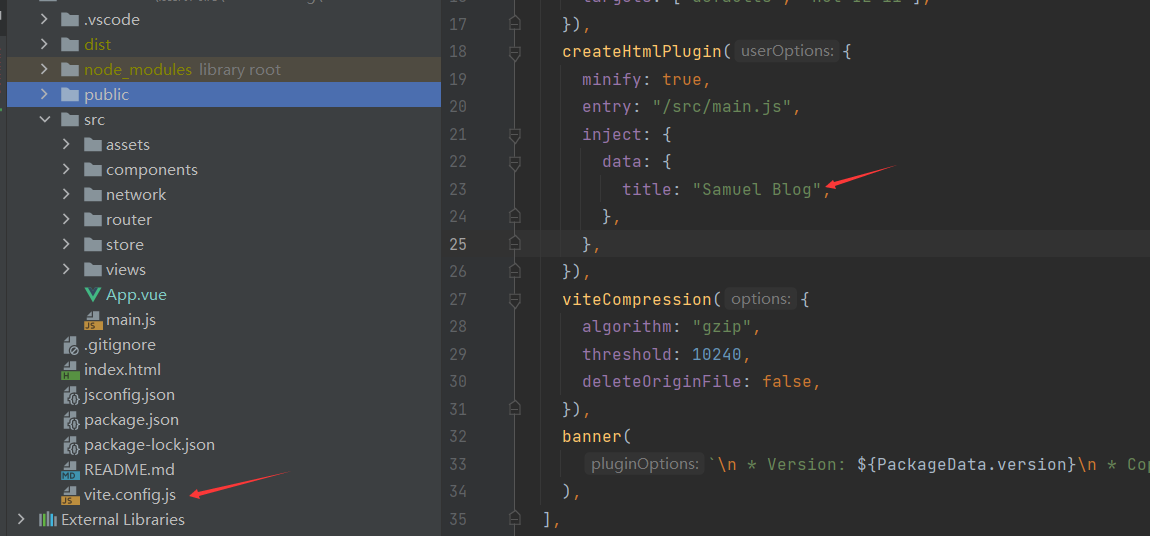
3、更改博客名
4、更改代码所有权(如有需要)

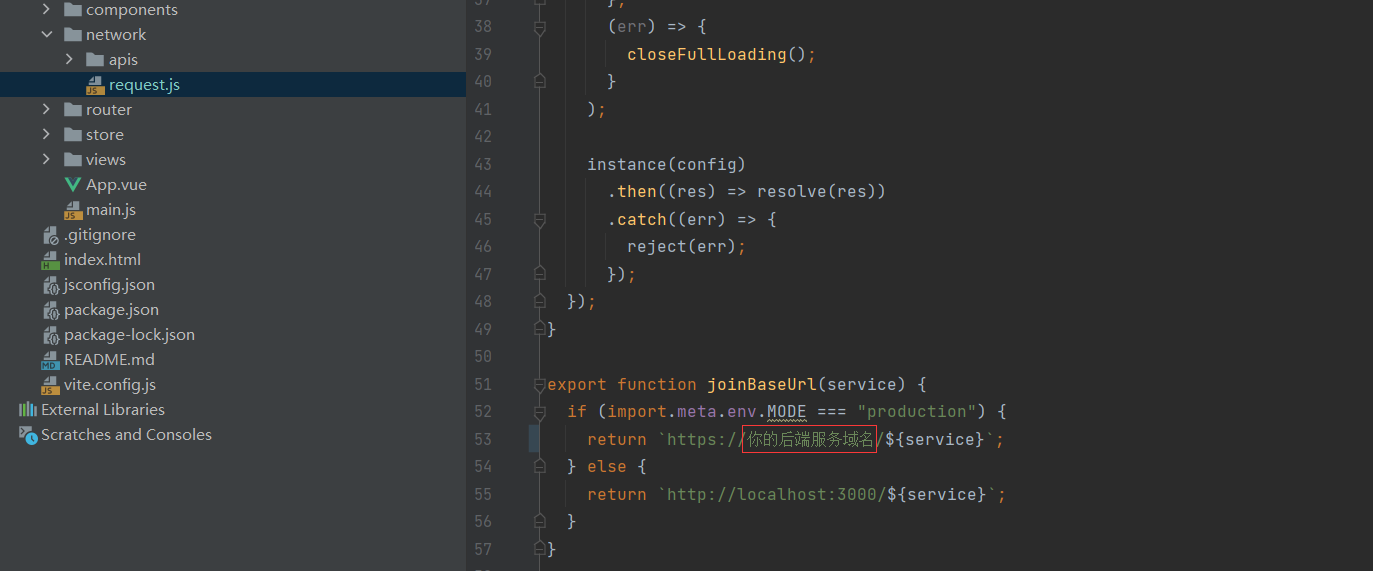
5、更改服务端域名
修改好后将在根目录执行 npm install、 npm run build 得到打包产物 dist 目录后,将 dist 目录部署到服务器上就行了
服务端
nginx 部分
需要配置的地方有:
1、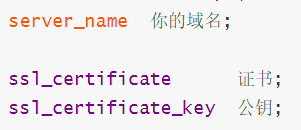
server {
    listen  443 ssl http2;
    server_name  你的域名;

    ssl_certificate      证书;
    ssl_certificate_key  公钥;

    ssl_session_cache    shared:SSL:1m;     #配置共享会话缓存大小
    ssl_session_timeout  5m;    #缓存有效期

    ssl_ciphers ECDHE-RSA-AES128-GCM-SHA256:ECDHE:ECDH:AES:HIGH:!NULL:!aNULL:!MD5:!ADH:!RC4;    #加密算法
    ssl_protocols TLSv1 TLSv1.1 TLSv1.2;    #安全链接可选的加密协议
    ssl_prefer_server_ciphers on;   #使用服务器端的首选算法

    location / {
        proxy_pass http://127.0.0.1:3000;
        proxy_redirect off;
        proxy_set_header Host $host;
        proxy_set_header X-Real-IP $remote_addr;
        proxy_set_header X-Forwarded-For $proxy_add_x_forwarded_for;
        proxy_set_header X-NginX-Proxy true;
        proxy_set_header WL-Proxy-SSL true;
        proxy_set_header X-Forwarded-Proto $scheme;
    }

    error_page 404 /404.html;
    location = /404.html {}
    error_page 500 502 503 504 /50x.thml;
    location = /50x.html {}
}
代码部分
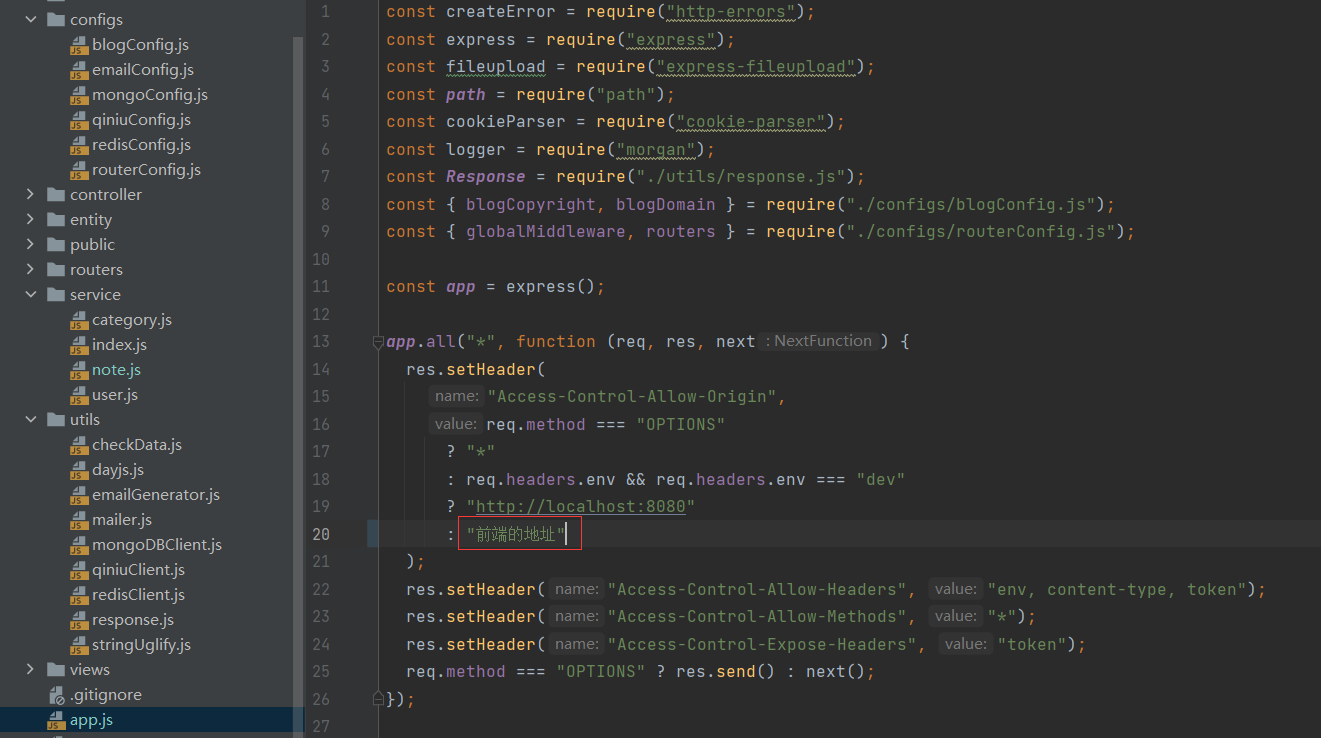
需要修改的部分已经提取到 configs 文件夹里:
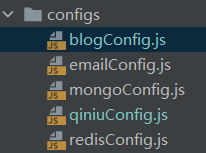
按照文件夹指示修改图中五个文件配置即可
然后修改一下跨域 headers 的配置