今天的内容比较简单,我们直接进入主题。
创建工程
目前笔者用的 Flutter SDK 是 Stable 2.x,其已经支持 Web了。
使用 Android Studio 创建 Flutter 工程,需要勾选上对 Web 的支持,如下图所示:

如果你之前创建的工程没有勾选该选项,可以在工程目录下执行如下命令:
# flutter create <output directory>
# Create a new Flutter project in the specified directory.
flutter create .
Recreating project ....
  web\favicon.png (created)
  web\icons\Icon-192.png (created)
  web\icons\Icon-512.png (created)
  web\index.html (created)
  web\manifest.json (created)

Wrote 8 files.

All done!
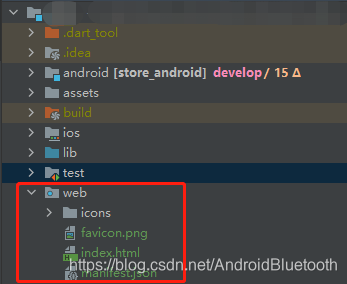
完成之后,在工程目录下就会生成 web 目录。

编译 Web 版本
编译 Web 版本只需要一行命令
flutter build web
编译成功后,在工程的 build 目录下面有个 web 目录。
Nginx 配置
在 Nginx 的配置文件中,增加一个 server 配置即可。
server {
        listen       8083;
        server_name  localhost;
        location / {
            # web目录的路径
            root   \project-path\build\web;
            # 默认页面
            index  index.html index.htm;
        }
    }
启动 Nginx(关于 Windows 上面操作 Nginx 的命令,可以参考笔者的 减少跨域中的OPTIONS请求) ,然后在浏览器中访问 http://localhost:8083/index.html 即可。
学习犹如爬山,适当的咬紧牙关冲刺一把,就能一览众山小
