提示:文章写完后,目录可以自动生成,如何生成可参考右边的帮助文档
前言
只适合新手看
提示:以下是本篇文章正文内容,下面案例可供参考
一、nginx的搭建
? ? ??1、安装nginx需要的依赖包
yum install -y wget gcc gcc-c++ make pcre pcre-devel zlib zlib-devel opensl openssl-devel? ? ? ? 进入到src目录
cd /usr/local/src????????2、下载nginx-1.18.0压缩包
wget 'http://nginx.org/download/nginx-1.18.0.tar.gz'????????解压
tar -zxvf nginx-1.18.0.tar.gz?进入到nginx-1.18.0目录进行并预编译设置
cd nginx-1.18.0
????????3、预编译代码如下
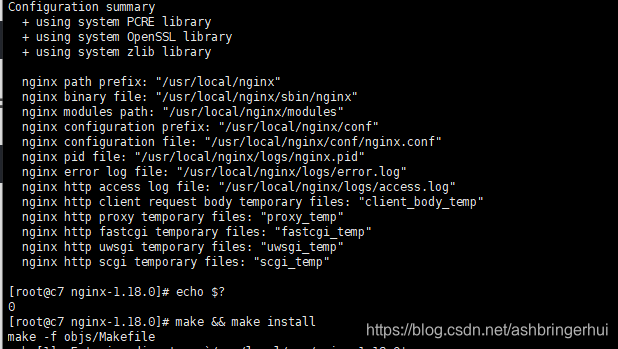
./configure --prefix=/usr/local/nginx --user=nginx --group=nginx --with-http_v2_module --with-http_ssl_module --with-http_stub_status_module编译完成后输入echo $?检查是否为0,如果是0则上面编译没有问题
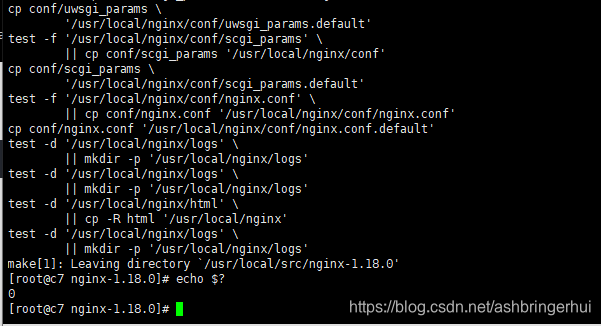
????????4、编译并安装
make && make install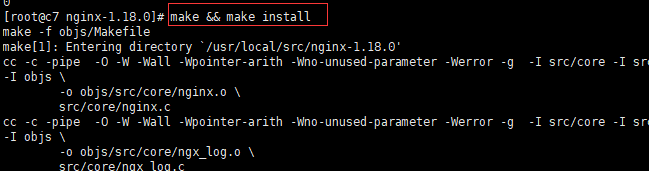
????同样,安装完后输入echo $?检查是否成功
????????5、设置环境变量
????????先备一份环境变量的文件
cp /etc/profile /etc/profile.bak`date +%F`????这里我直接追加内容把它写进profile里
echo 'export PATH=/usr/local/nginx/sbin:$PATH' >> /etc/profile???? 我可以cat一下查看一下
![]()
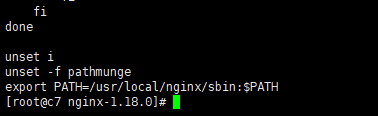
?????然后source一下,就可以查看到版本信息了
nginx -V
????????6、编写系统管理
vi /lib/systemd/system/nginx.service???????输入内容是
[Unit]
Description=nginx
After=network.target
[Service]
Type=forking
ExecStart=/usr/local/nginx/sbin/nginx
[Install]
WantedBy=multi-user.target
????????7、添加nginx用户,这一步很重要,不然nginx启动不了
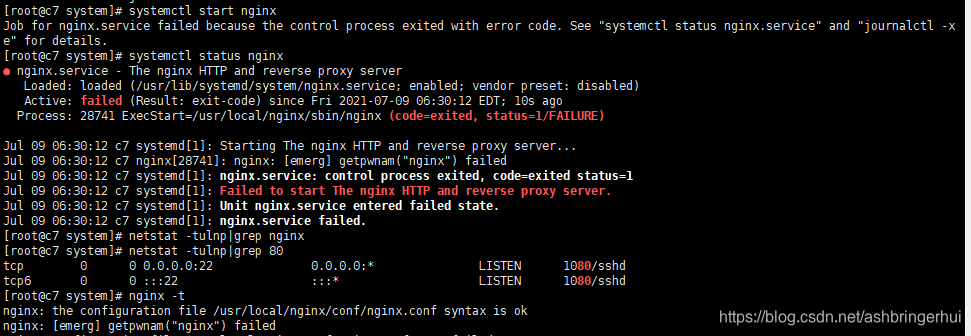
useradd -M -U -s /sbin/nologin nginx?????如果没有添加nginx用户,大概情况不出现这样,因为我自己也遇到过这个问题
?????tail -f查看一下日志,位置在
cd /usr/local/nginx/logs/?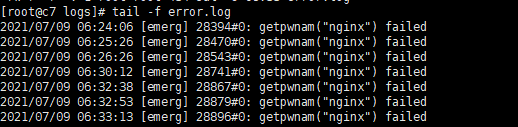
?????设置开机启动?
systemctl enable nginx?????????8、启动nginx并查看启动情况
systemctl start nginx
systemctl status nginx
ps -aux|grep nginx

另外我再给一些可能需要用到的命令
检查Nginx配置:nginx -t
启动Nginx:nginx
关闭Nginx:nginx -s  stop
查看nginx监听端口:netstat -tulnp|grep nginx
查看nginx进程:ps auxfww|grep nginx nginx
?????????9、永久打开80端口
nginx默认是80端口,我们可以通过我上面给出的命令netstat -tulnp|grep nginx去查看
?![]()
永久开启80端口
firewall-cmd --zone=public --add-port=80/tcp --permanent
firewall-cmd --reload

systemctl status firewalld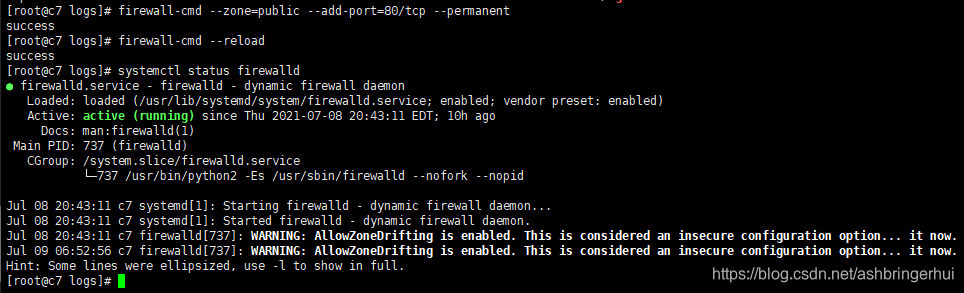
然后打开网址输入ip地址显示Welcome to nginx!

二、php的搭建
????????1、安装依赖包
cd /usr/local/src/
yum -y install oniguruma-devel
yum -y install sqlite-devel
yum -y install epel-release
yum -y install gcc gcc-c++ make pcre-devel zlib zlib-devel openssl openssl-devel libxml2 libxml2-devel libcurl libcurl-devel libjpeg libjpeg-devel libpng libpng-devel freetype freetype-devel openldap openldap-devel libmcrypt libmcrypt-devel
????????2、下载php压缩包
wget 'https://www.php.net/distributions/php-8.0.7.tar.gz'????????解压并进入目录里
tar -zxvf php-8.0.7.tar.gz
cd php-8.0.7
? ? 3、进行预编译
./configure --prefix=/usr/local/php --with-config-file-path=/usr/local/php/etc --enable-fpm --with-fpm-user=nginx --with-fpm-group=nginx --with-zlib --enable-mysqlnd --enable-bcmath --enable-gd --with-pdo-mysql=mysqlnd --with-mysqli=mysqlnd --with-jpeg --with-freetype --with-iconv --with-openssl --with-curl --enable-mbstring --enable-static --enable-sockets --enable-xml --with-gettext --with-ldap4、然后输入echo$?检查上一次运行是否出现错误
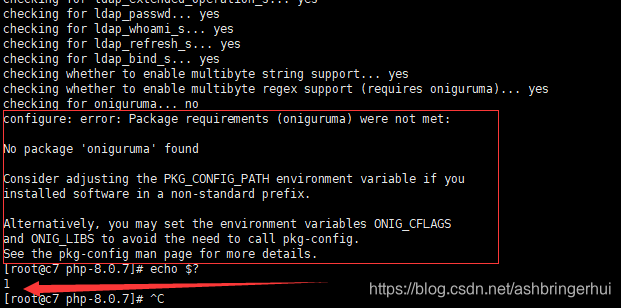
5、这个错误信息是由于mbstring的正则功能需要oniguruma的支持,编译PHP的时候使用了“--enable-mbstring”参数,系统中却没有oniguruma库,所以需要下载oniguruma
wget https://github.com/kkos/oniguruma/archive/v6.9.4.tar.gz -O oniguruma-6.9.4.tar.gz tar -xvf oniguruma-6.9.4.tar.gz
cd oniguruma-6.9.4/
./autogen.sh
./configure --prefix=/usr --libdir=/lib64 //64位的系统一定要标识 --libdir=/lib64 否则还是不行
make && make install
6、然后继续直接执行预编译就行了
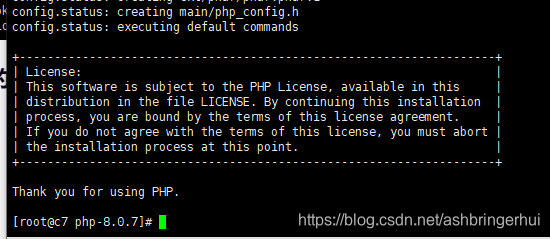
./configure --prefix=/usr/local/php --with-config-file-path=/usr/local/php/etc --enable-fpm --with-fpm-user=nginx --with-fpm-group=nginx --with-zlib --enable-mysqlnd --enable-bcmath --enable-gd --with-pdo-mysql=mysqlnd --with-mysqli=mysqlnd --with-jpeg --with-freetype --with-iconv --with-openssl --with-curl --enable-mbstring --enable-static --enable-sockets --enable-xml --with-gettext --with-ldap ?编译完成后的界面是这样的↓
?
?7、编译安装
make && make install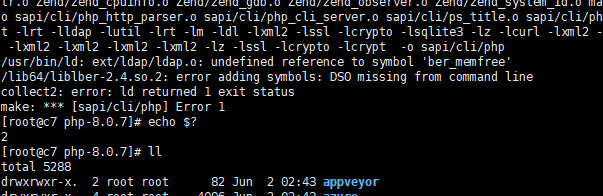
?这里我们遇到了问题
解决方法:
vim MakeFile开头是'EXTRA_LIBS' ,结尾加上 '-llber' ;
 ?
?
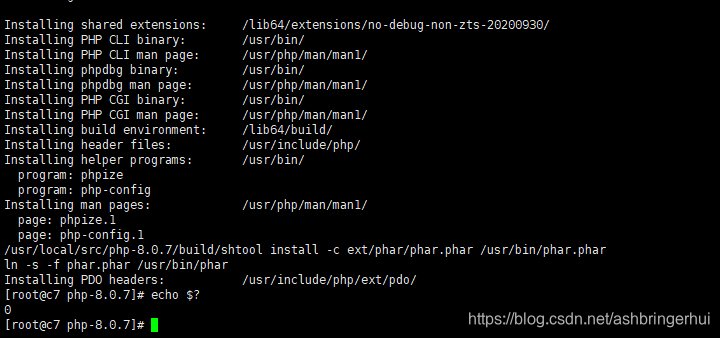
执行 make && make install
? ? ? ? 编译安装完,我们也习惯性echo $?检查一下是否有错误?
8、复制配置文件
cp php.ini-production /usr/local/php/etc/php.ini
cp /usr/local/php/etc/php-fpm.conf.default /usr/local/php/etc/php-fpm.conf
cp /usr/local/php/etc/php-fpm.d/www.conf.default /usr/local/php/etc/php-fpm.d/www.conf
9、配置环境变量
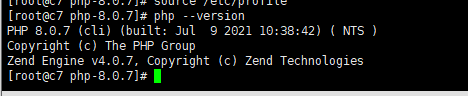
echo 'export PATH=$PATH:/usr/local/php/sbin/:/usr/local/php/bin' >> /etc/profilesource一下
source /etc/profile然后查看一下版本信息,基本就成功了
?10、编写系统启动服务
vi /etc/systemd/system/php-fpm.service[Unit]
Description=php-fpm
After=network.target
[Service]
Type=forking
ExecStart=/usr/local/php/sbin/php-fpm
PrivateTmp=True
[Install]
WantedBy=multi-user.target11、在nginx开启php-fpm,修改nginx配置文件
cp /usr/local/nginx/conf/nginx.conf /usr/local/nginx/conf/nginx.conf.bakvim /usr/local/nginx/conf/nginx.conf修改内容如下,加入index.php
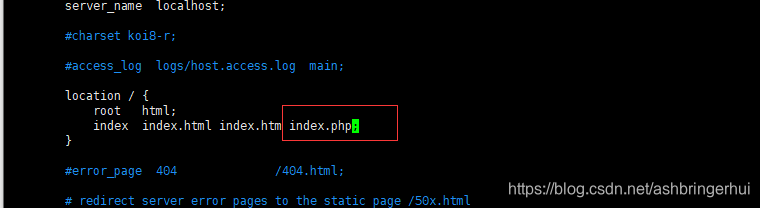
接下来要修改的是,把前面的#去掉,然后后面的改成
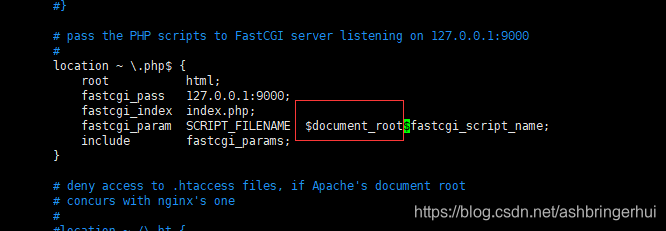
$document_root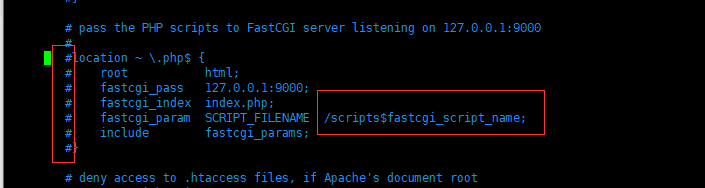
改成以下这样就可以了
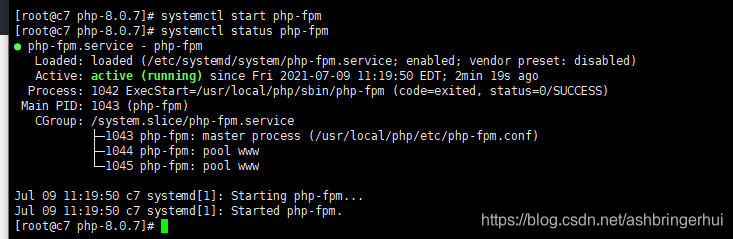
12、启动php,重启nginx
systemctl start php-fpm
systemctl status php-fpm
systemctl restart nginx?在/usr/local/nginx/html目录编写test.php文件,内容如下
vim /usr/local/nginx/html/test.php<?php
phpinfo();
?>
13、测试是否能正常解析php,访问自己的ip/test.php 如下图说明能正常解析
?我的是http://192.168.31.21/test.php
三.mysql的搭建
? ? ? ? 1,需要安装cmake
? ? ? ? 这里我直接vim一个脚本cmake_down.sh
代码如下(示例):
#!/bin/bash
cd /usr/local/src
yum install gcc-c++ libstdc++-devel
yum install wget
wget http://www.cmake.org/files/v2.8/cmake-2.8.12.1.tar.gz
tar -zxvf cmake-2.8.12.1.tar.gz
cd cmake-2.8.12.1
./configure
make && make instal
直接sh cmake_down.sh后等待安装完成
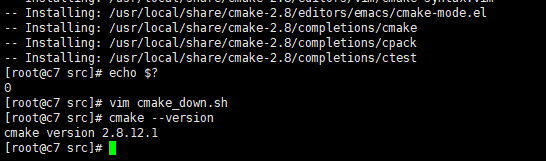
输入echo $? 检查运行中是否出现错误,如果是0就是正常
然后输入cmake --version 能看到版本就证明已经安装完成了
? ? ? ? 2,检查自己适合哪些版本的mysql
使用rpm安装源
?rpm -ivh http://repo.mysql.com/mysql-community-release-el7.rpm
yum repolist all |grep mysql
? ? ? ? 以下是我的机子适合的版本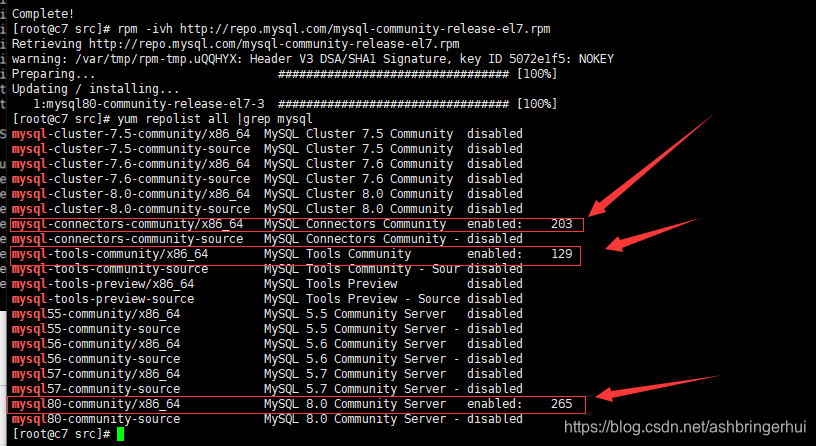
数据库的话请看我上一篇,不过建议自己下载安装包安装,yum安装需要很长的时间
https://blog.csdn.net/ashbringerhui/article/details/118609333四、安装zabbix
这边我就下载安装包zabbix-4.4.6.tar.gz
链接:https://pan.baidu.com/s/1yNj4oCj2ZfblcKJbdme_oQ?
提取码:h123
解压
cd /usr/local/src/
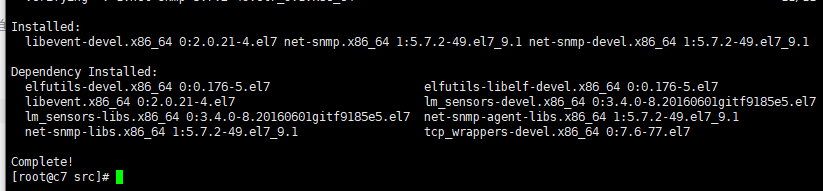
tar -zxvf zabbix-4.4.6.tar.gz1、安装依赖包
yum install libevent-devel wget tar gcc gcc-c++ make net-snmp net-snmp-devel libxml2 libxml2-devel libcurl libcurl-devel -y没有问题的话就是以下画面↓
添加zabbix用户
useradd -M -s /sbin/nologin zabbix
2、进入到目录里? cd zabbix-4.4.6??预编译安装
./configure --prefix=/usr/local/zabbix --enable-server --enable-agent --with-mysql=/usr/bin/mysql_config --with-net-snmp --with-libcurl --with-libxml2?
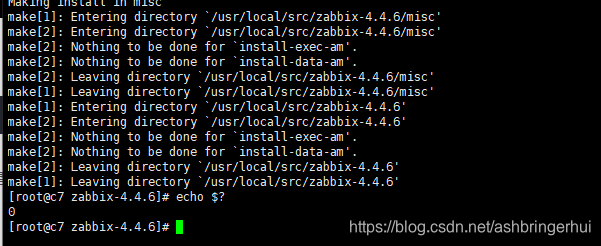
3、 编译安装
make && make install运行结束后输入echo $?? 查看是否成功,如果是0就没什么问题
?4、设置环境变量
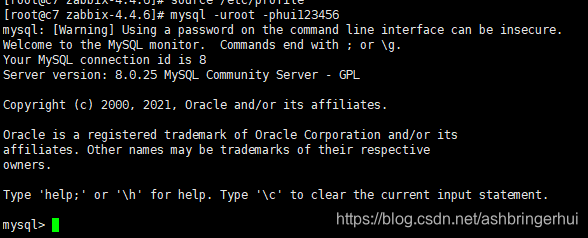
echo 'export PATH=$PATH:/usr/local/zabbix/sbin/:/usr/local/zabbix/bin' >> /etc/profile修改了profile文件需要source一下:source /etc/profile5、创建zabbix数据库
? 先进入到数据库
6、?创建zabbix数据库
create database zabbix character set utf8 collate utf8_bin;
flush privileges;
7、先创建一个zabbix用户,授权zabbix数据库给zabbix用户,密码hui123456(自己想一个,这里
我随便填的)
create user 'zabbix'@'host' identified by 'hui123456';
flush privileges;
update user set host='%' where user='zabbix';如果遇到像这种错误,基本就是密码规范的配置高了![]()
所以我们把密码的长度调到6然后把?安全调到最低0
set global validate_password.length=6;
set global validate_password.policy=0;
接下来我们进行授权
grant all privileges on zabbix.* to zabbix@'%' with grant option;![]()
?8、接下来进行数据初始化,在数据库里运行
source /usr/local/src/zabbix-4.4.6/database/mysql/schema.sql;
source /usr/local/src/zabbix-4.4.6/database/mysql/data.sql;
source /usr/local/src/zabbix-4.4.6/database/mysql/images.sql;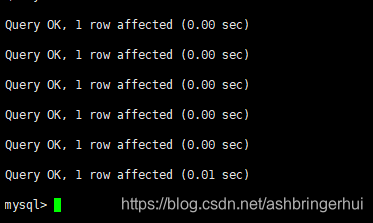
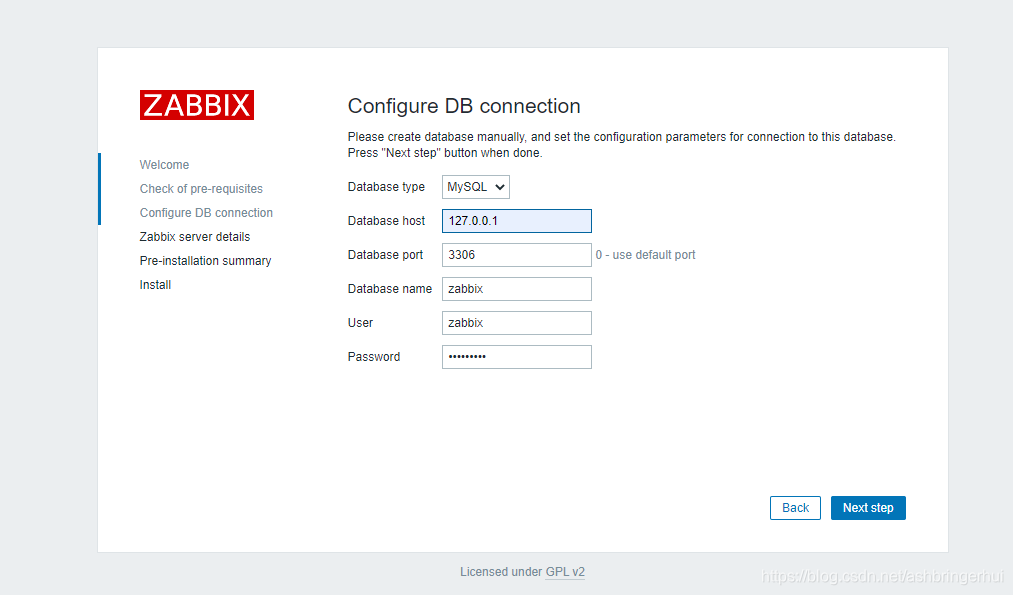
9、修改配置zabbix_server
cd /usr/local/zabbix/etc/
备份文件:cp zabbix_server.conf  zabbix_server.conf.bak`date +%F`
修改文件:vim zabbix_server.conf
#这个是存放日志的目录
LogFile=/usr/local/zabbix/zabbix_server.log
#远程连接
DBHost=127.0.0.1
#zabbix数据库的名字
DBName=zabbix
#zabbix数据库的用户
DBUser=zabbix
#zabbix数据库的密码
DBPassword=hui123456
#数据库的端口,默认3306
DBPort=3306
#超时连接
Timeout=30
#慢查询
LogSlowQueries=3000
#存放邮件告警、微信告警的脚本存放目录
AlertScriptsPath=/usr/local/zabbix/alertscripts
ExternalScripts=/usr/local/zabbix/externalscripts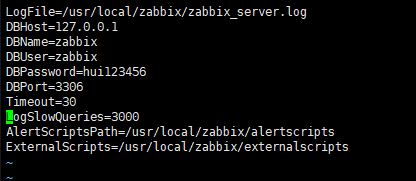
修改目录的权限: chown -R zabbix:zabbix /usr/local/zabbix10、启动zabbix
就直接运行这句就行了,然后ps查看一下
zabbix_server
ps -ef |grep zabbix
查看一下zabbix的监听端口
netstat -lntup | grep zabbix

11、配置zabbix_web
? ? ? ? ?1、创建一个目录用于存放zabbix_web
????????
mkdir /usr/local/nginx/html/zabbix
cp -a /usr/local/src/zabbix-4.4.6/frontends/php/* /usr/local/nginx/html/zabbix/
? ? ? ? 2、访问ip/zabbix
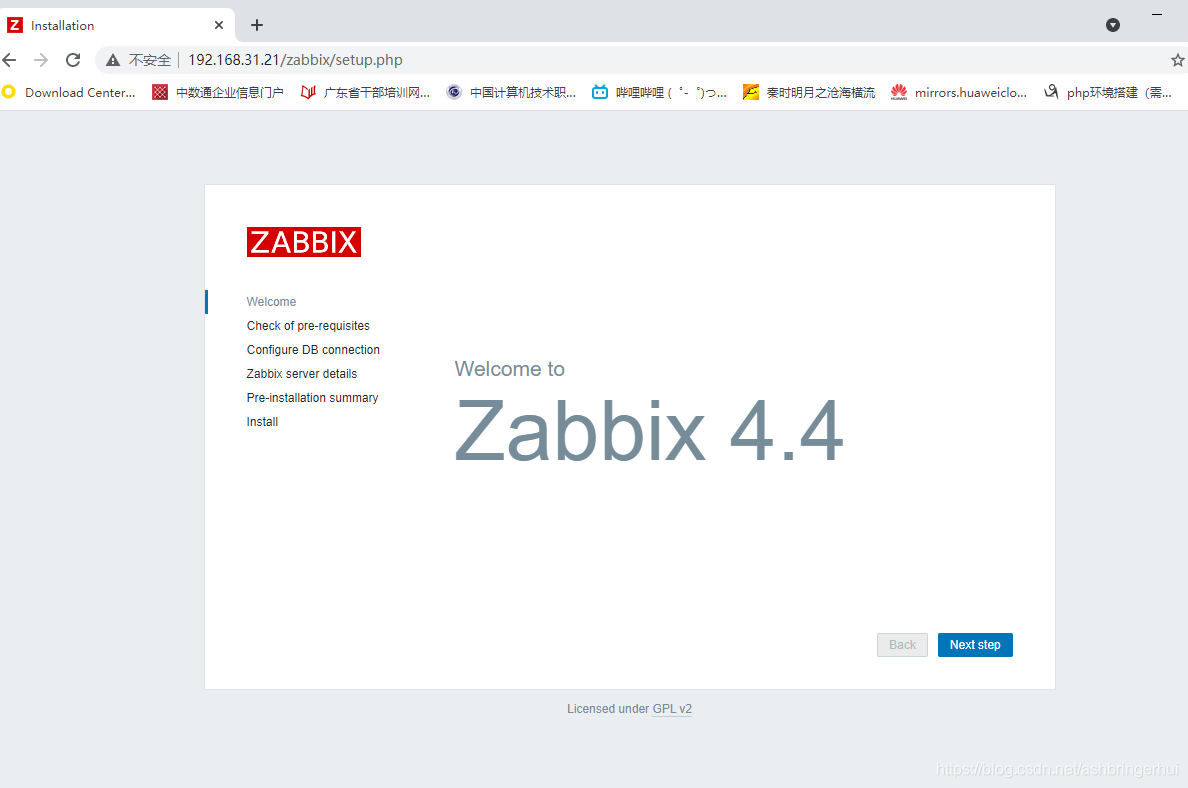
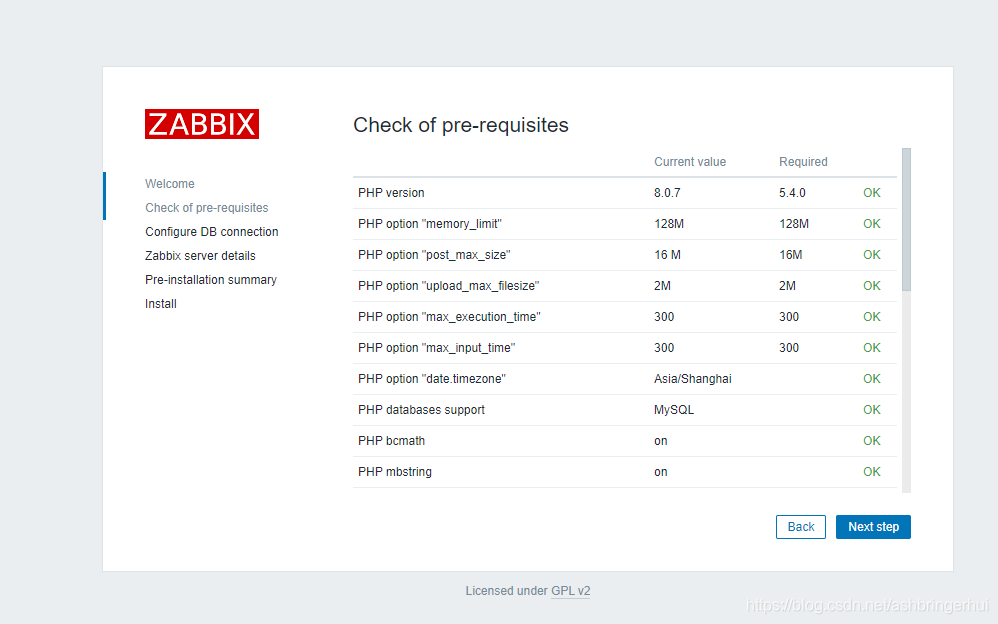
next step后,页面出现一些报错,需要解决的,如果开少了模块需要重新开启模块并重新安装(此步略,上面的编译已把少开的模块加上了),接下来我们先解决一下配置上面的问题
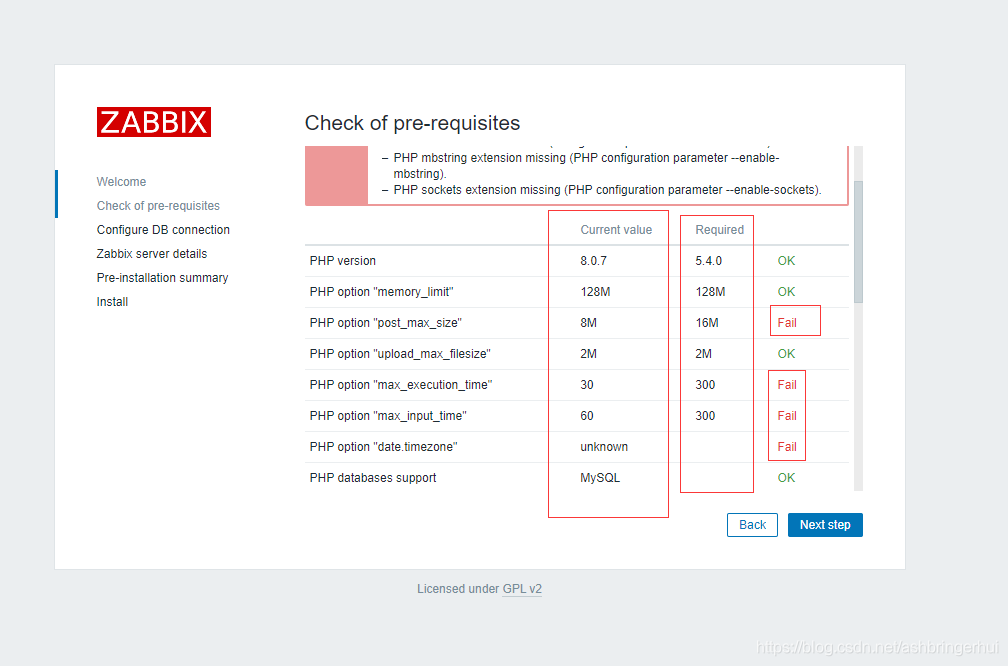
vim /usr/local/php/etc/php.ini? 这里把8M改成16M
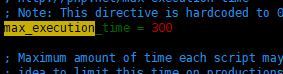 ?这里30改成300
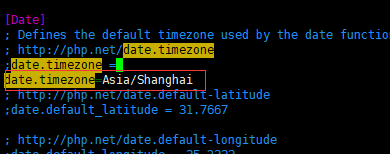 这里可以把;去掉然后再输入Asia/Shanghai
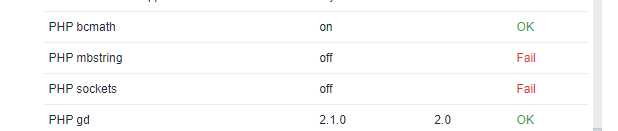
接下来是模块没有,那就安装一下
?
?
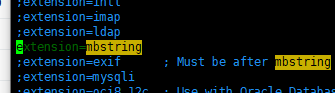
yum install php-mbstring然后继续在php.ini里面修改
vim /usr/local/php/etc/php.ini这里是把前面的分号去掉就行了
 ?
?
?
?然后重启一下mysql,nginx,刷新一下页面
systemctl restart php-fpm
systemctl restart nginx
systemctl restart mysqld
?
?next step
?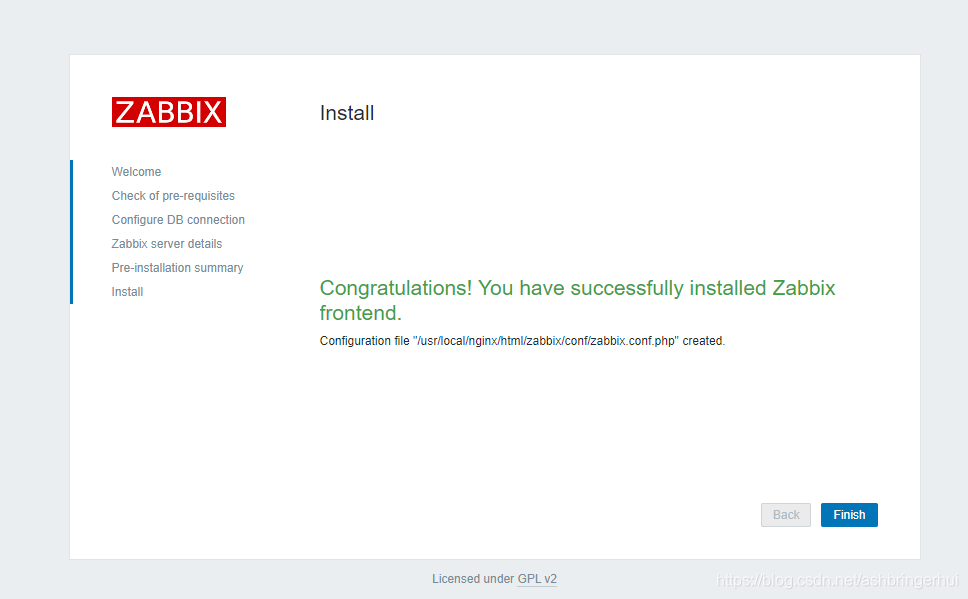
?
?
?