1.安装nginx
我们先去网站搜索一下镜像:Docker Hub Container Image Library | App Containerization
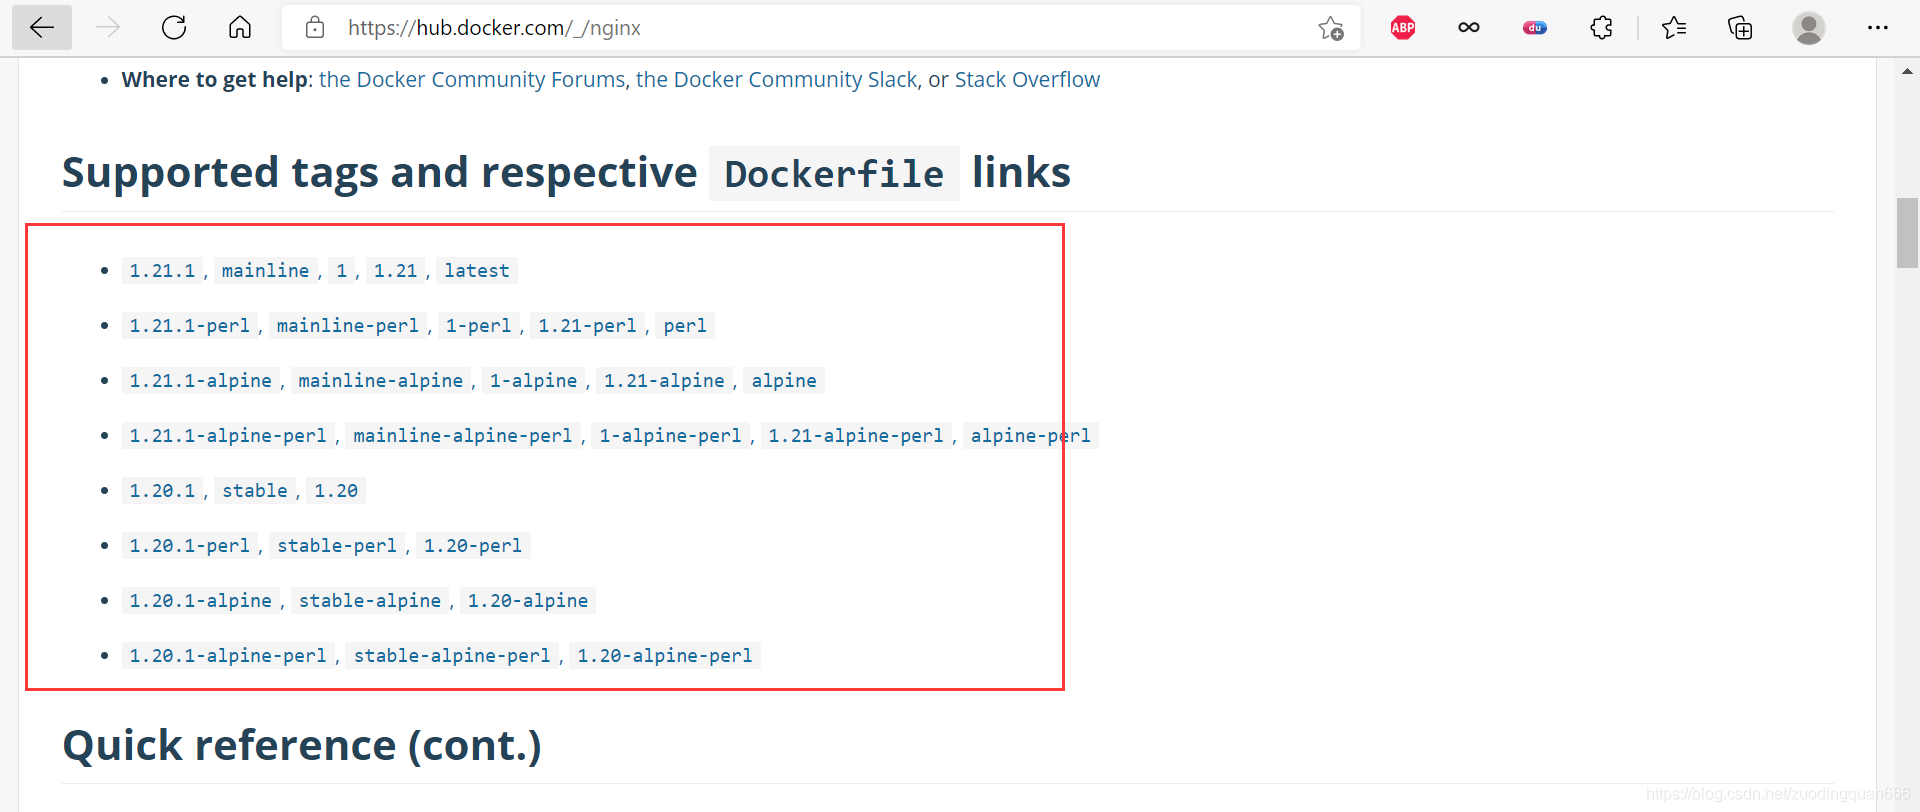
查看支持的版本

[root@localhost ~]# docker pull nginx
Using default tag: latest
latest: Pulling from library/nginx
33847f680f63: Pull complete
dbb907d5159d: Pull complete
8a268f30c42a: Pull complete
b10cf527a02d: Pull complete
c90b090c213b: Pull complete
1f41b2f2bf94: Pull complete
Digest: sha256:8f335768880da6baf72b70c701002b45f4932acae8d574dedfddaf967fc3ac90
Status: Downloaded newer image for nginx:latest
docker.io/library/nginx:latest
[root@localhost ~]# docker images
REPOSITORY   TAG       IMAGE ID       CREATED        SIZE
nginx        latest    08b152afcfae   7 days ago     133MB
centos       latest    300e315adb2f   7 months ago   209MB
[root@localhost ~]# docker run -d --name nginx01 -p 8000:80 nginx
8f3eef77aebe89726b74dfe6d5218e3385543e8d375c372e5dbc8aab1ea166e0
[root@localhost ~]# docker ps
CONTAINER ID   IMAGE     COMMAND                  CREATED          STATUS          PORTS                                   NAMES
8f3eef77aebe   nginx     "/docker-entrypoint.…"   8 seconds ago    Up 6 seconds    0.0.0.0:8000->80/tcp, :::8000->80/tcp   nginx01
f7fdc29761a6   centos    "/bin/bash"              32 minutes ago   Up 32 minutes                                           focused_wescoff
[root@localhost ~]# curl localhost:8000
<!DOCTYPE html>
<html>
<head>
<title>Welcome to nginx!</title>
<style>
    body {
        width: 35em;
        margin: 0 auto;
        font-family: Tahoma, Verdana, Arial, sans-serif;
    }
</style>
</head>
<body>
<h1>Welcome to nginx!</h1>
<p>If you see this page, the nginx web server is successfully installed and
working. Further configuration is required.</p>

<p>For online documentation and support please refer to
<a href="http://nginx.org/">nginx.org</a>.<br/>
Commercial support is available at
<a href="http://nginx.com/">nginx.com</a>.</p>

<p><em>Thank you for using nginx.</em></p>
</body>
</html>?在浏览器输入地址:Welcome to nginx!

那我们怎么进入呢?
输入命令 :docker exec -it nginx01 /bin/bash

2.部署Tomcat
先搜索一下看docker仓库里面Tomcat的版本
?
版本还是蛮多的。
我们可以看到下面官方的说明:

#官方操作
$ docker run -it --rm tomcat:9.0

#解释:上面的命令表示用完tomcat后就删掉

#我们之前启动都是后台,停止了容器后,容器还是可以查到
$ docker run -it --rm -p 8888:8080 tomcat:9.0
我们选择一个版本:
