搭建邮件服务器,在foxmail上使用xiaoming@example.com给wuneng@ceshi.com用户发一封邮件,内容为biechile。
两台rhel8的虚拟机
192.168.201.134; 192.168.201.123
1.两台主机都关闭防火墙,selinux
systemctl stop firewalld
setnforce 0
安装三个软件包 postfix、dovecote、cyrus-sasl*
yum install -y postfix
yum install -y dovecot
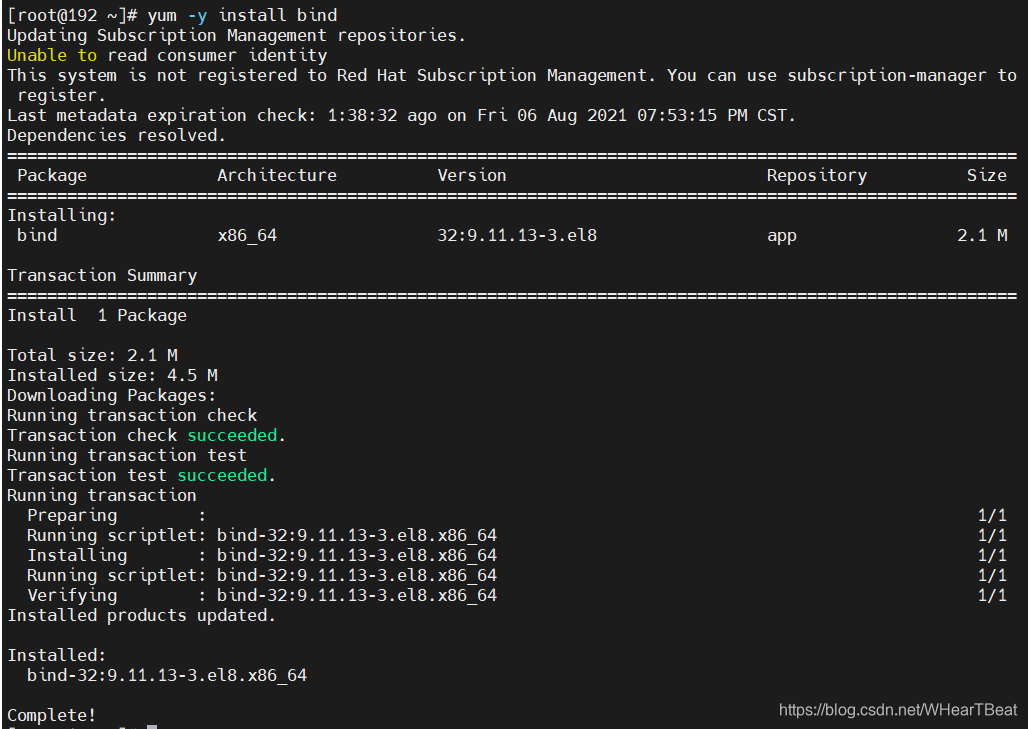
yum install -y cyrus-sasl*
编辑配置文件vim /etc/postfix/main.cf
94 myhostname = mail.@example.com
102 mydomain = example.com
118 myorigin = $mydomain
132 inet_interfaces = all
183 #mydestination =
myhostname,localhost.mydomain,localhost
184 mydestination = m y h o s t n a m e , l o c a l h o s t . myhostname, localhost.myhostname,localhost.mydomain, localhost, $mydomain
283 mynetworks = 192.168.201.0/24,127.0.0.0/8
315 relay_domains = $mydestination
2.开启sasl认证 (末尾追加)
broken_sasl_auth_clients = yes #启用sasl对客户端进行认证
smtpd_sasl_auth_enable = yes #启用sasl认证
smtpd_sasl_security_options = noanonymous #禁用匿名用户
smtpd_recipient_restrictions = permit_sasl_authenticated,permit_mynetworks,reject_unauth_destination #定义收件人限定
3.vim /etc/dovecot/dovecot.conf


4.vim /etc/dovecot/conf.d/10-mail.conf
用户邮件所在的地址

5.重启服务
[root@localhost ~]# systemctl restart postfix
[root@localhost ~]# systemctl restart dovecot
[root@localhost ~]# systemctl restart saslauthd
6新建用户
useradd xiaoming
echo redhat | passwd --stdin xiaoming


7.修改权限
chmod 0600 /var/mail/*
配置192.168.201.133
8,编辑postfix配置文件vim /etc/postfix/main.cf(除94、102行不同其余相同)
94、myhostname = mail.ceshi.com
102、mydomain = ceshi.com
9、vim /etc/dovecot/dovecotconf.d


vim /etc/dovecot/conf.d/10-mail.conf

10、重启三个服务
[root@localhost ~]# systemctl restart postfix
[root@localhost ~]# systemctl restart dovecot
[root@localhost ~]# systemctl restart saslauthd
11、新建wuneng用户

修改权限
chmod 0600 /var/mail/*
配置DNS服务器在192.168.201.134上

编辑配置主要文件
vim /etc/named.conf

[root@localhost ~]# vim /var/named/zone.example.com

[root@localhost ~]# vim /var/named/zone.ceshi.com

重启服务
[root@localhost ~]# systemctl restart named
修改两台虚拟机的DNS服务器的ip地址为自己搭建的DNS服务器地址
[root@localhost ~]# vim /etc/resolv.conf

测试
