����Ŀ¼
Centos7 ��̬ip����
1 ��
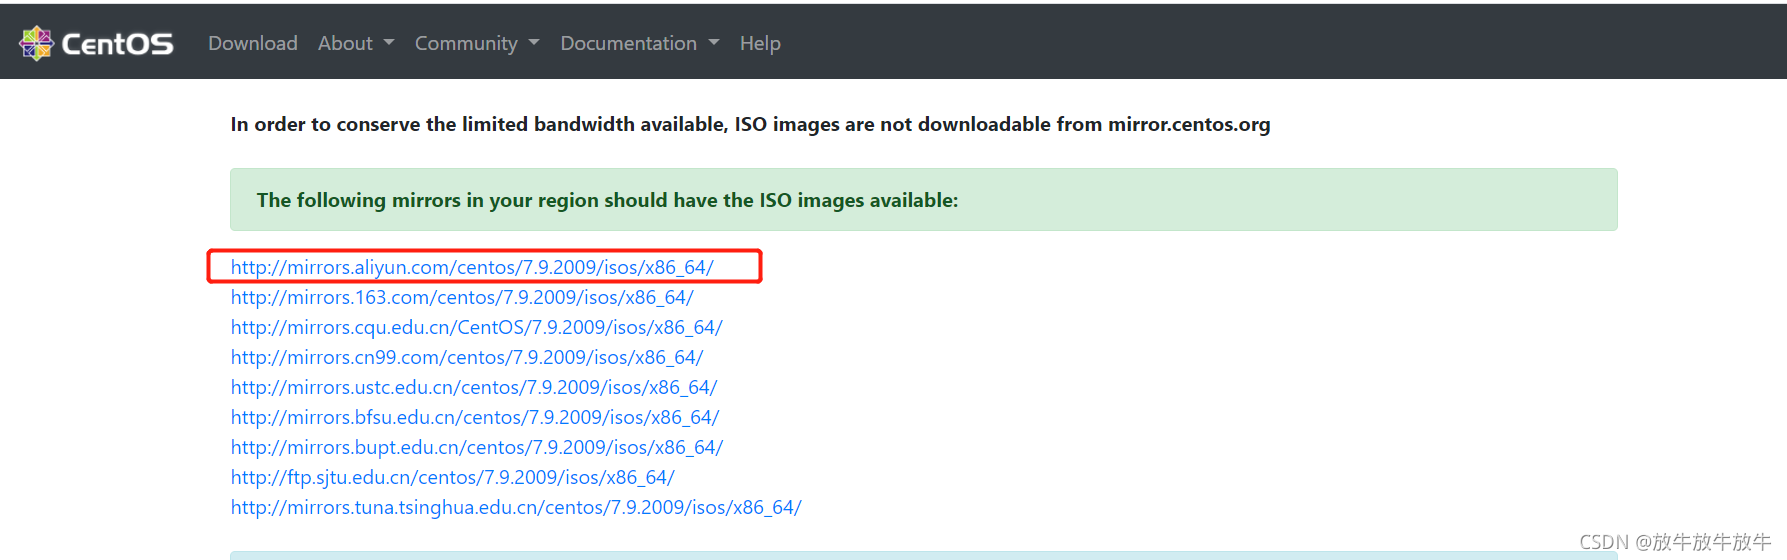
ϵͳ:CentOS-7-x86_64-DVD-2009.iso
����:http://isoredirect.centos.org/centos/7/isos/x86_64/
2 ����
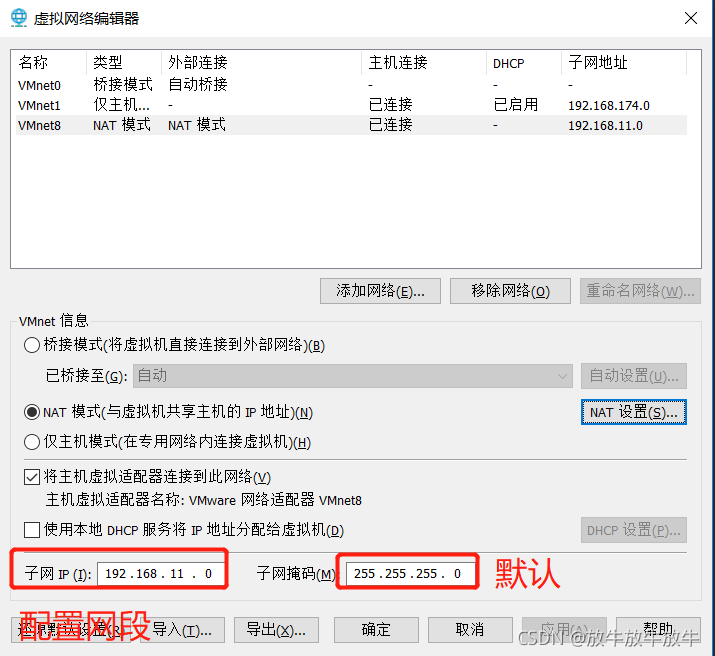
2.1 Vmware �Ž�ģʽ����
-
��һ��,ע��:���β�Ҫʹ��1
-
�ڶ���,ѡ��NAT����
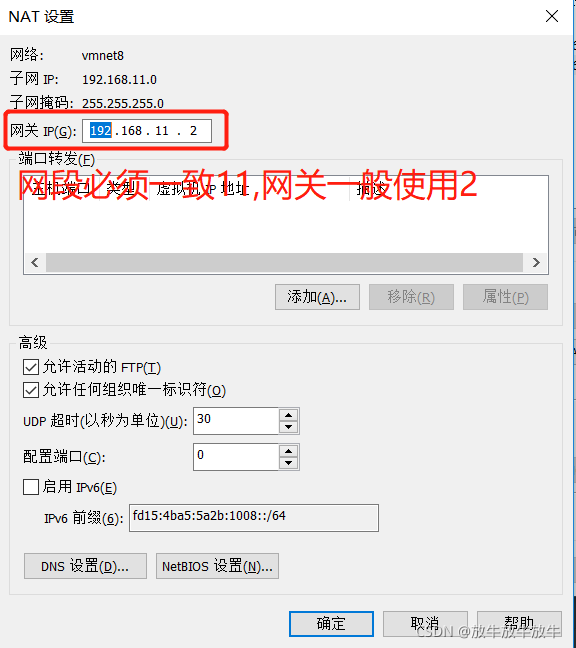
3. ȷ���C>Ӧ��

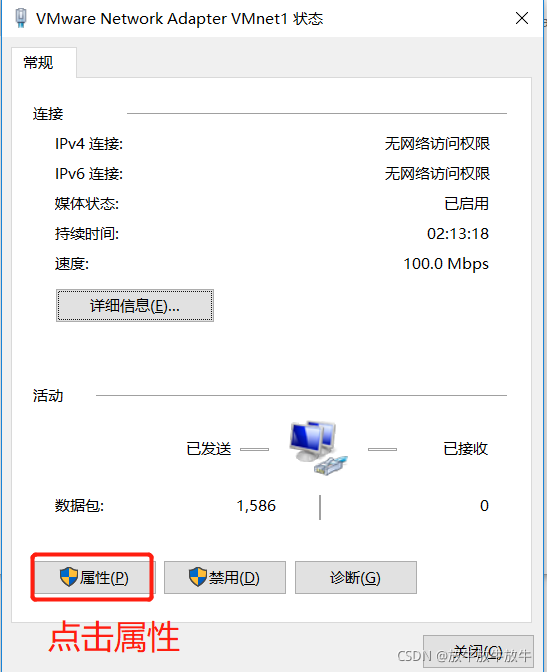
2.2 Window ��������
- �������-�����Internet-����������� �������������
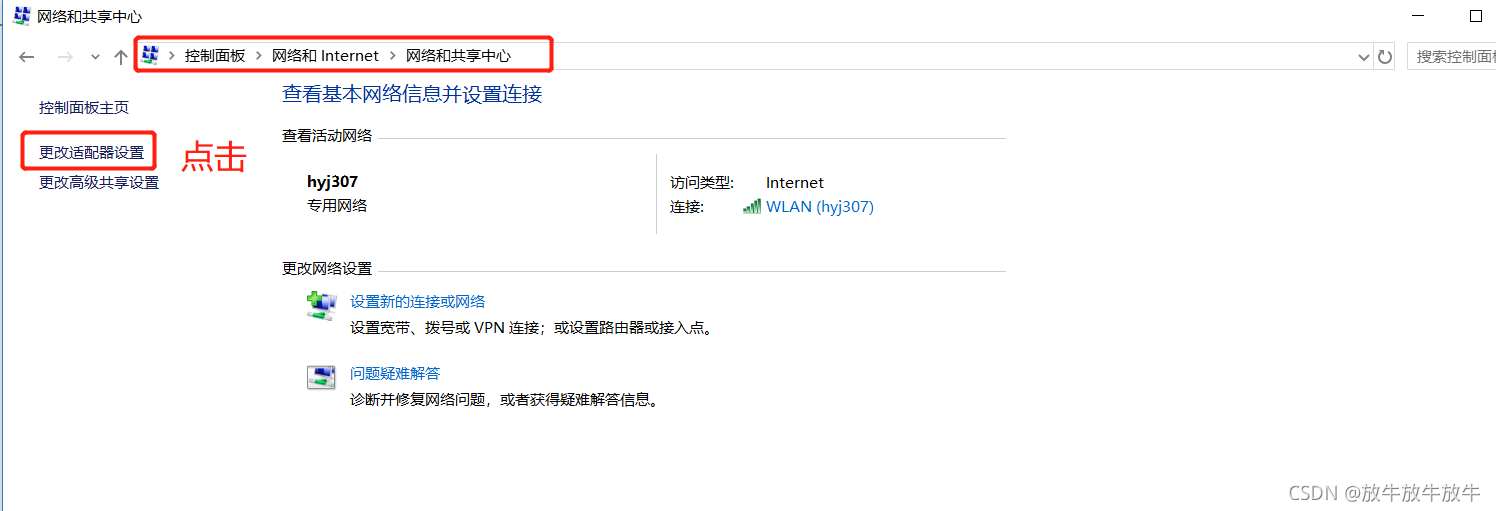
- ѡ��Vmware8

- �������
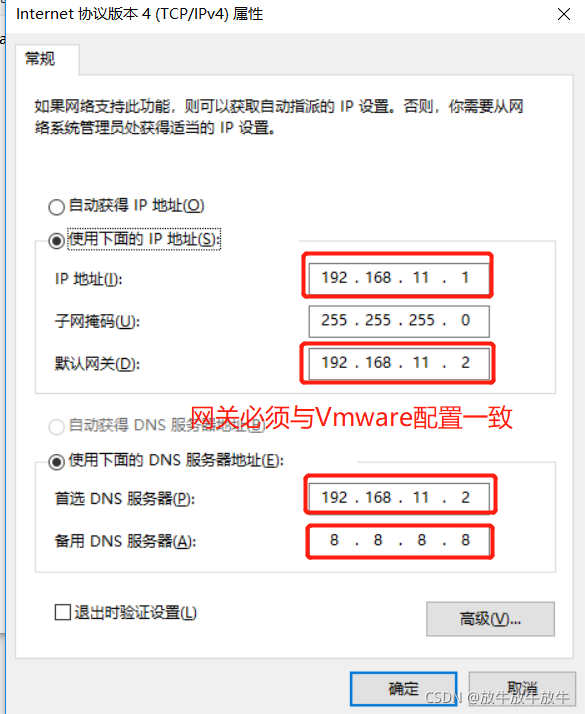
- ˫��Internet Э��汾4(TCP/IPv4)
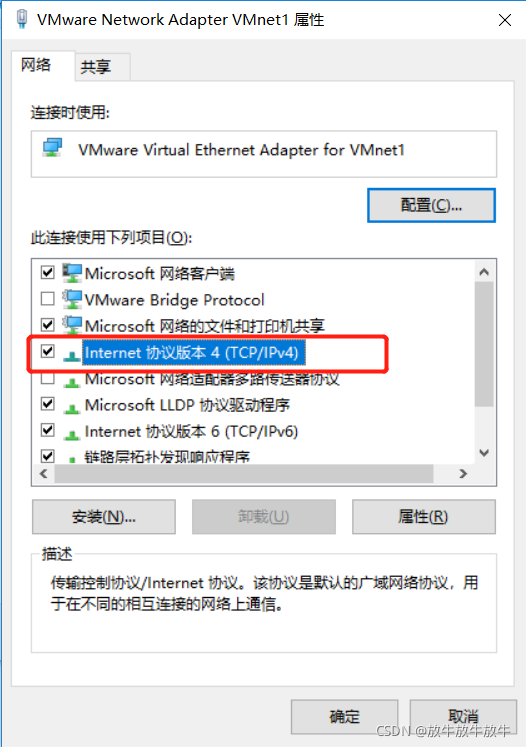
- �������μ����بC����
2.3 ����Centos7
- ��������Ϣ
# �������ļ�
vim /etc/sysconfig/network-scripts/ifcfg-ens33
# ��ʾ������ipΪ��̬ip
BOOTPROTO="static"
# ���������ʵľ�̬ip����
IPADDR=192.168.11.100
# ����--��Vmware���õ�����һ��
GATEWAY=192.168.11.2
# DNS1��������--window������һ��
DNS1=192.168.11.2
# DNS2��������--��window���õ�����һ��
DNS2=8.8.8.8
# �������ϲ�����������
service network restart
3 centos ͨ����Ϣ����
3.1 ����centos����������
# �༭�ļ�������
[root@hadoop100 network-scripts]# vim /etc/hostname
hadoop100
������Ч:reboot
3.2 centos ip-����������ӳ������
[root@hadoop100 network-scripts]# vim /etc/hosts
# Ĭ������
127.0.0.1 localhost localhost.localdomain localhost4 localhost4.localdomain4
# Ĭ������
::1 localhost localhost.localdomain localhost6 localhost6.localdomain6
# �Զ�������
192.168.11.100 hadoop100
192.168.11.200 hadoop200
192.168.11.300 hadoop300
������Ч:reboot