python自动化,简洁又详细版
一.前言
开始学习自动化一般从python开始,Java也可以做自动化,但python自动化更易入门,使用也更广泛。
安装流程:python.exe -> pycharm -> selenium -> webdriver
二.开始
python下载:https://www.python.org/downloads/
pycharm下载:https://www.jetbrains.com/pycharm/download/#section=windows
(不知道为什么,用chrome访问时,一直进不去,换个浏览器访问就好了,供参考)
python及pycharm安装参考教程:
https://blog.csdn.net/Rengarhunt/article/details/103298207?ops_request_misc=%257B%2522request%255Fid%2522%253A%2522163205365616780271580475%2522%252C%2522scm%2522%253A%252220140713.130102334..%2522%257D&request_id=163205365616780271580475&biz_id=0&utm_medium=distribute.pc_search_result.none-task-blog-2~all~top_positive~default-1-103298207.pc_search_ecpm_flag&utm_term=python3.9%E5%AE%89%E8%A3%85%E6%95%99%E7%A8%8B&spm=1018.2226.3001.4187
https://blog.csdn.net/qq_50598558/article/details/115611398?ops_request_misc=%257B%2522request%255Fid%2522%253A%2522163205626316780271589927%2522%252C%2522scm%2522%253A%252220140713.130102334..%2522%257D&request_id=163205626316780271589927&biz_id=0&utm_medium=distribute.pc_search_result.none-task-blog-2~all~top_positive~default-1-115611398.pc_search_ecpm_flag&utm_term=pycharm2021%E5%AE%89%E8%A3%85%E6%95%99%E7%A8%8B&spm=1018.2226.3001.4187
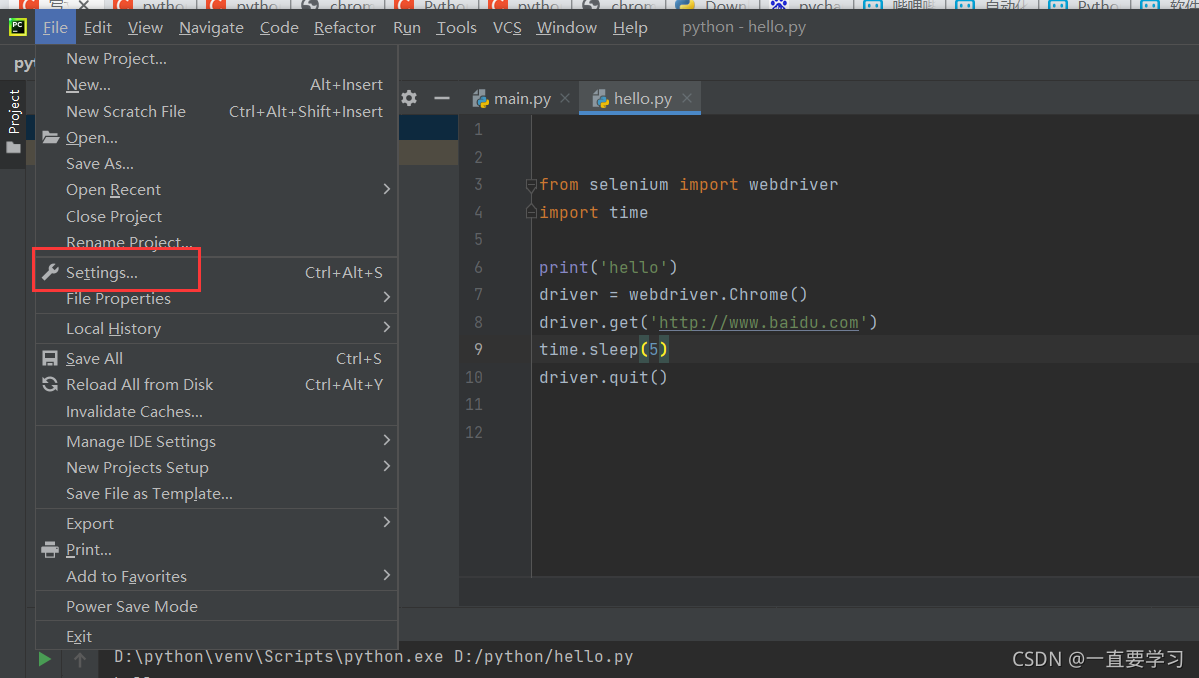
pycharm下载好,就可以直接安装selenium包了:


不要忘记点ok哦
然后下载webdriver,我直接下的chrome的
下载:http://chromedriver.storage.googleapis.com/index.html


下载解压后,放在python对应目录下:

环境大概就安装完成了,测试:

用的其他人的测试代码,直接粘贴即可:
from selenium import webdriver
import time
print(‘hello’)
driver = webdriver.Chrome()
driver.get(‘http://www.baidu.com’)
time.sleep(5)
driver.quit()