zabbix监控配置流程
一、zabbix监控配置流程详解
-
开发人员要加监控
让开发人员提供获取监控信息的方式
-
运营人员(提需求的人)要加监控
让运营人员问开发人员要获取监控信息的方式
-
运维人员要加监控
二、配置监控的步骤
-
添加主机组 (option)
-
添加主机并加入主机组
安装agent
配置zabbix_agentd.conf,设置zabbix_server的ip,hostname的值
启动服务
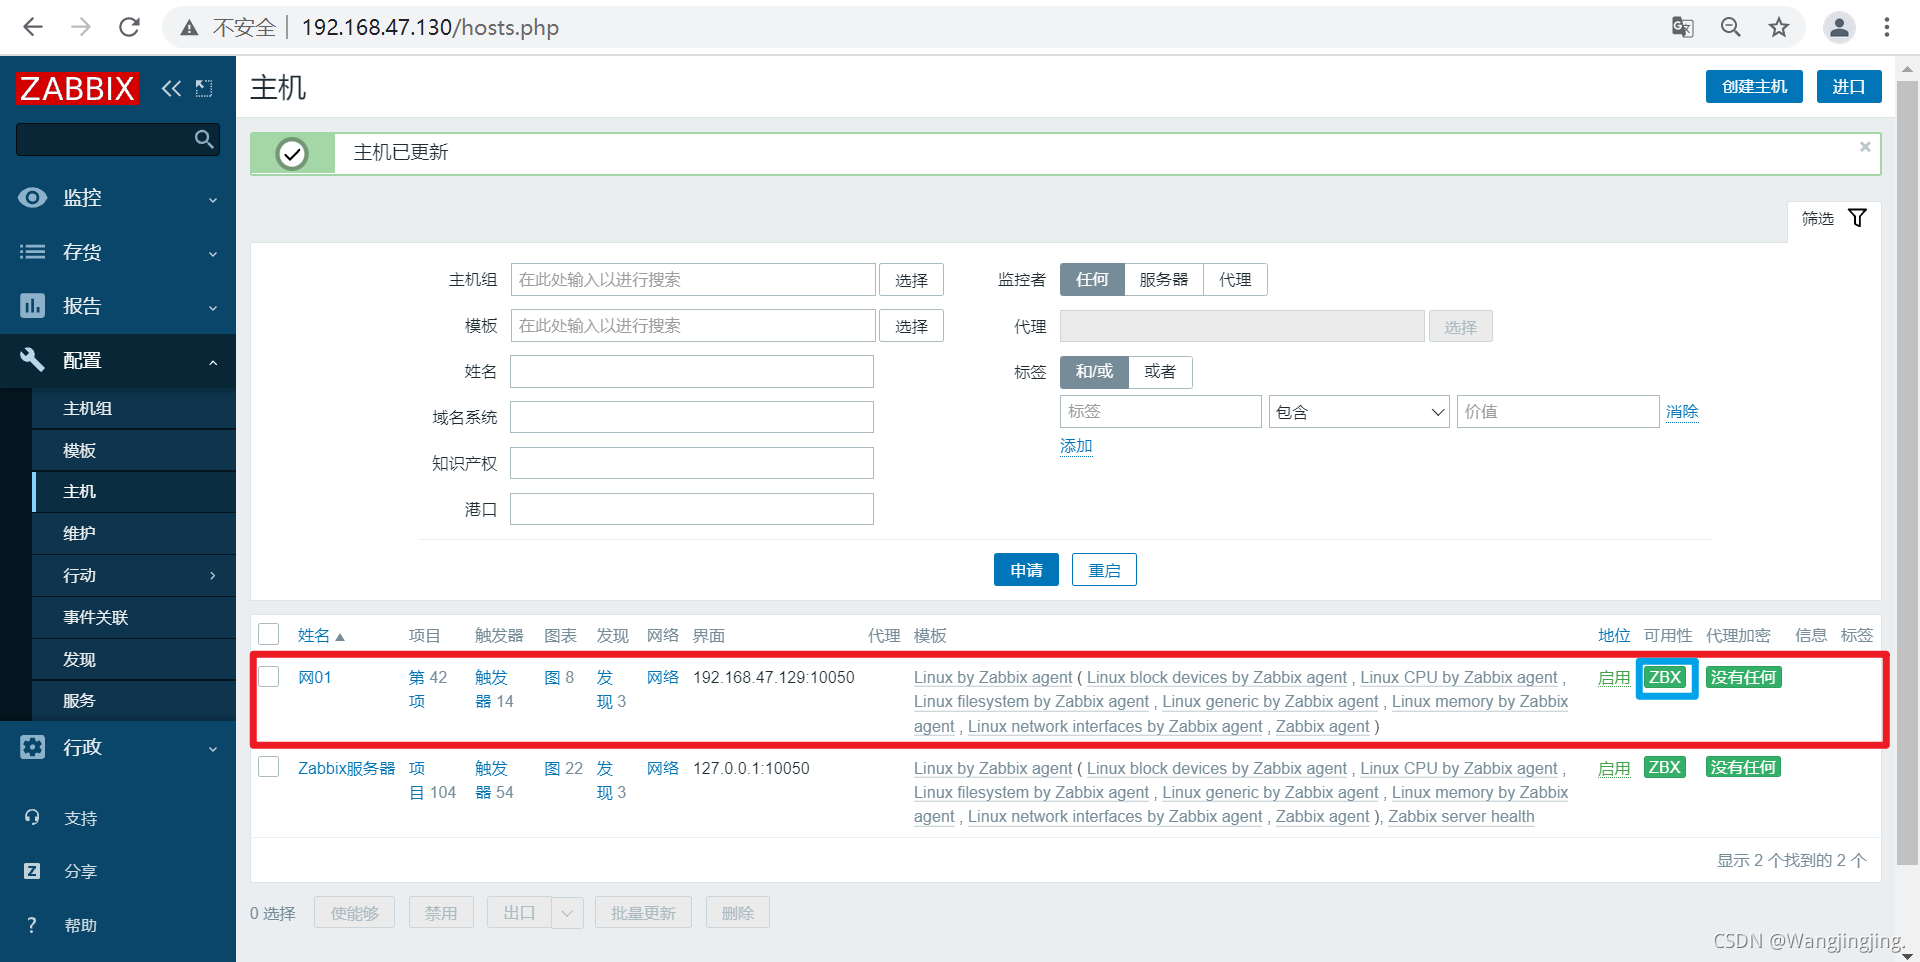
在web界面添加主机
-
添加监控项
手动配置监控录像
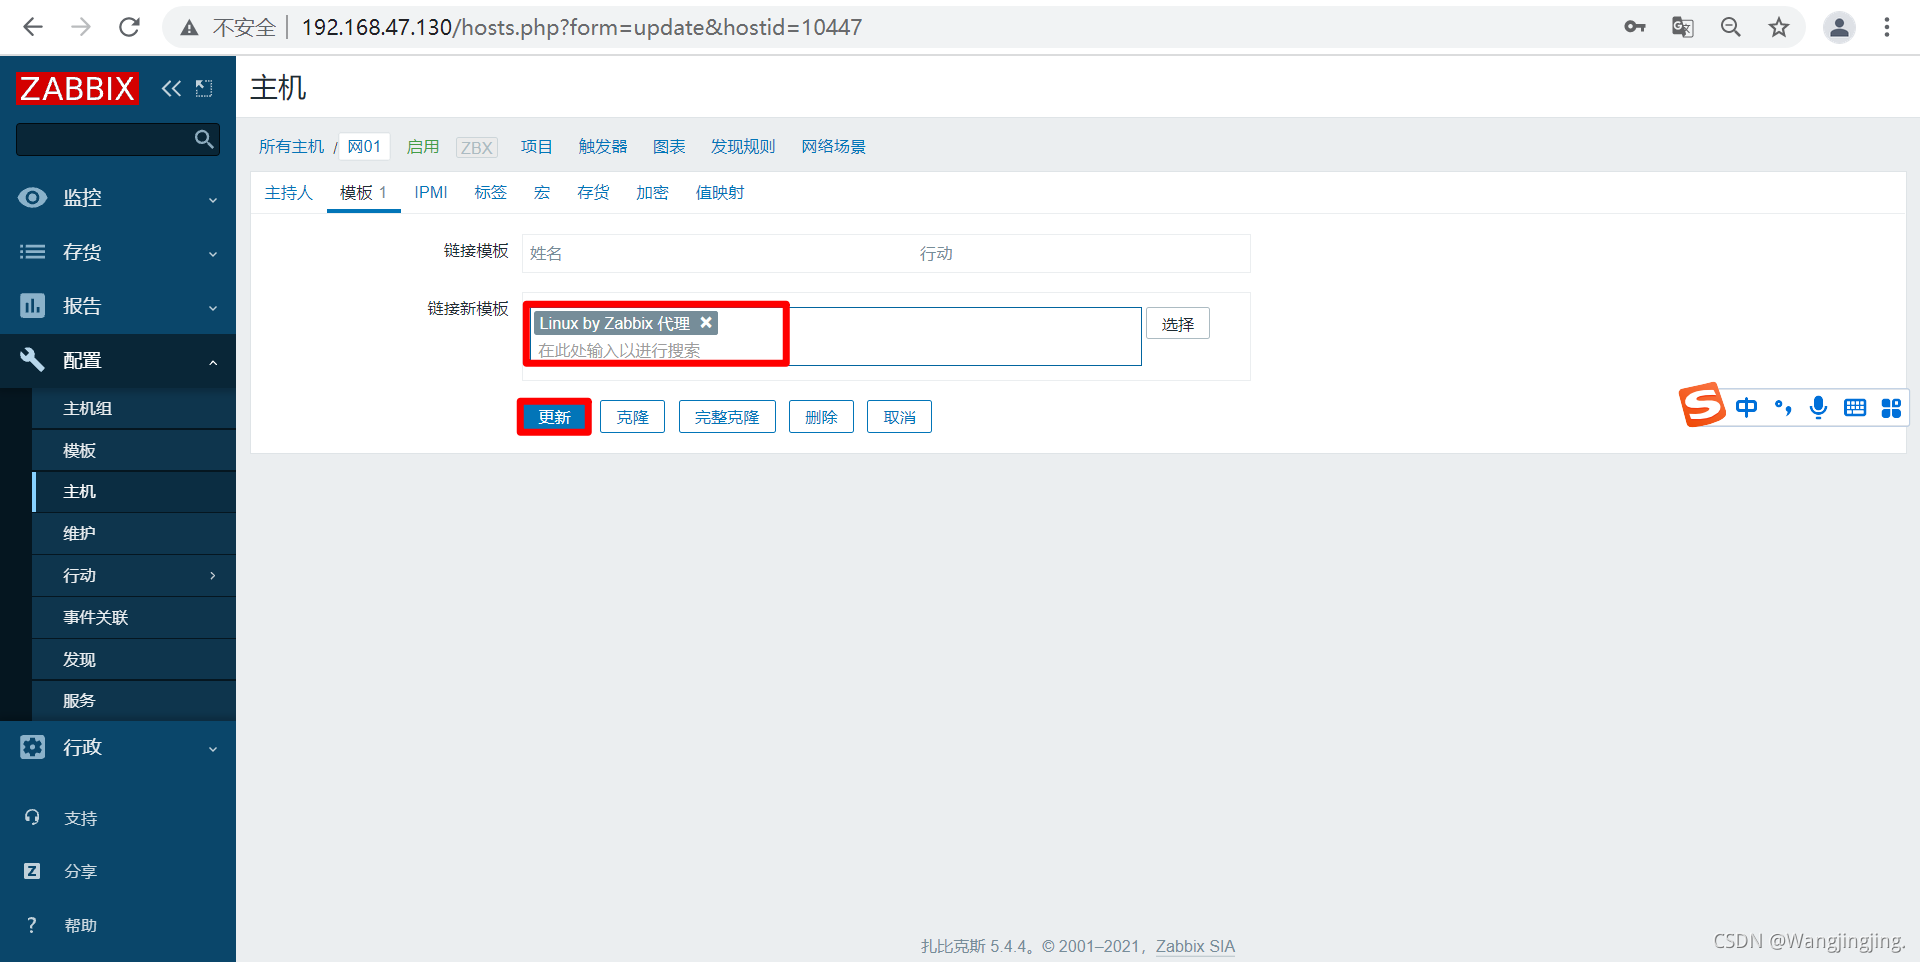
通过模板配置监控项
-
添加触发器
-
配置用户媒介
-
添加动作
-
手动触发并验证
// 关闭防火墙和selinux
[root@agent ~]# systemctl disable --now firewalld.service
[root@agent ~]# setenforce 0

// 下载并解压zabbix
[root@agent src]# ls
debug  kernels  zabbix-5.4.4.tar.gz
[root@agent src]# tar xf zabbix-5.4.4.tar.gz
[root@agent src]# cd zabbix-5.4.4/
[root@agent zabbix-5.4.4]# ls
aclocal.m4  compile       configure.ac  INSTALL      man      sass
AUTHORS     conf          COPYING       install-sh   misc     src
bin         config.guess  database      m4           missing  ui
build       config.sub    depcomp       Makefile.am  NEWS
ChangeLog   configure     include       Makefile.in  README

//创建用户
[root@agent src]# useradd -r -M -s /sbin/nolongin zabbix

//安装依赖包
[root@agent zabbix-5.4.4]# yum -y install vim wget gcc gcc-c++ make pcre-devel openssl openssl-devel

//编译安装zabbix
[root@agent zabbix-5.4.4]# ./configure --enable-agent
........此处省略过程
***********************************************************
*            Now run 'make install'                       *
*                                                         *
*            Thank you for using Zabbix!                  *
*              <http://www.zabbix.com>                    *
***********************************************************
[root@agent zabbix-5.4.4]# make install

//创建随机唯一标识
[root@localhost ~]# tr -dc A-Za-z < /dev/urandom | head -c 8 |xargs
GIBdhFBG

//修改配置文件
[root@agent ~]# cd /usr/local/etc/
[root@agent etc]# ls
zabbix_agentd.conf  zabbix_agentd.conf.d
[root@agent etc]# vim zabbix_agentd.conf
113 Server=192.168.47.130
154 ServerActive=192.168.47.130
165 Hostname=GIBdhFBG

[root@agent etc]# zabbix_agentd
[root@agent etc]# ss -antl
State   Recv-Q  Send-Q   Local Address:Port      Peer Address:Port
LISTEN  0       128            0.0.0.0:10050          0.0.0.0:*
LISTEN  0       128            0.0.0.0:111            0.0.0.0:*
LISTEN  0       32       192.168.122.1:53             0.0.0.0:*
LISTEN  0       128            0.0.0.0:22             0.0.0.0:*
LISTEN  0       5            127.0.0.1:631            0.0.0.0:*
LISTEN  0       128               [::]:111               [::]:*
LISTEN  0       128               [::]:22                [::]:*
LISTEN  0       5                [::1]:631               [::]:*
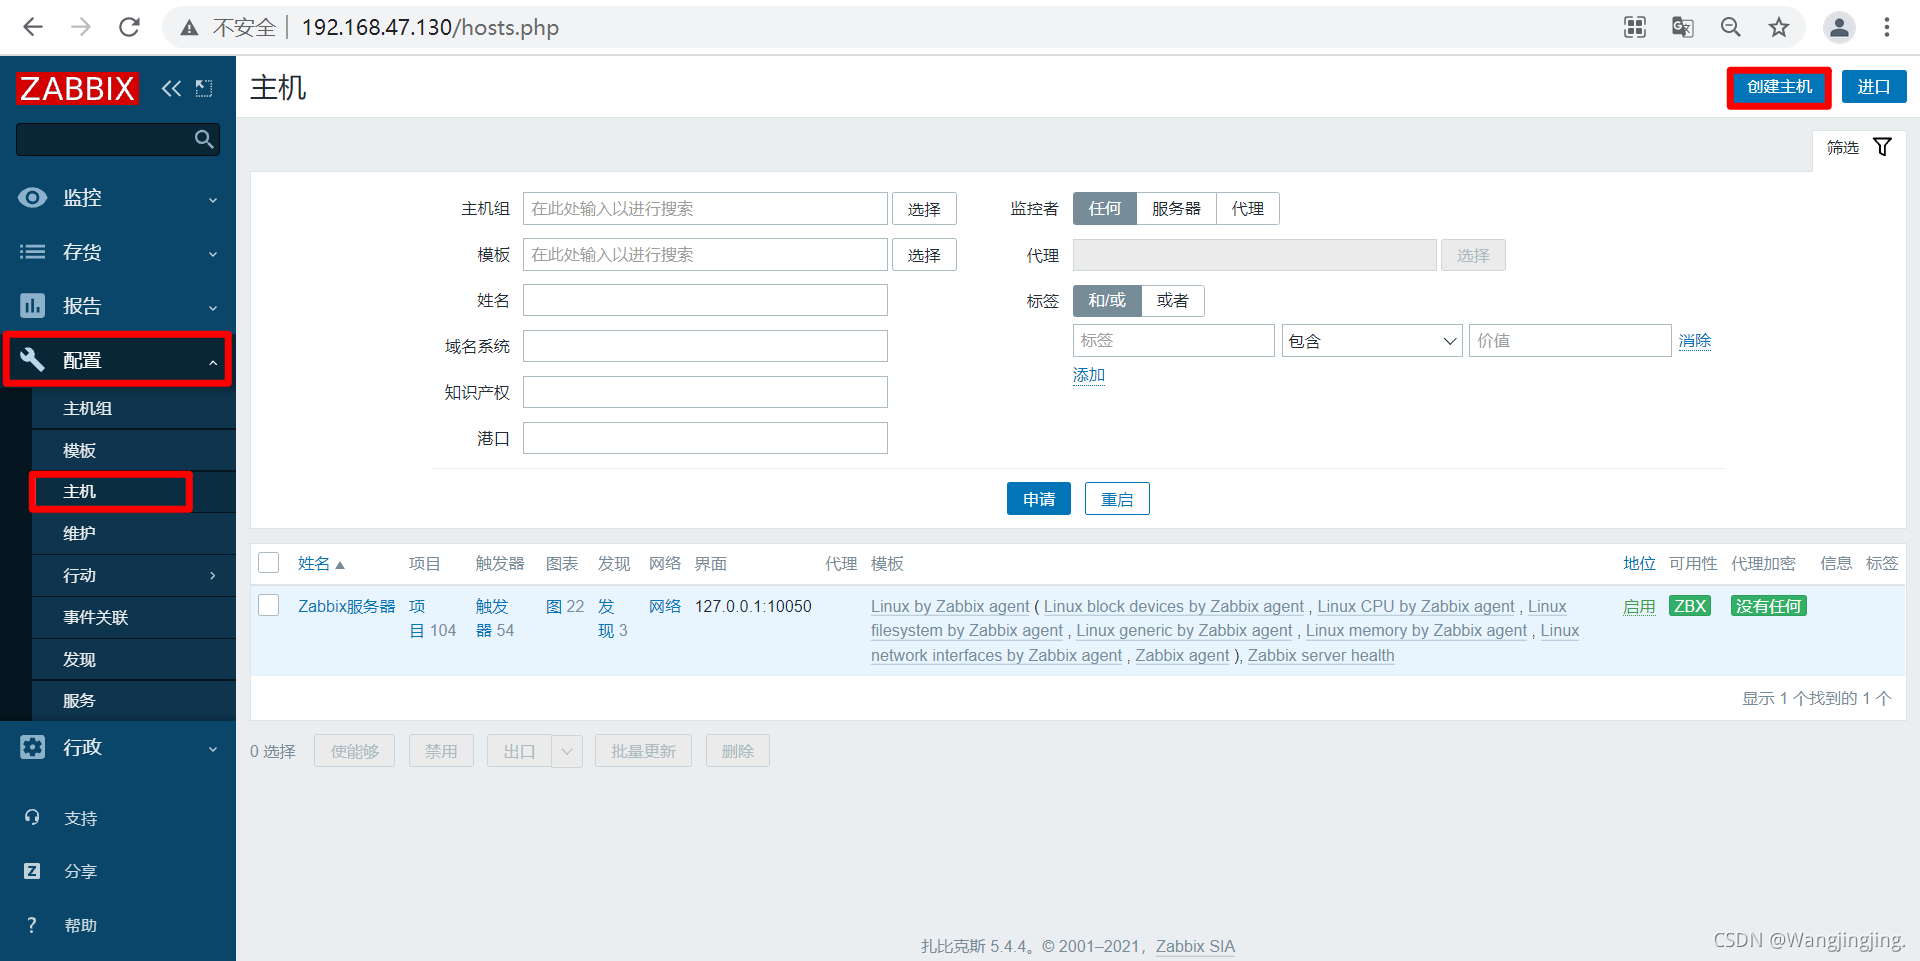
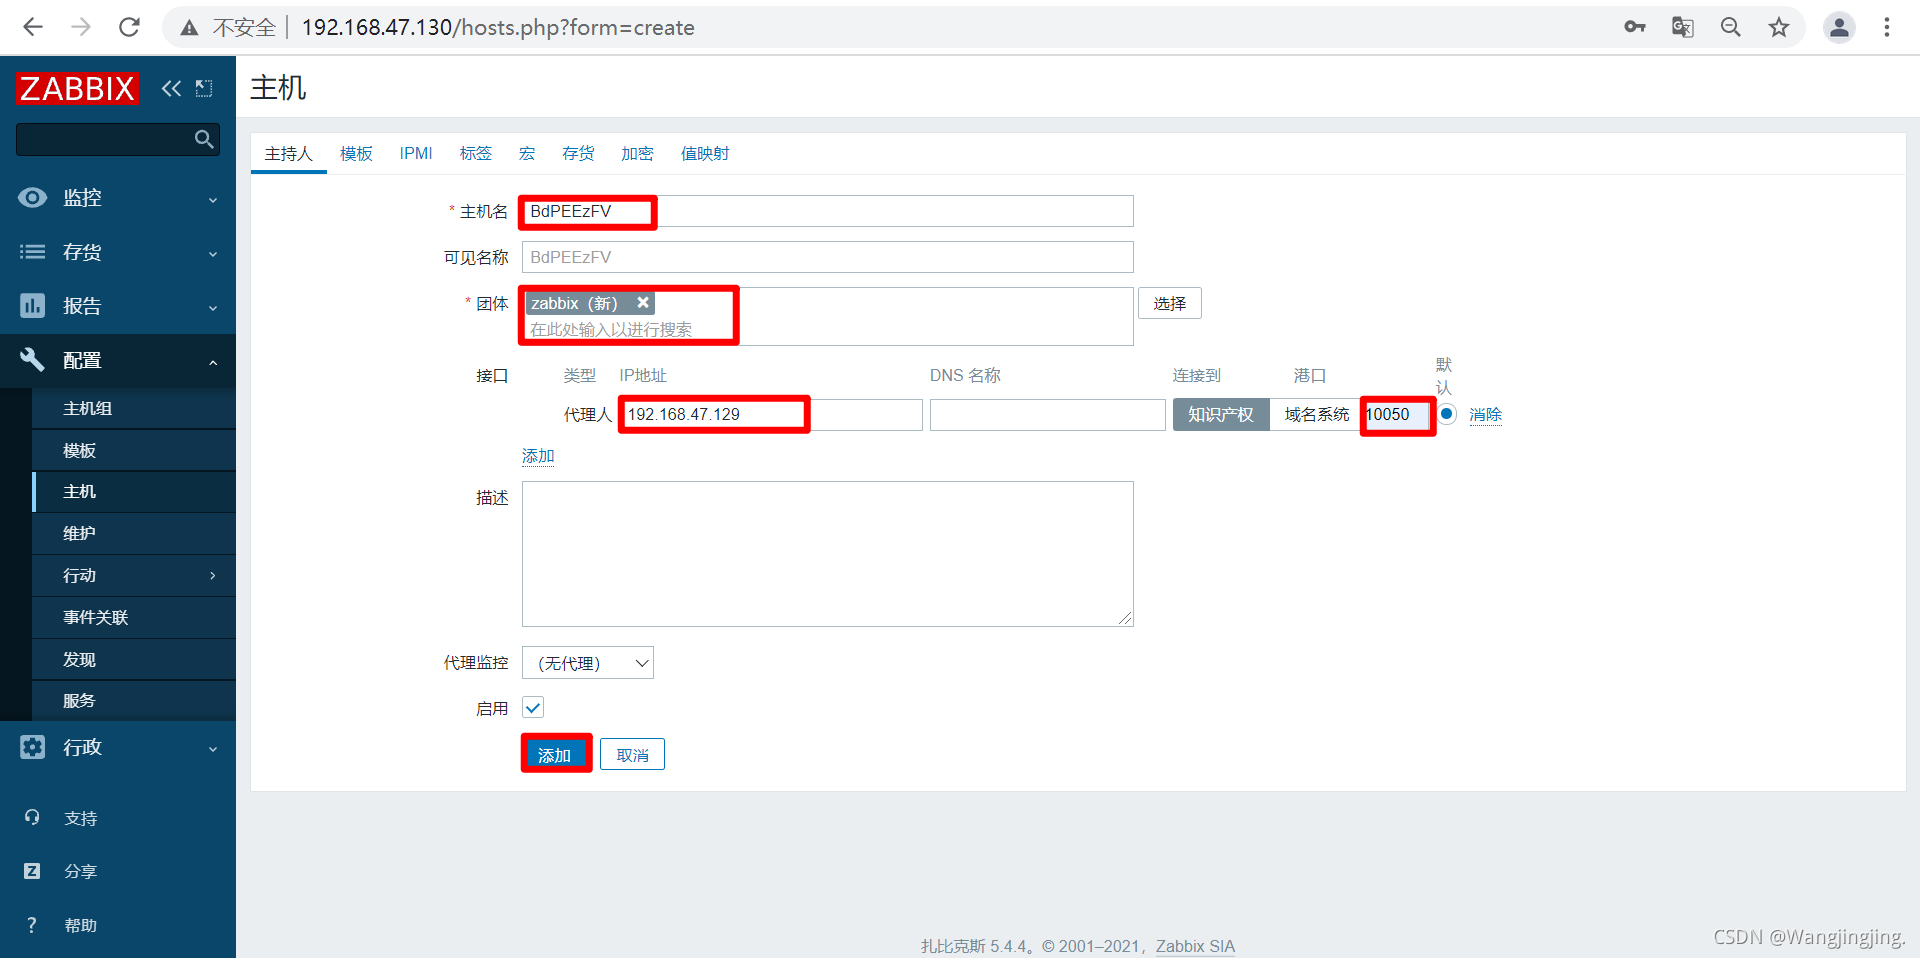
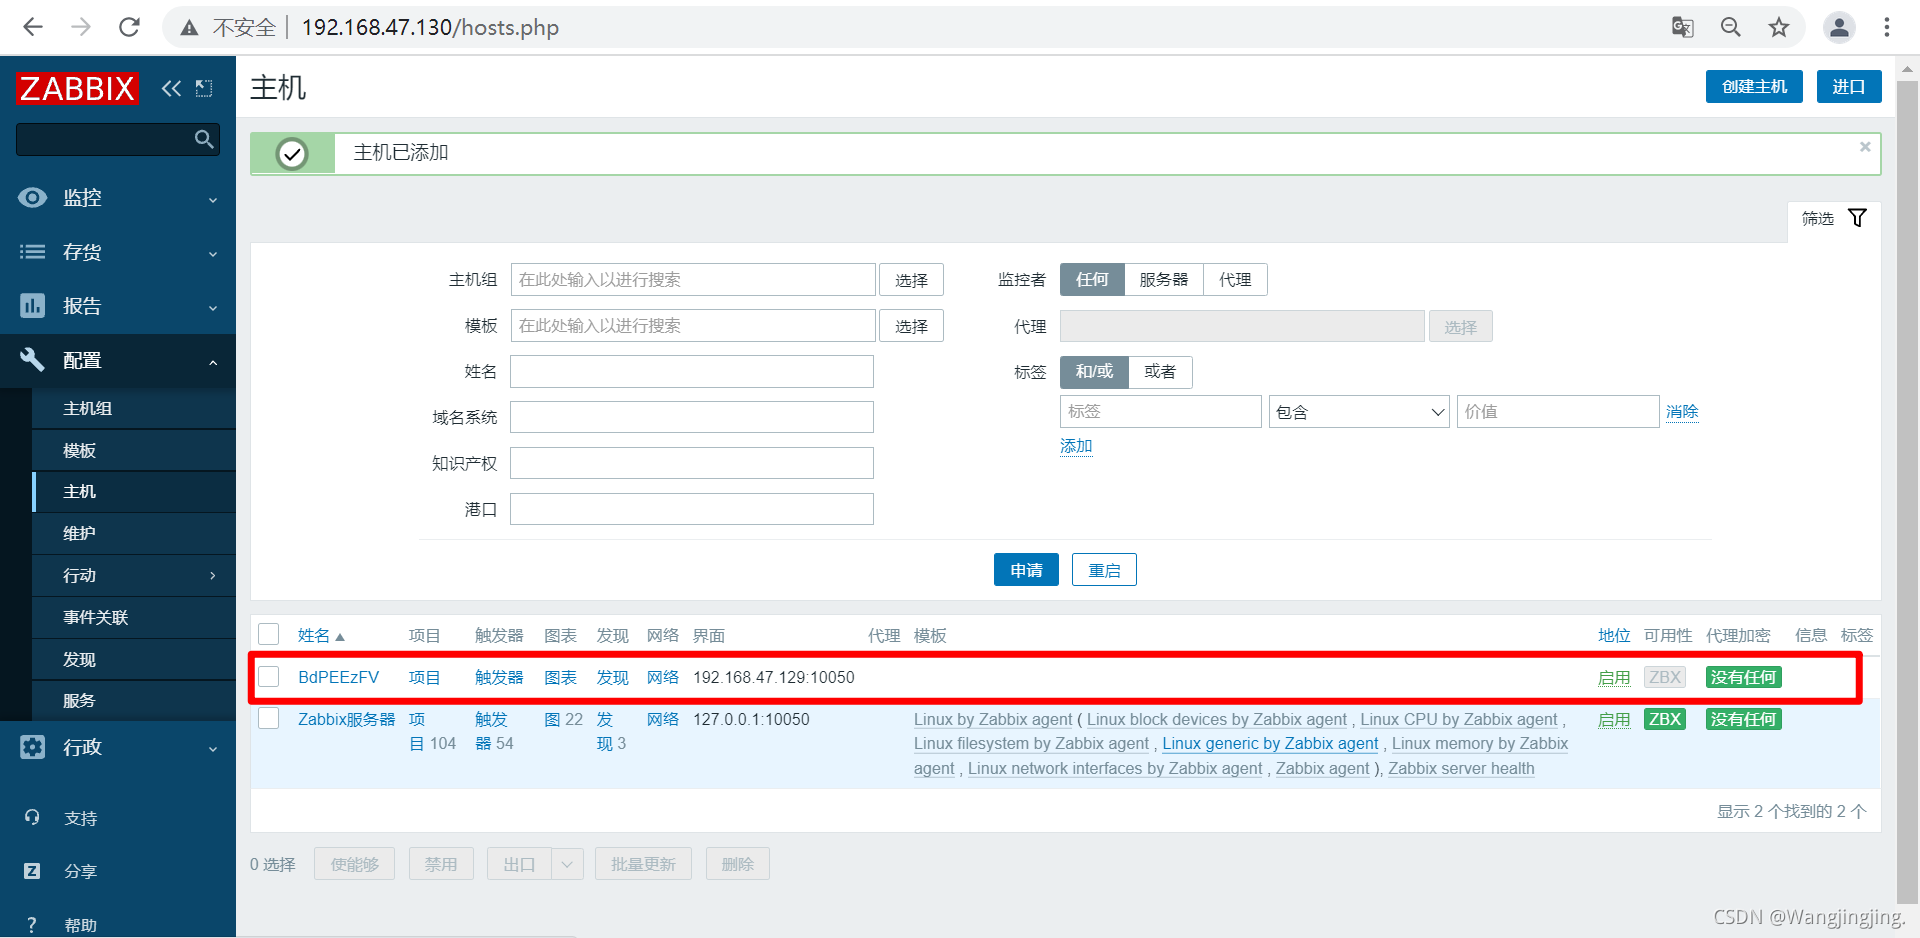
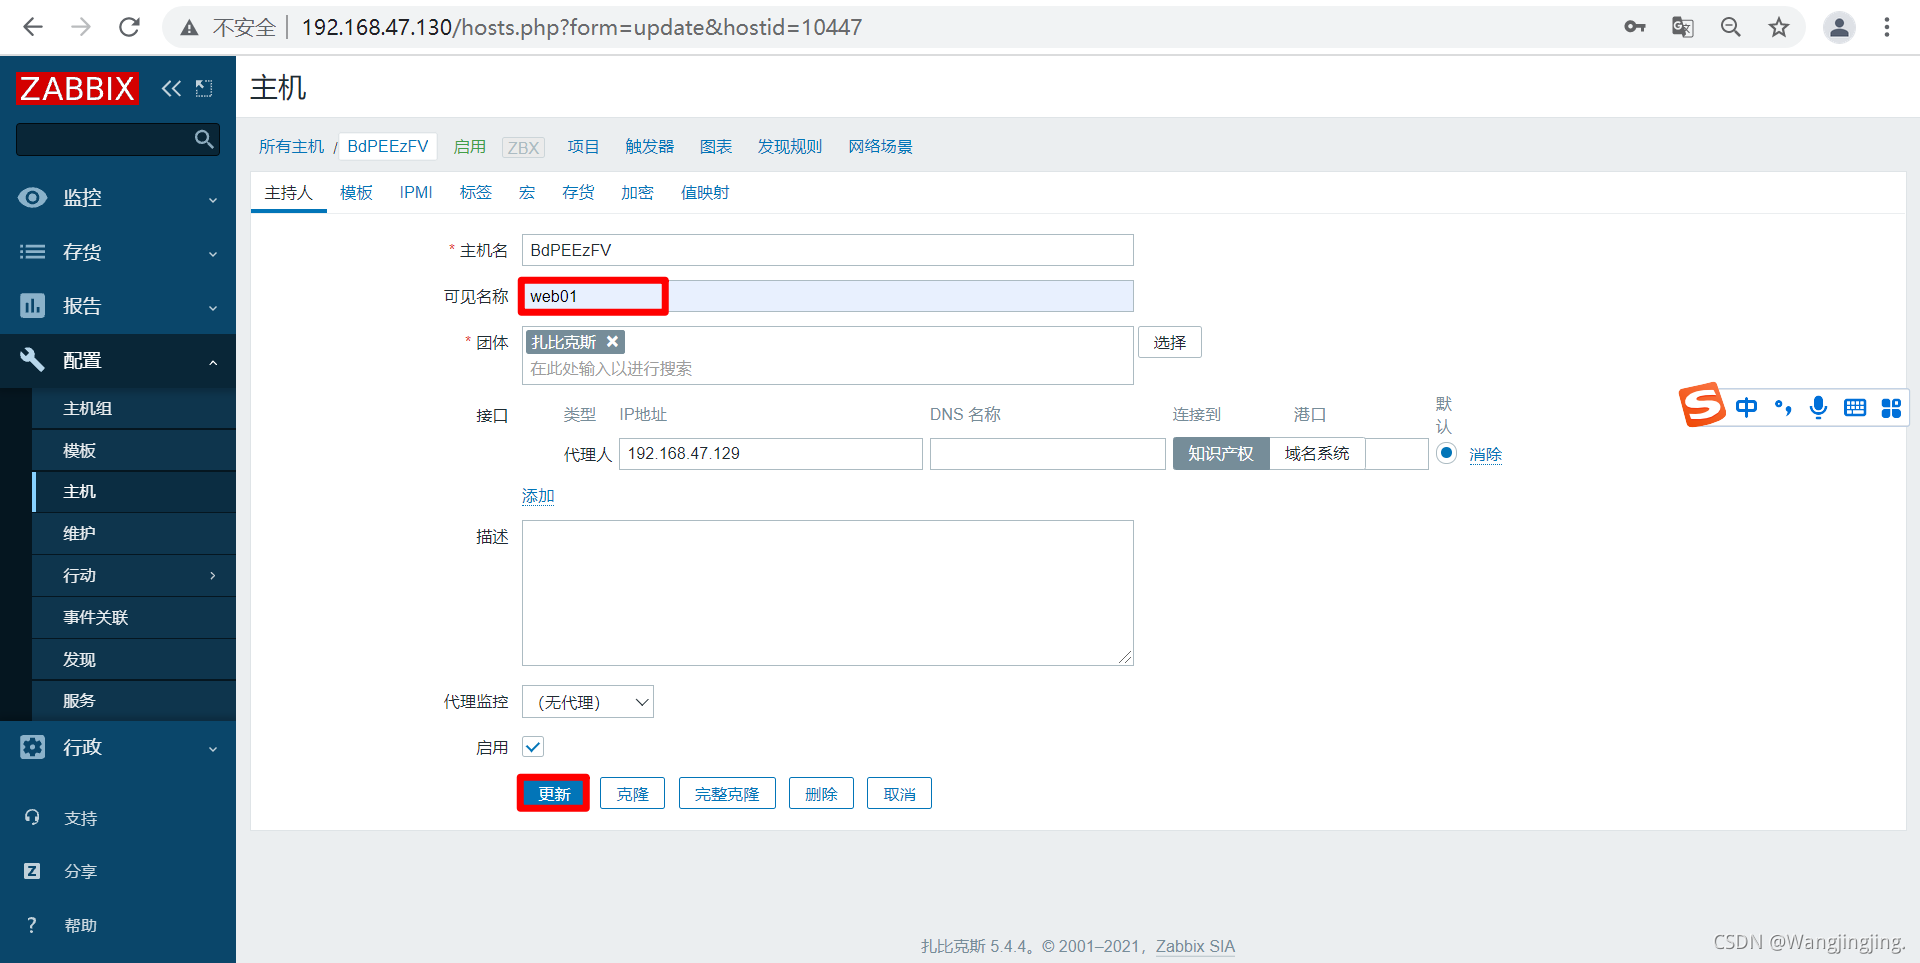
添加新主机
linux