内网穿透:10分钟学会用花生壳实现从外网访问内网的web项目
废话不多说了,能够搜到这篇文章的都应该知道什么是内网穿透,内网穿透有什么作用,内网穿透的方法
有哪些。有很多,非常多,收费的,不收费的等等。你要问我什么样的好,那肯定是收费的好,不收费的能用,限速很夸张。
但是,白嫖的最好用哈哈哈哈哈哈哈。
按照这篇博客实现外网访问内网web项目,你需要花六块,买花生壳一年的http服务(送98年哈哈哈哈哈)。
关于内网穿透csdn有很多博客,但是,菜鸡的我看不太懂,花了一个晚上才研究明白。所以,这篇博客旨在让你10分钟,学会http访问。
很久没写博客了,风格变得沙雕了,但是,依旧很细!10分钟计时开始:
一、下载并注册花生壳
官网地址:花生壳官网下载

下载后的文件,点击运行安装。


安装过程很简单,这里就不说了。
接着就是注册账号


注册会送你一个免费的壳域名,够用,当然你有钱要买一个也可以。。。
接着回到软件,登录

免费激活

二、下载Tomact,部署web项目
下载地址:Tomact官网下载

下载哪一个看你电脑了,不过现在一般都是64位的吧
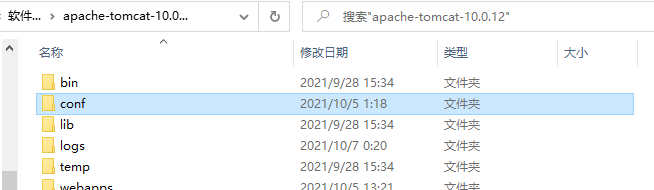
下载后解压

得到文件夹:

接下来就是在Tomact中部署web项目,方法有很多,这里说最简单的一种:
将你的web项目复制到上图webapps中,下图,红色框里就是我的项目了

在ROOT中复制WEB-INE到你的项目文件夹里


找到conf目录下的server.xml,选择一个编辑器打开

找到Host标签,在内部添加<Context docBase="wuliu1" path=""/>,wuliu1就是你的web项目的名称,保存更改

回到bin目录,点击startup.bat启动服务器。(shutdown.bat是关闭服务器)

项目部署完成。
三、内网穿透
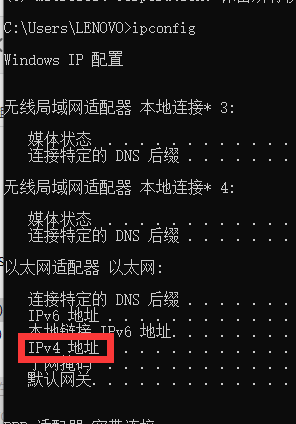
win+r打开命令窗口,输入ipconfig,回车,查看你电脑的IP地址,复制下来
打开花生壳软件,添加自定义映射


应用类型只能使用TCP和UDP,不能满足要求,在这里我们就要购买http服务。花6块钱,买一年送98年

接下来配置映射,选择HTTP,外网域名会自动给你填上,选择动态端口,内网主机就是你的IP地址,内网端口选择8080(tomact默认8080),点击保存

打开映射,连接成功!
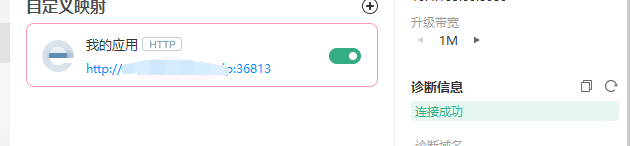

现在,别人就可以通过访问地址再浏览器访问你的web项目了,瞬间让你那没有style的div变得高大上。
正所谓,内网穿透,外网装逼!
看了下表,9分59秒,很稳!