如何在服务器上搭建jupyter notebook
文章目录
1. 准备一台Linux云服务器
2. 新建一个用户
我习惯是不在root用户下运行 jupyter notebook 服务,
建议新建一个用户来运行服务:
adduser jupyter
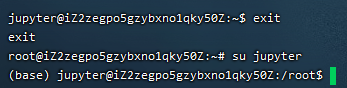
然后切换到此用户
su jupyter
3. 安装 Anaconda
下载Anaconda最新安装程序 https://www.anaconda.com/products/individual#Downloads
wget https://repo.anaconda.com/archive/Anaconda3-2021.05-Linux-x86_64.sh
运行安装程序:
sh Anaconda3-2021.05-Linux-x86_64.sh
安装过程中敲回车和输入yes同意许可即可
安装完成重新登录即可
4. 搭建 Jupyter Notebook 环境
- 安装jupyter包
conda install jupyter
- 生成默认配置文件
jupyter notebook --generate-config
- 随后我们往配置文件写入一些内容
# 设置可以访问的ip, 默认是localhost, 将其改为 '*'
c.NotebookApp.ip = '*'

# 笔记本的默认打开目录, 自己设置
c.NotebookApp.notebook_dir = '/home/jupyter/documents/jupyter_notebook'

# 笔记本启动后是否打开浏览器, 设为 False即可
c.NotebookApp.open_browser = False

# 默认访问端口, 可自己修改
c.NotebookApp.port = 8888

# jupyterlab是否显示quit按钮,我设为false以免自己不小心按到把服务停了
c.NotebookApp.quit_button = False

# 如果使用root用户运行,将下列值改为True即可, 运行时也可加参数将其改为True
c.NotebookApp.allow_root = False
- 修改好配置文件之后, 运行如下命令启动笔记本
jupyter notebook
- 第一次运行会给出带token的链接, 复制到浏览器中打开, 点击登出
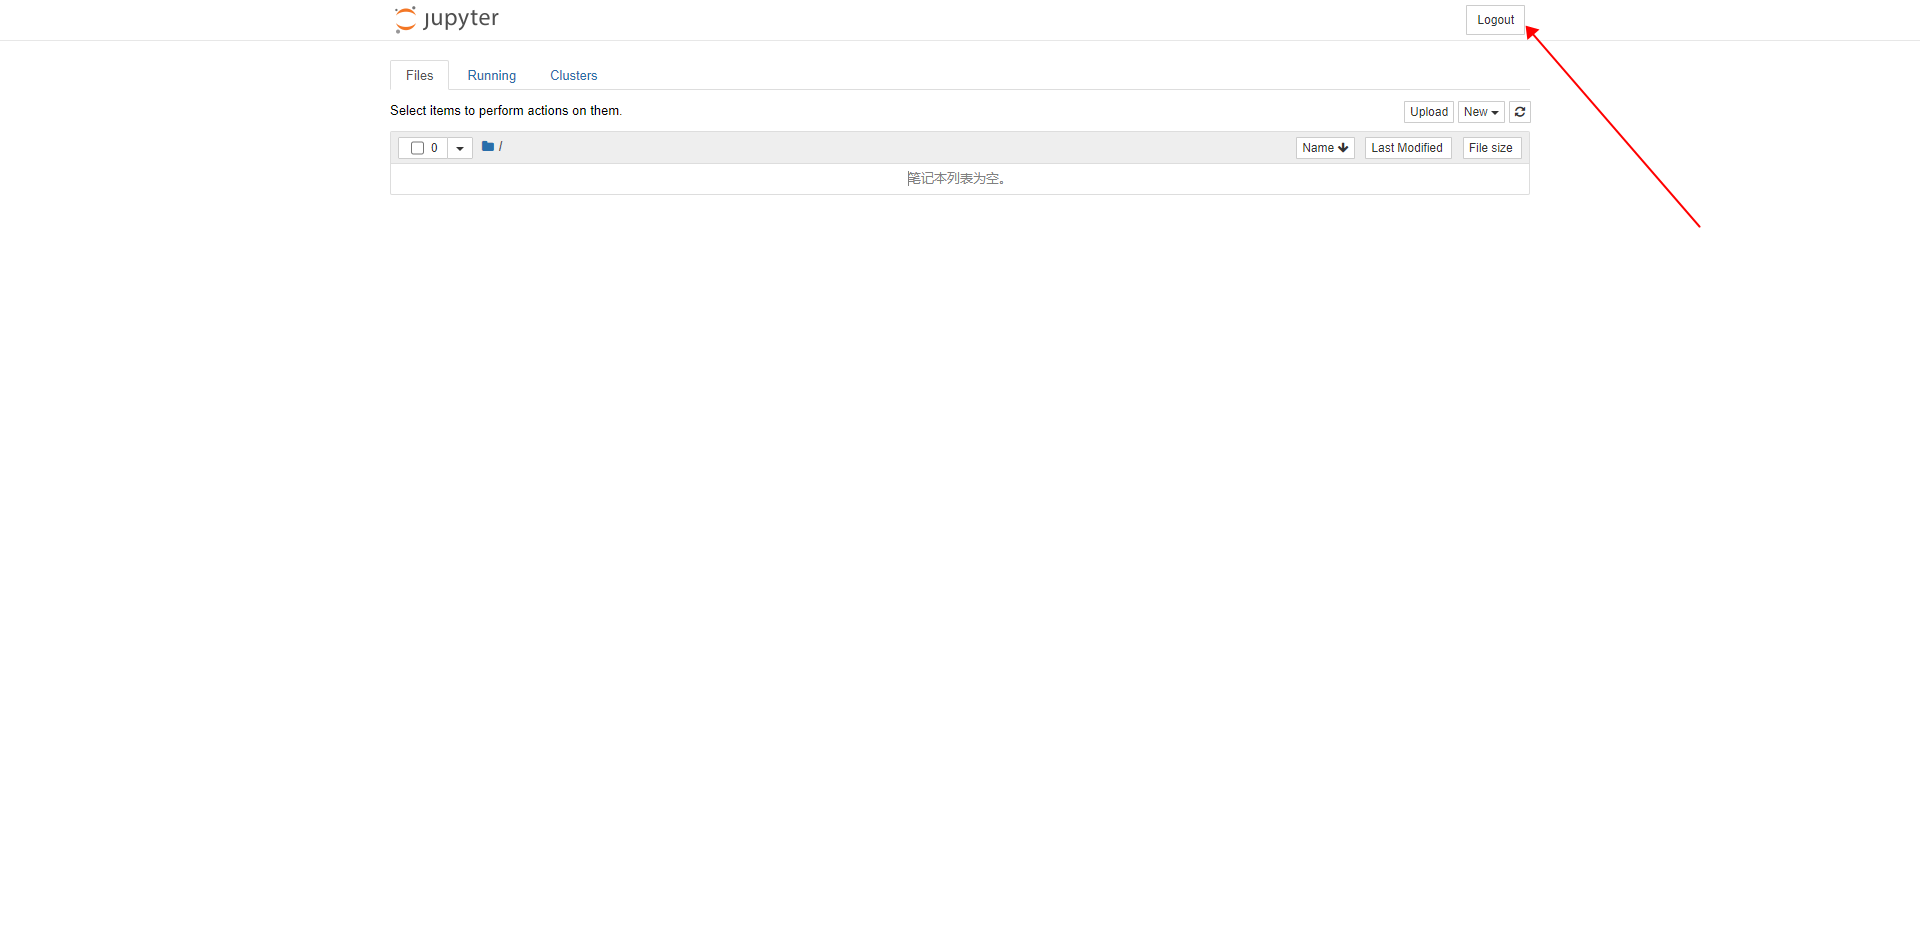
-
随后进入login界面, 输入刚刚链接中的 token值和新密码即可修改密码:
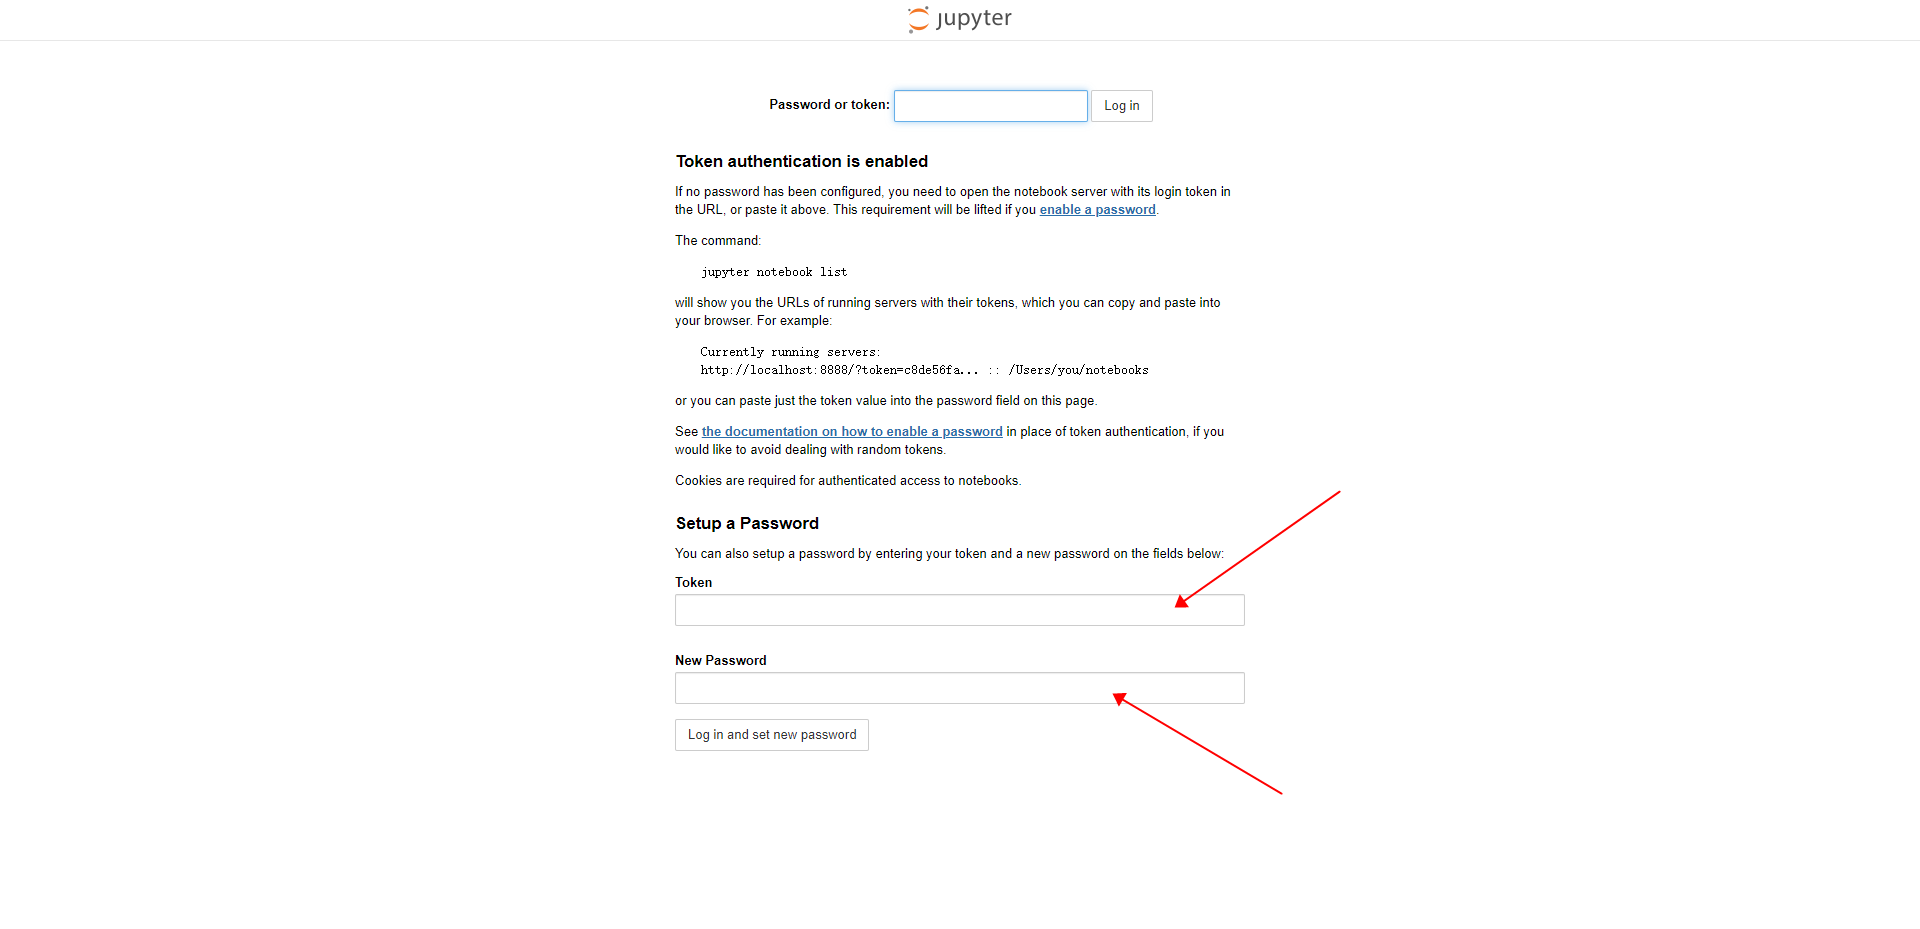
-
设置好密码之后我们重启jupyter服务, 再次进入,发现就能用我们刚刚设置的密码登录了

- 随便上传一个笔记本试试

- 发现已经ok了
5. 让 jupyter 在服务器上持久运行
- 发现断开 SSH 连接之后, jupyter服务就会停止运行,我们利用
screen命令让jupyter服务一直运行
screen -S notebook
- 然后启动jupyter服务
jupyter notebook
- 随后按
Ctrl + A + D将服务挂到后台即可
6. End
本次教程简单记录而已, 如有帮助,本人不胜感激.
如有错误或不当之处, 请在下方评论, 我看到将对其进行修改和改进