文章目录
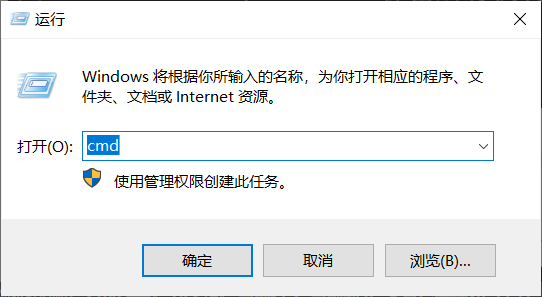
在window下按win+R,输入cmd进入命令窗口模式
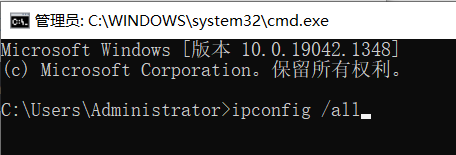
1.输入查看IP地址命令
ipconfig /all
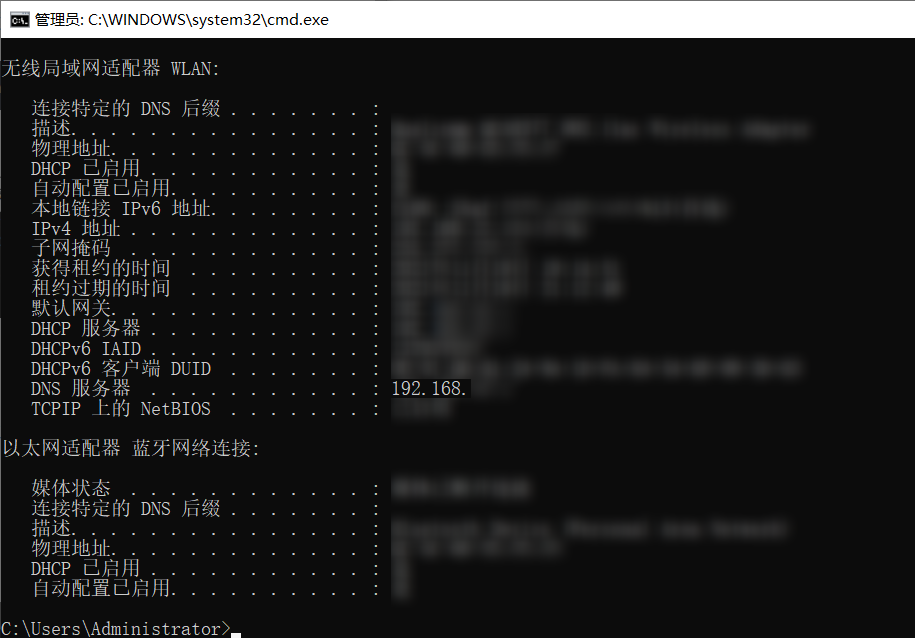
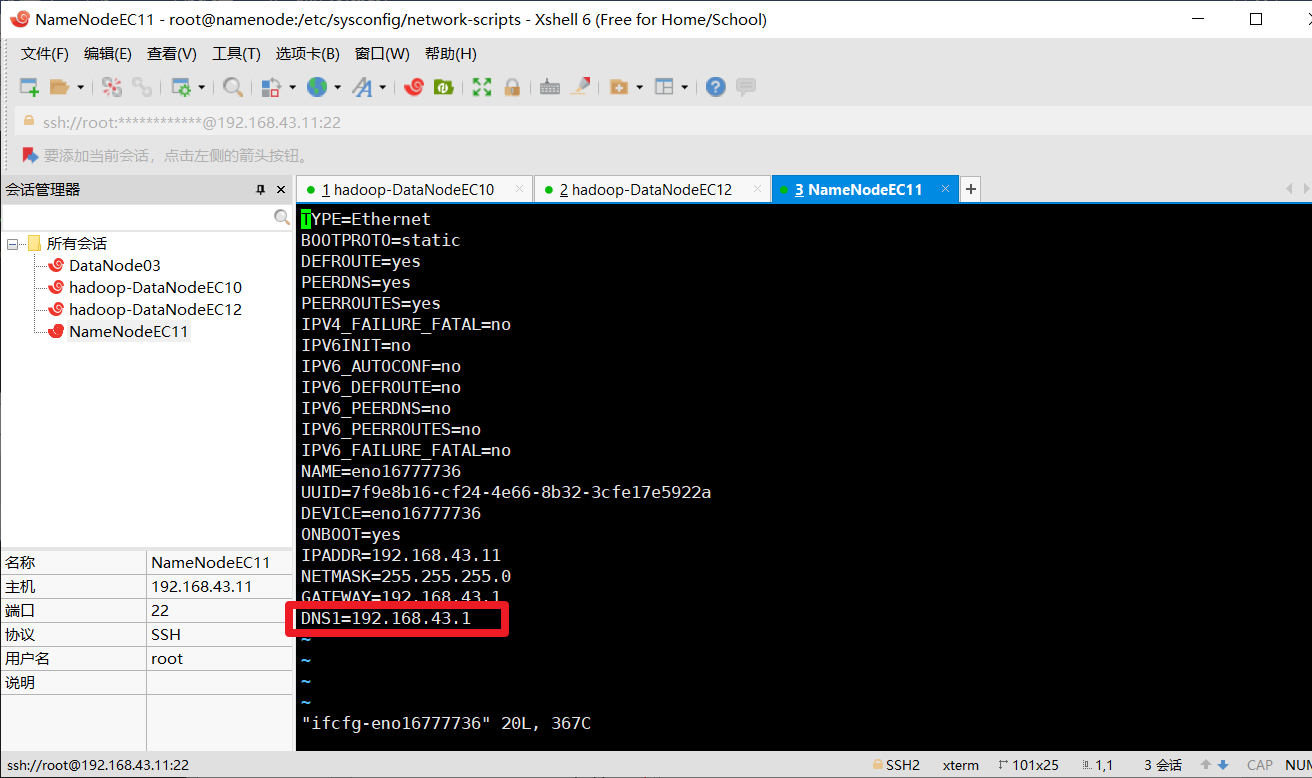
2.配置DNS

3.增加网络dns1
(有些电脑是有DNS1和DNS2的,要同时打进去)
4.安装依赖
yum search libaio # 检索相关信息
yum install libaio # 安装依赖包

5.检查 MySQL 是否已安装
yum list installed | grep mysql
如果有,就先全部卸载,命令如下:
yum -y remove mysql-libs.x86_64
6.下载 MySQL Yum Repository(yum仓库)
地址为 http://dev.mysql.com/get/mysql-community-release-el7-5.noarch.rpm
7.执行下载
wget http://dev.mysql.com/get/mysql-community-release-el7-5.noarch.rpm
如果提示-bash: wget: 未找到命令,请先执行 yum install wget 安装 wget
安装
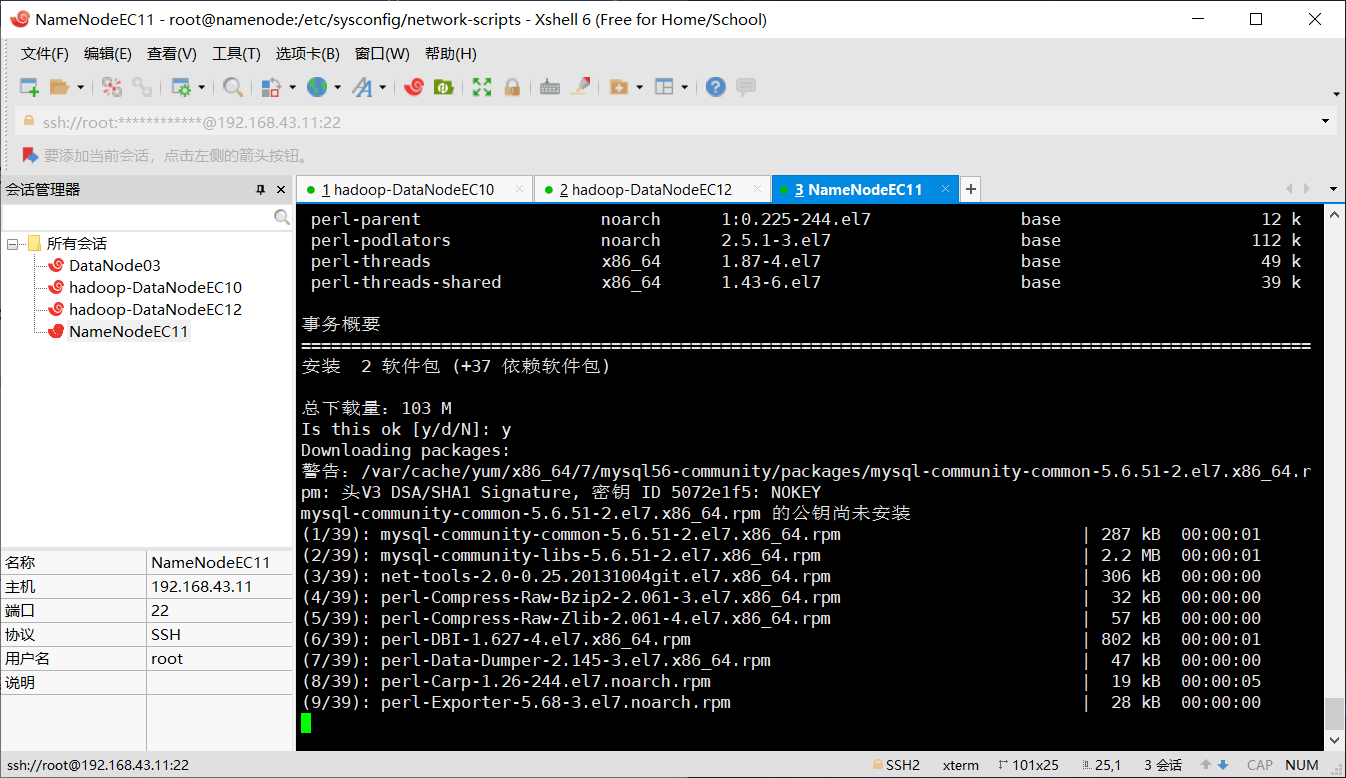
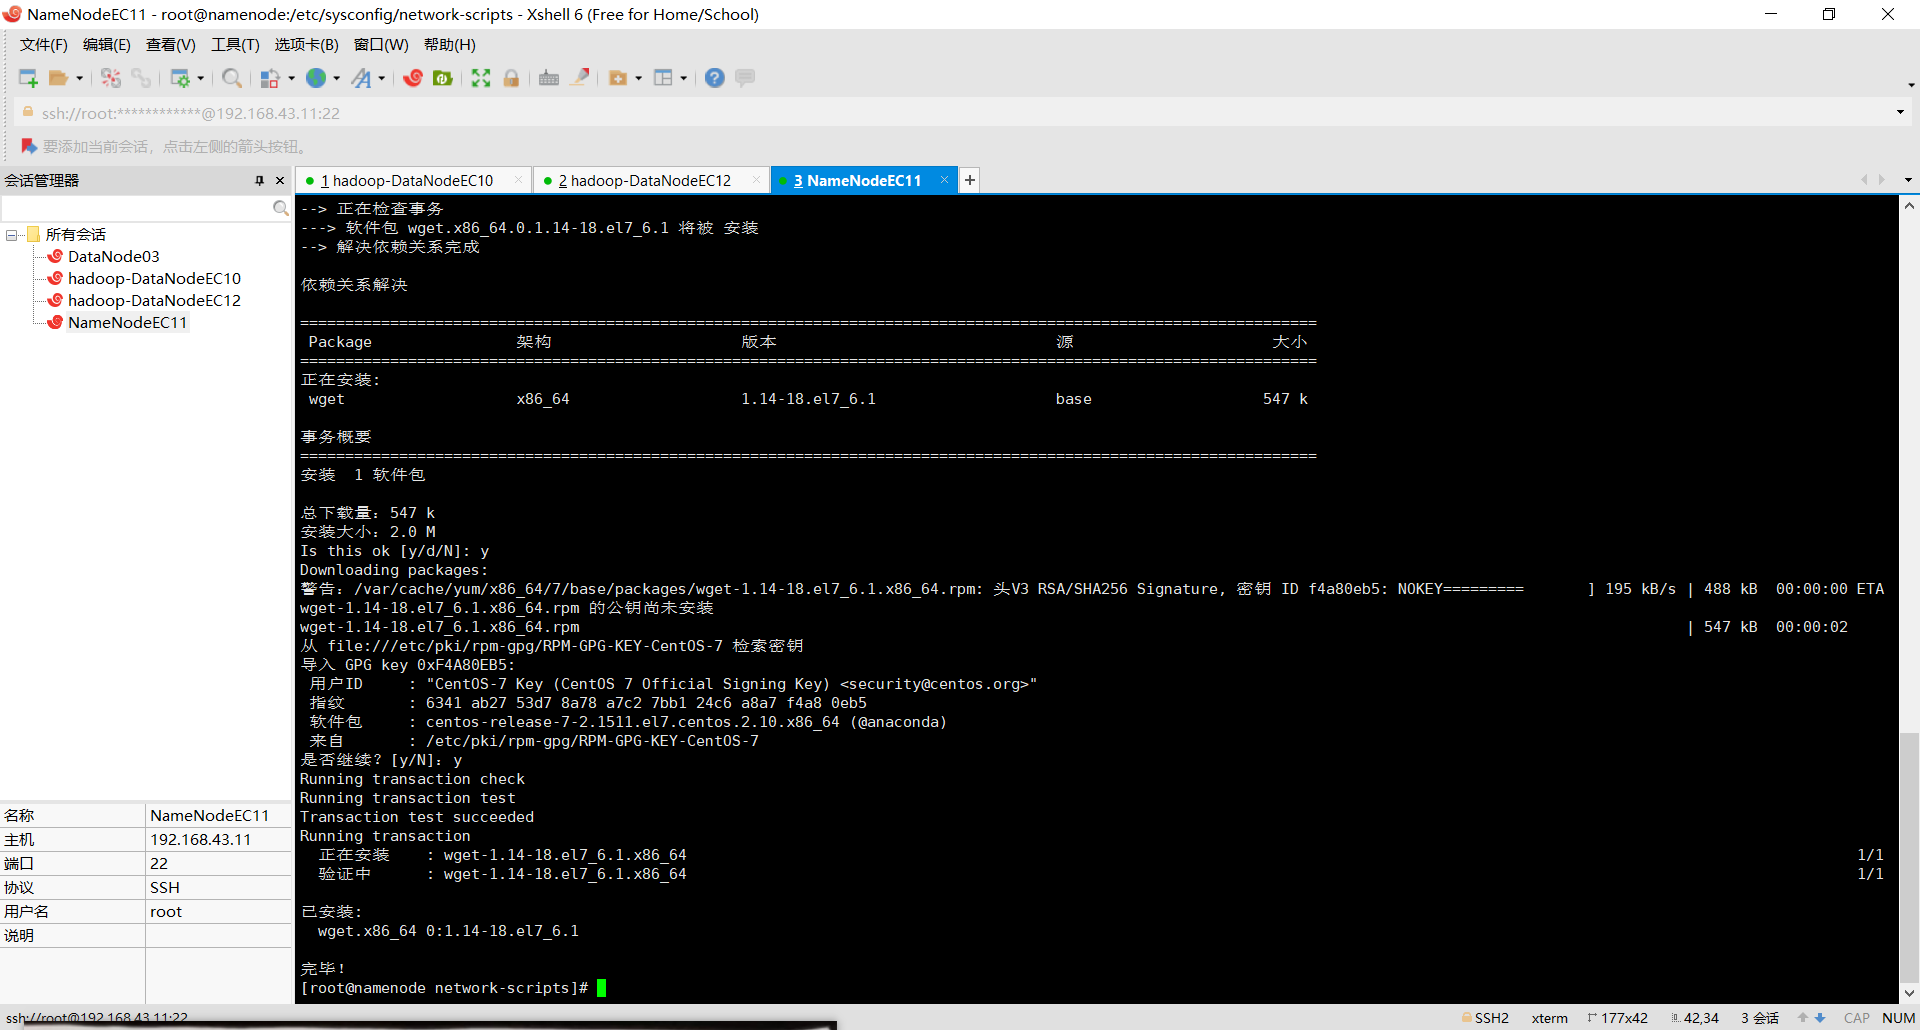
8.如果没有wget下载对应的安装包
wget —>
yum -y install wget
9.添加 MySQL Yum Repository
添加 MySQL Yum Repository 到你的系统 repository 列表中,执行
yum localinstall mysql-community-release-el7-5.noarch.rpm
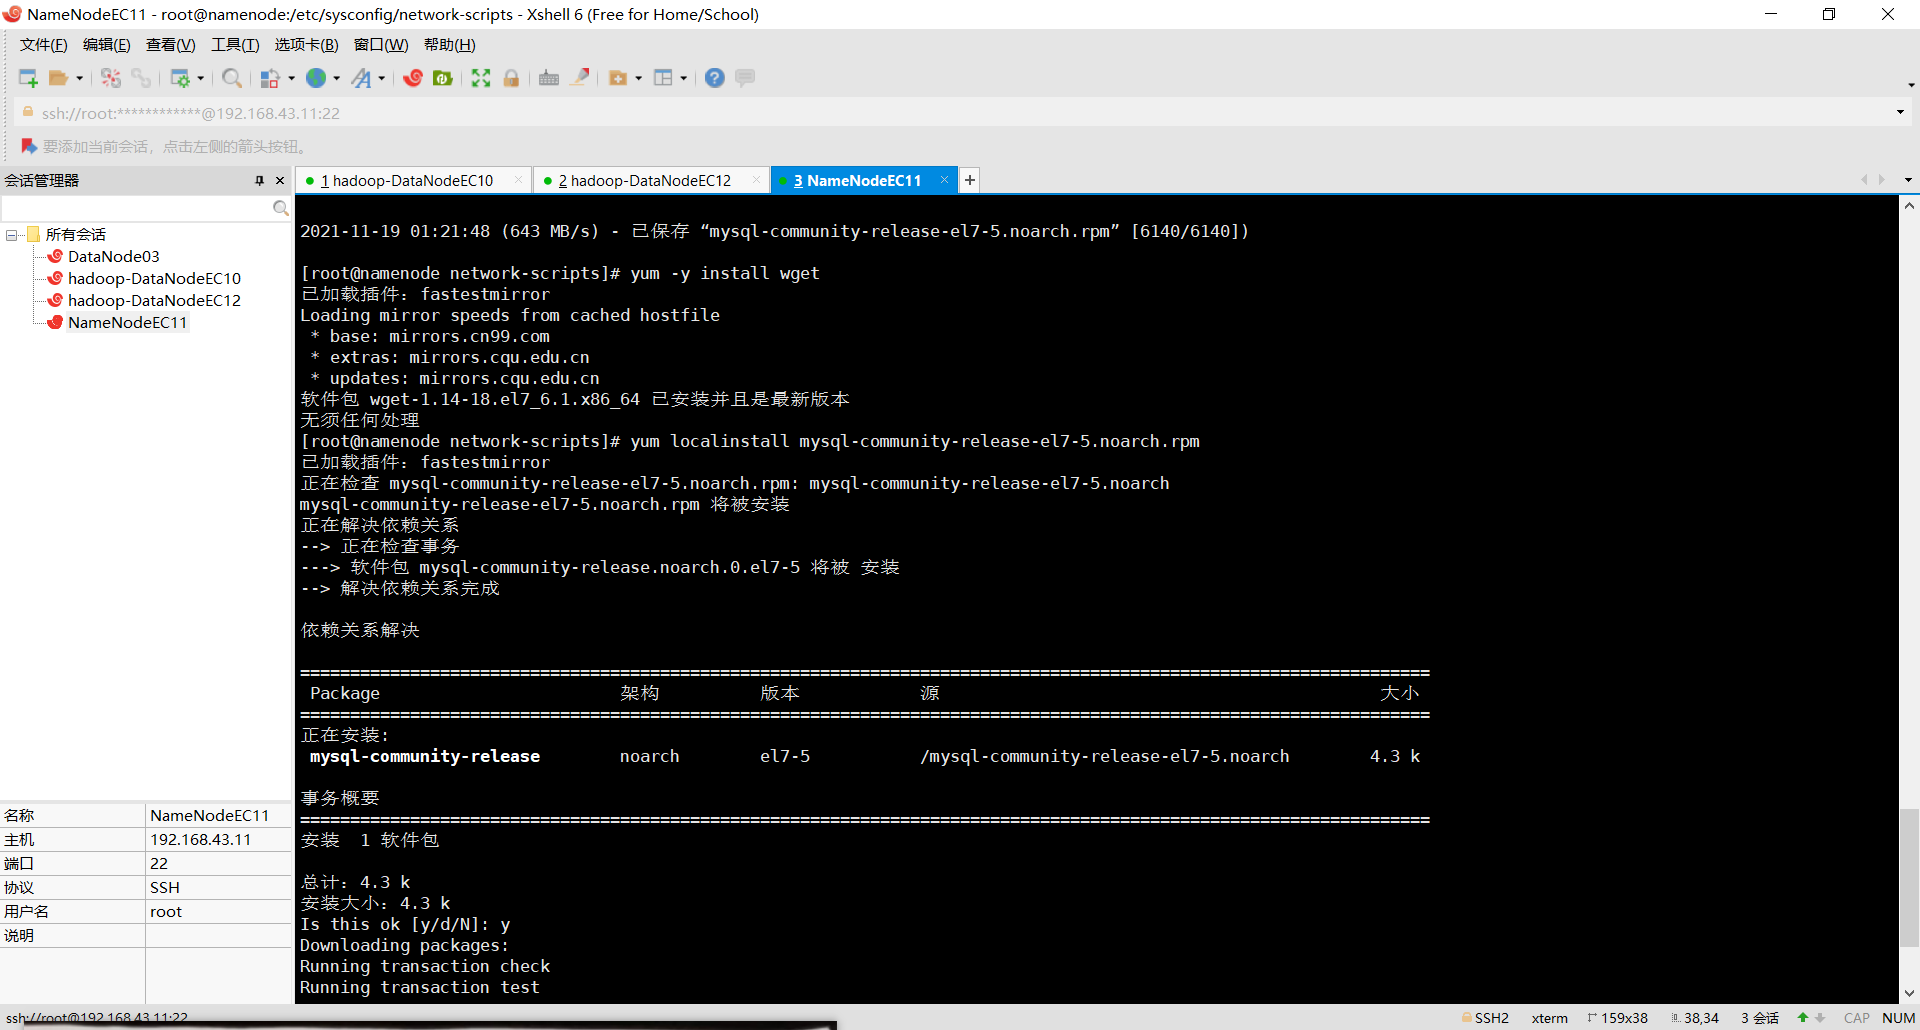
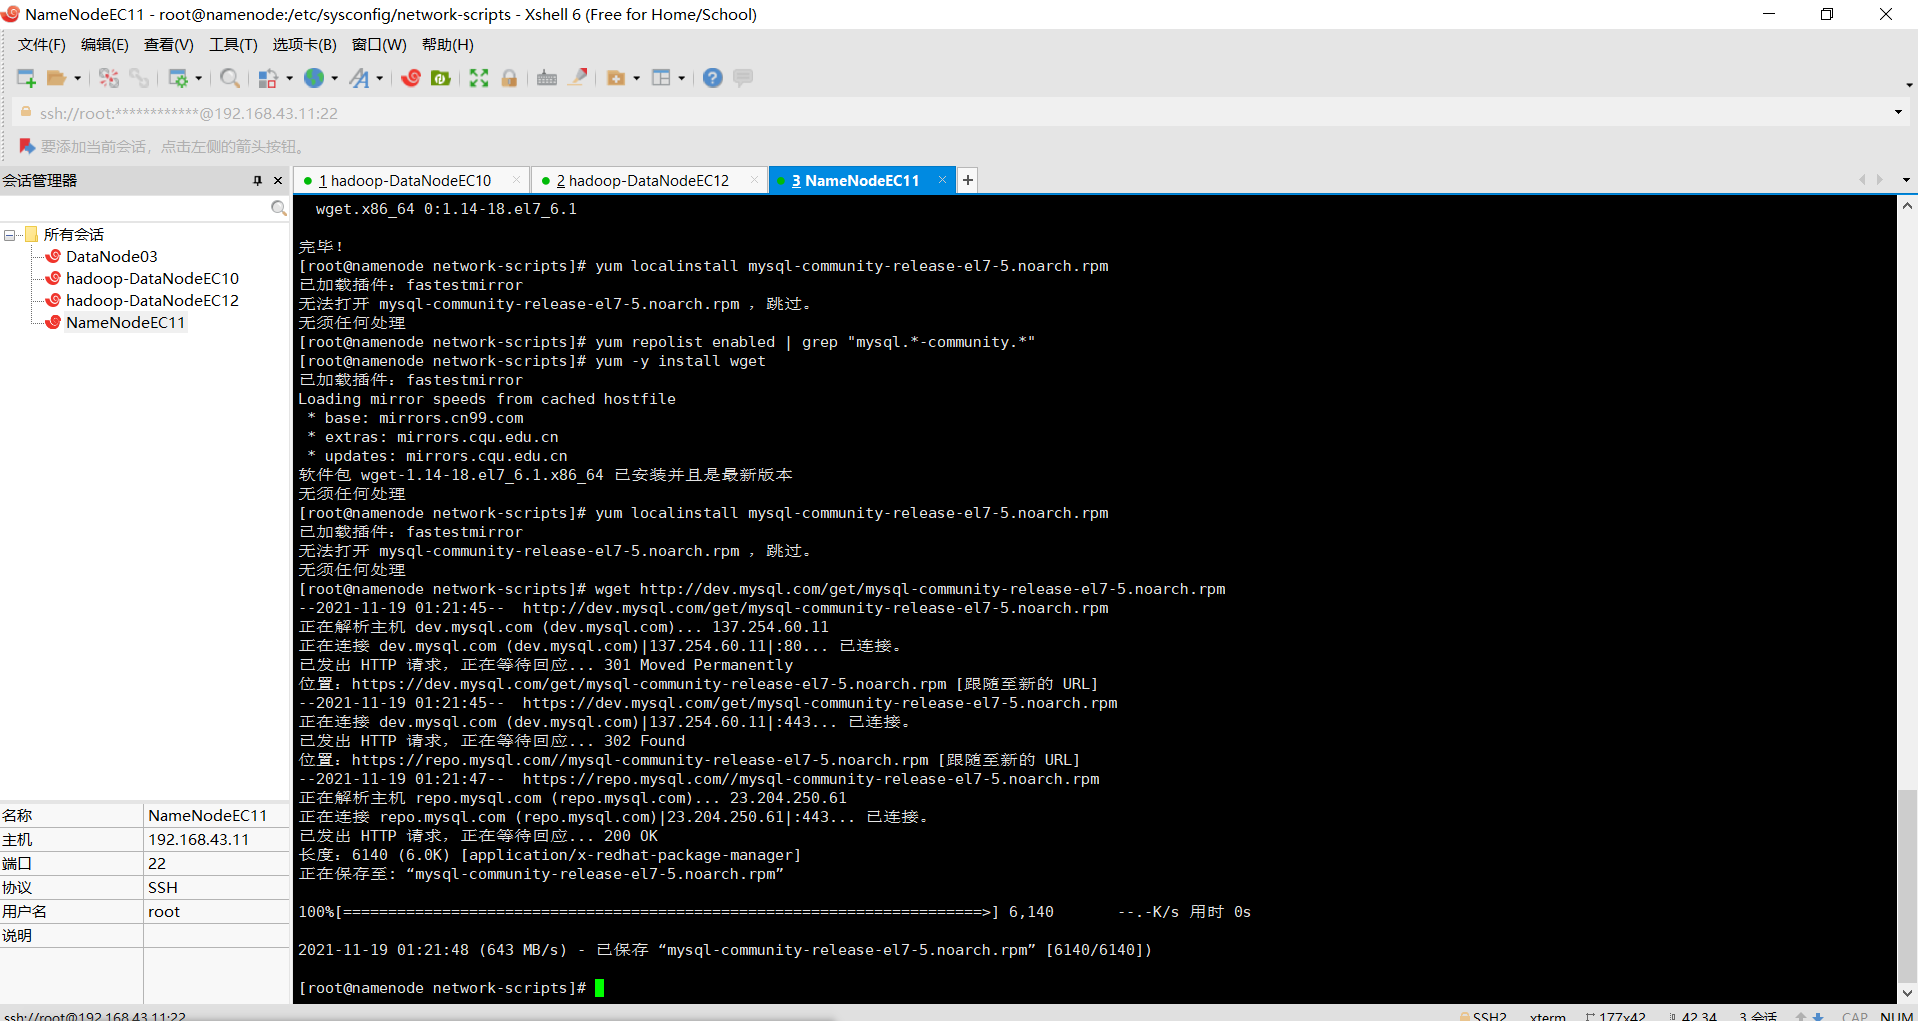
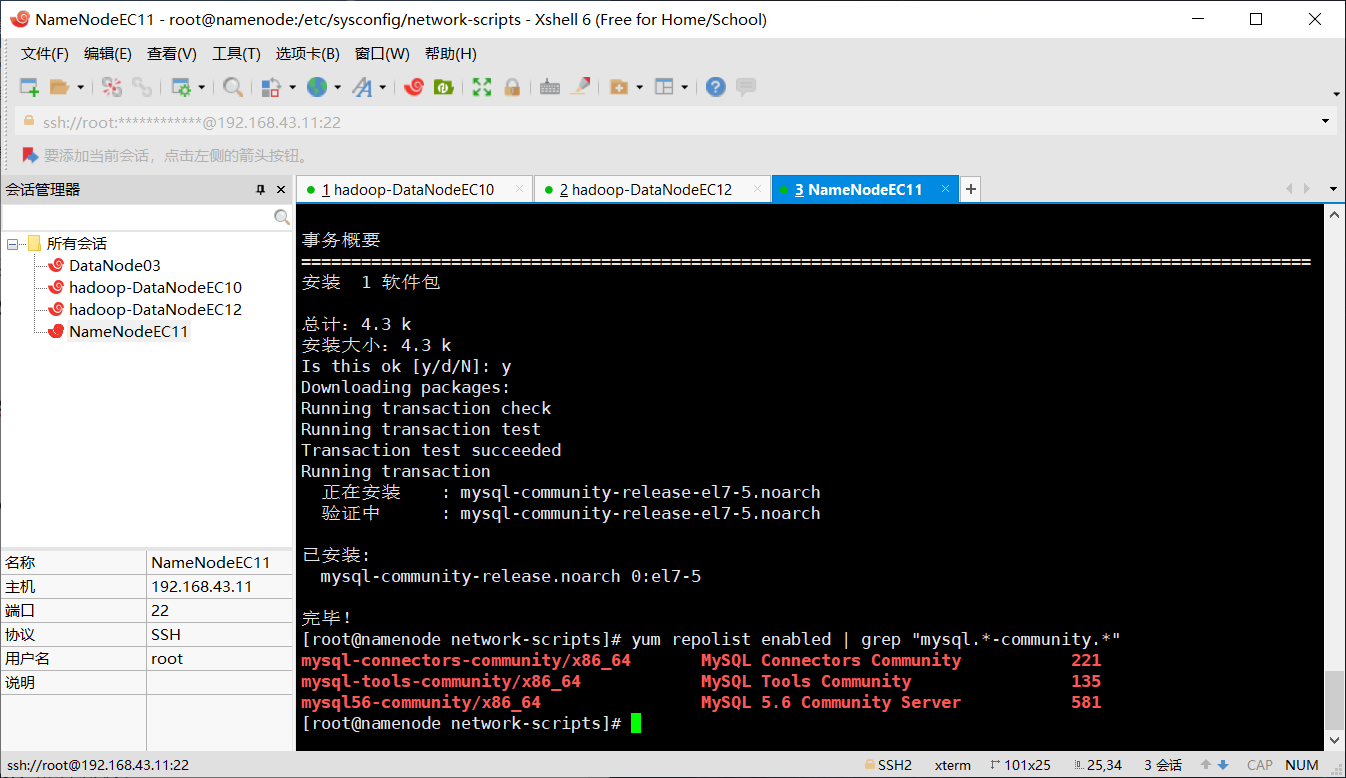
10.验证下是否添加成功
yum repolist enabled | grep “mysql.-community.”
11.开始yum安装mysql
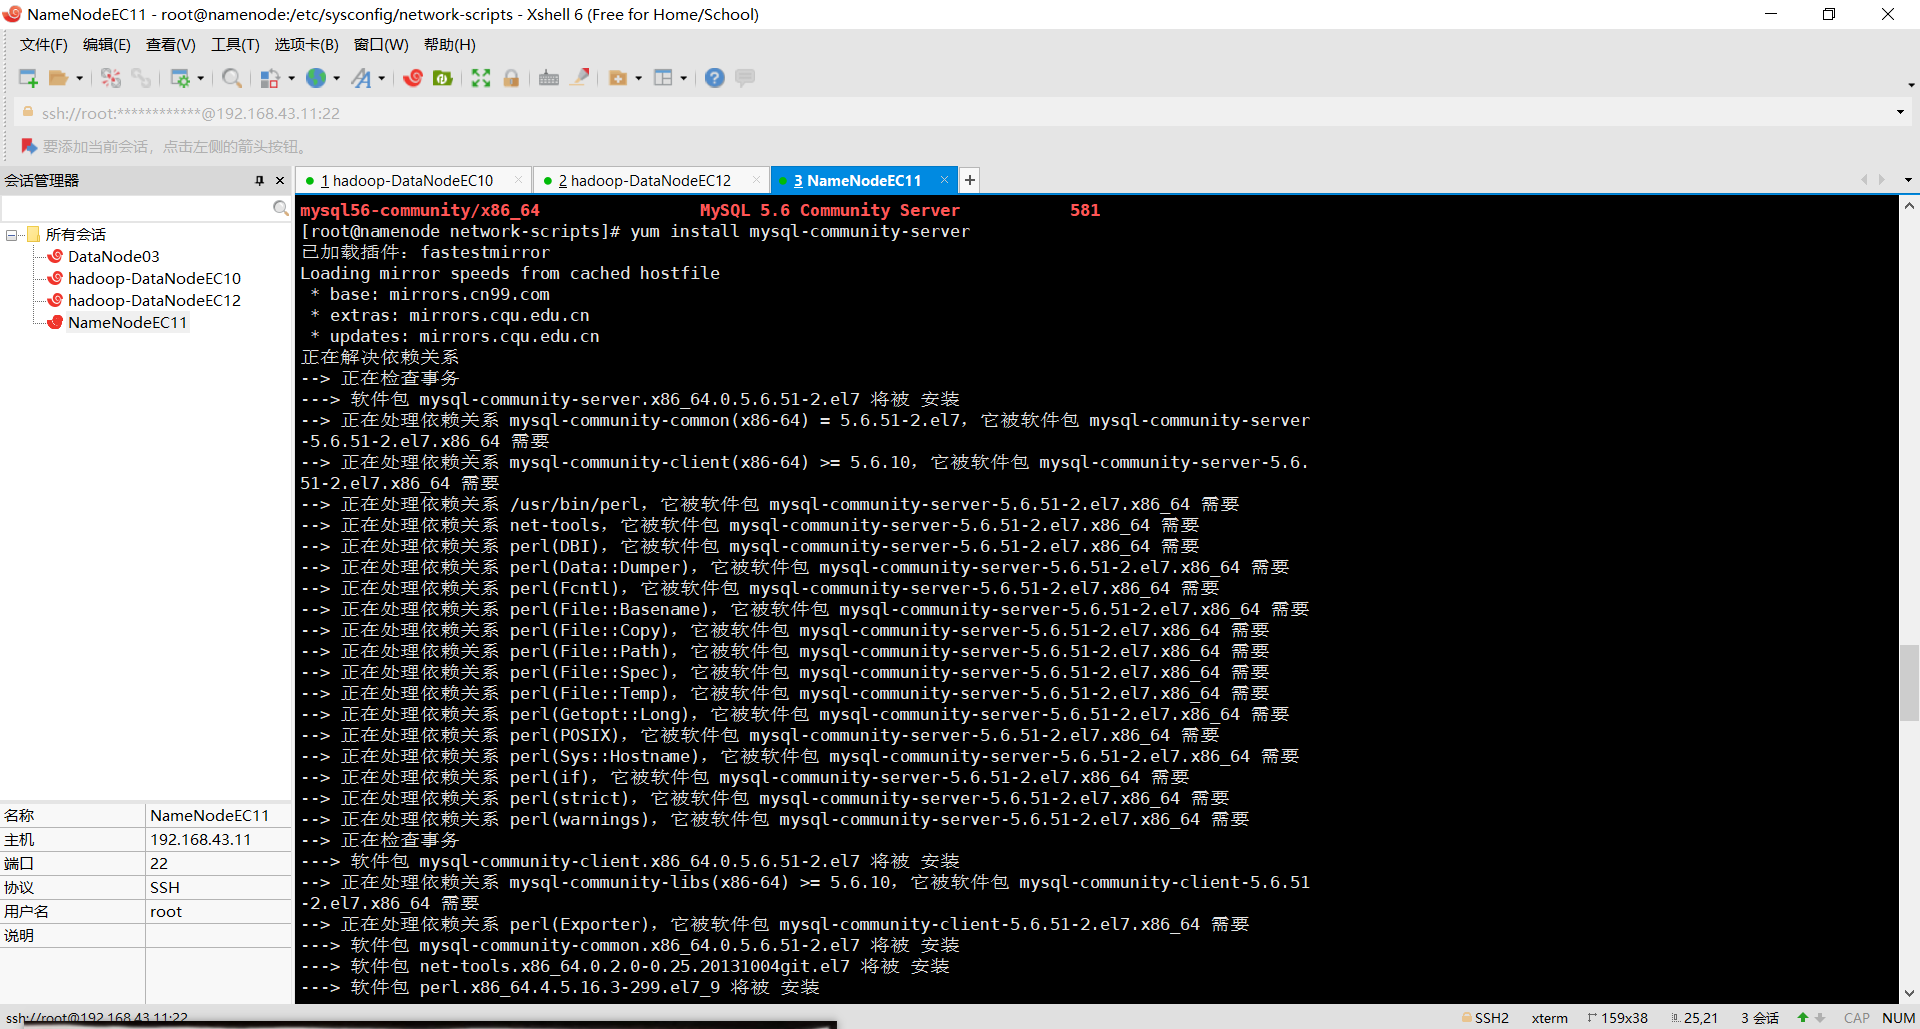
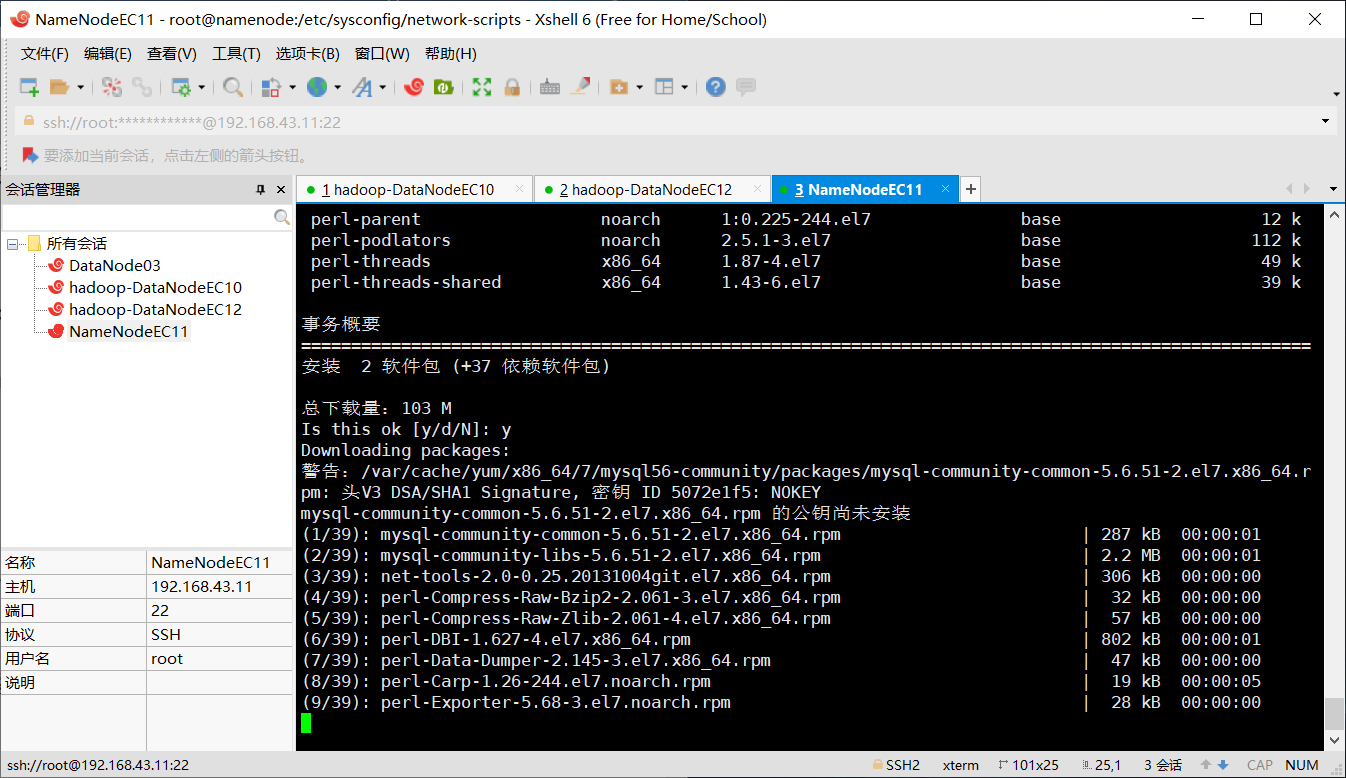
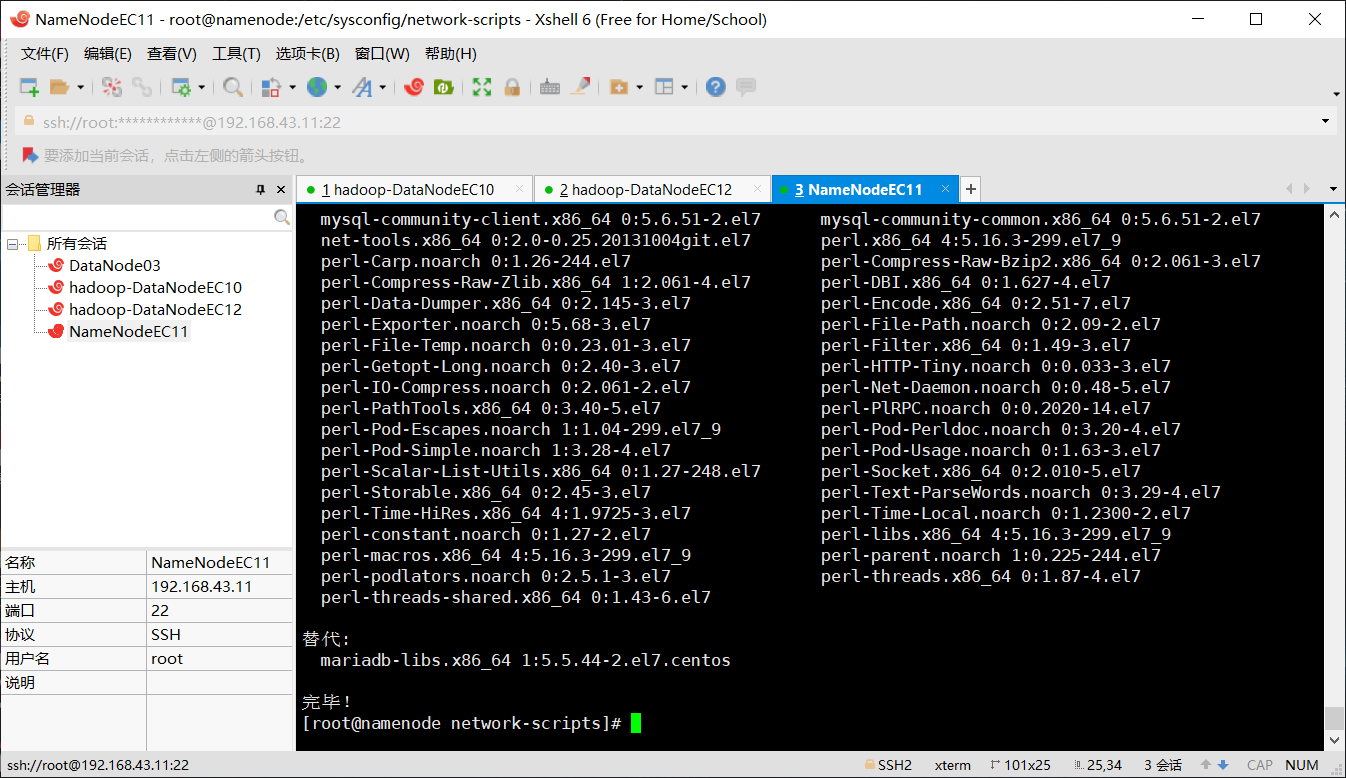
yum install mysql-community-server
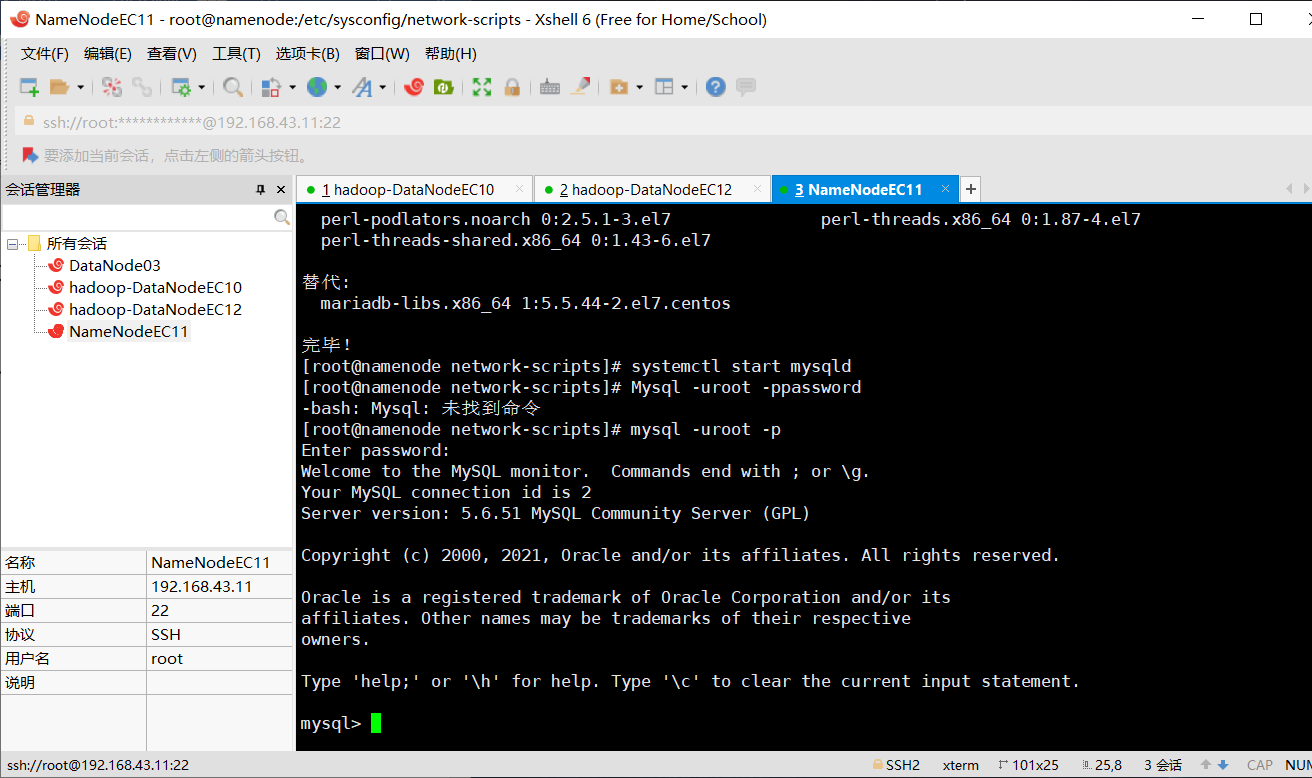
12.开启
systemctl start mysqld
systemctl mysqld 查看状态
13.验证 mysql
mysql –uroot –p
password
14.创建需要的数据库
在mysql上创建db01数据库,并对db01进行授权
create database if not exists db01;
grant all privileges on db01.* to 'user01'@'%' identified by '123456';
grant all privileges on db01.* to 'user01'@'localhost' identified by '123456';
flush privileges;
use db01;