centos7腾讯服务器安装记
首先打开官网中的下载网页
downloads页面
找到你需要的安装包,我这里选择的是boost_1_78_0.tar.gz的链接,右键打开就可以看到有个复制链接的选项。然后在我的服务器中输入获取压缩包命令
wget https://boostorg.jfrog.io/artifactory/main/release/1.78.0/source/boost_1_78_0.tar.gz
下载好了以后,你可以在当前目录看到boost_1_78_0.tar.gz的压缩包,解压后,进行编译安装吧。
进入安装目录,输入以下命令:
./bootstrap.sh; ./b2 --buildtype=complete install
得到以下结果
Building B2 engine..

Could not find a suitable toolset.

You can specify the toolset as the argument, i.e.:
    ./build.sh [options] gcc

Toolsets supported by this script are:
    acc, clang, como, gcc, intel-darwin, intel-linux, kcc, kylix, mipspro,
    pathscale, pgi, qcc, sun, sunpro, tru64cxx, vacpp

For any toolset you can override the path to the compiler with the '--cxx'
option. You can also use additional flags for the compiler with the
'--cxxflags' option.

A special toolset; cxx, is available which is used as a fallback when a more
specific toolset is not found and the cxx command is detected. The 'cxx'
toolset will use the '--cxx' and '--cxxflags' options, if present.

Options:
    --help                  Show this help message.
    --verbose               Show messages about what this script is doing.
    --debug                 Build b2 with debug information, and no
                            optimizations.
    --guess-toolset         Print the toolset we can detect for building.
    --cxx=CXX               The compiler exec to use instead of the detected
                            compiler exec.
    --cxxflags=CXXFLAGS     The compiler flags to use in addition to the
                            flags for the detected compiler.


Failed to build B2 build engine
百度得到的结果是当前的gcc版本不对,然后检查一下,当前版本为4.8.5,的确不对应,一般应该是gcc7版本,然后切换一下gcc版本,使用centos的scl来进行切换
yum install centos-release-scl
yum install scl-utils
yum install devtoolset-7-toolchain#安装gcc7版本
安装好了以后查看一下
[root@VM-0-17-centos boost_1_78_0]# scl --list
devtoolset-7
[root@VM-0-17-centos boost_1_78_0]# scl enable devtoolset-7 bash
[root@VM-0-17-centos boost_1_78_0]# gcc -v
gcc version 7.3.1 20180303 (Red Hat 7.3.1-5) (GCC)
的确切换到了gcc7版本,重新跑一下看看
[root@VM-0-17-centos boost_1_78_0]# ./bootstrap.sh
Building B2 engine..

###
###
### Using 'cxx' toolset.
###
###

cpp (GCC) 7.3.1 20180303 (Red Hat 7.3.1-5)
Copyright (C) 2017 Free Software Foundation, Inc.
This is free software; see the source for copying conditions.  There is NO
warranty; not even for MERCHANTABILITY or FITNESS FOR A PARTICULAR PURPOSE.


###
###

> cpp -DNDEBUG builtins.cpp class.cpp command.cpp compile.cpp constants.cpp cwd.cpp debug.cpp debugger.cpp execcmd.cpp execnt.cpp execunix.cpp filesys.cpp filent.cpp fileunix.cpp frames.cpp function.cpp glob.cpp hash.cpp hcache.cpp hdrmacro.cpp headers.cpp jam_strings.cpp jam.cpp jamgram.cpp lists.cpp make.cpp make1.cpp md5.cpp mem.cpp modules.cpp native.cpp object.cpp option.cpp output.cpp parse.cpp pathnt.cpp pathsys.cpp pathunix.cpp regexp.cpp rules.cpp scan.cpp search.cpp startup.cpp subst.cpp sysinfo.cpp timestamp.cpp variable.cpp w32_getreg.cpp modules/order.cpp modules/path.cpp modules/property-set.cpp modules/regex.cpp modules/sequence.cpp modules/set.cpp -o b2
cpp: fatal error: too many input files
compilation terminated.
> cp b2 bjam
cp: cannot stat ‘b2’: No such file or directory

Failed to build B2 build engine
嗯,不出所料,还是失败,没有编译成功b2解释器,最后还是没能解决问题,准备在win11的WSL2中试验centos7安装boost来比对一下。
win11的centos7子系统安装
之前在开启WSL2服务的时候就在电脑里面搜索过centos系统,结果商店不支持,都是付费的,所以只能通过LxRunOffline来运行魔改版的centos了。
首先,LxRunOffline是一个WSL的第三方工具,是我国大牛开发的用来弥补WSL的不足的,主要可以实现任何Linux发行版的WSL形式,是个强大的管理工具,但使用起来却很简单,我们用得上的也就两个文件:LxRunOffline.exe和LxRunOfflineShellExt.dll
进入github中的下载链接(可能很多新学者不习惯逛github,但这个强大的代码托管平台真的很适合你来熟悉),进去之后直接下载压缩包即可,我选择的是LxRunOffline-v3.5.0-msvc.zip,3.5版本的。

下载好了以后解压缩,然后得到这两个文件:LxRunOfflineShellExt.dll和LxRunOffline.exe,将他们放置到C:\Windows\System32下,然后在这个文件夹下用管理员身份打开cmd终端输入以下命令完成功能注册。
regsvr32 LxRunOfflineShellExt.dll
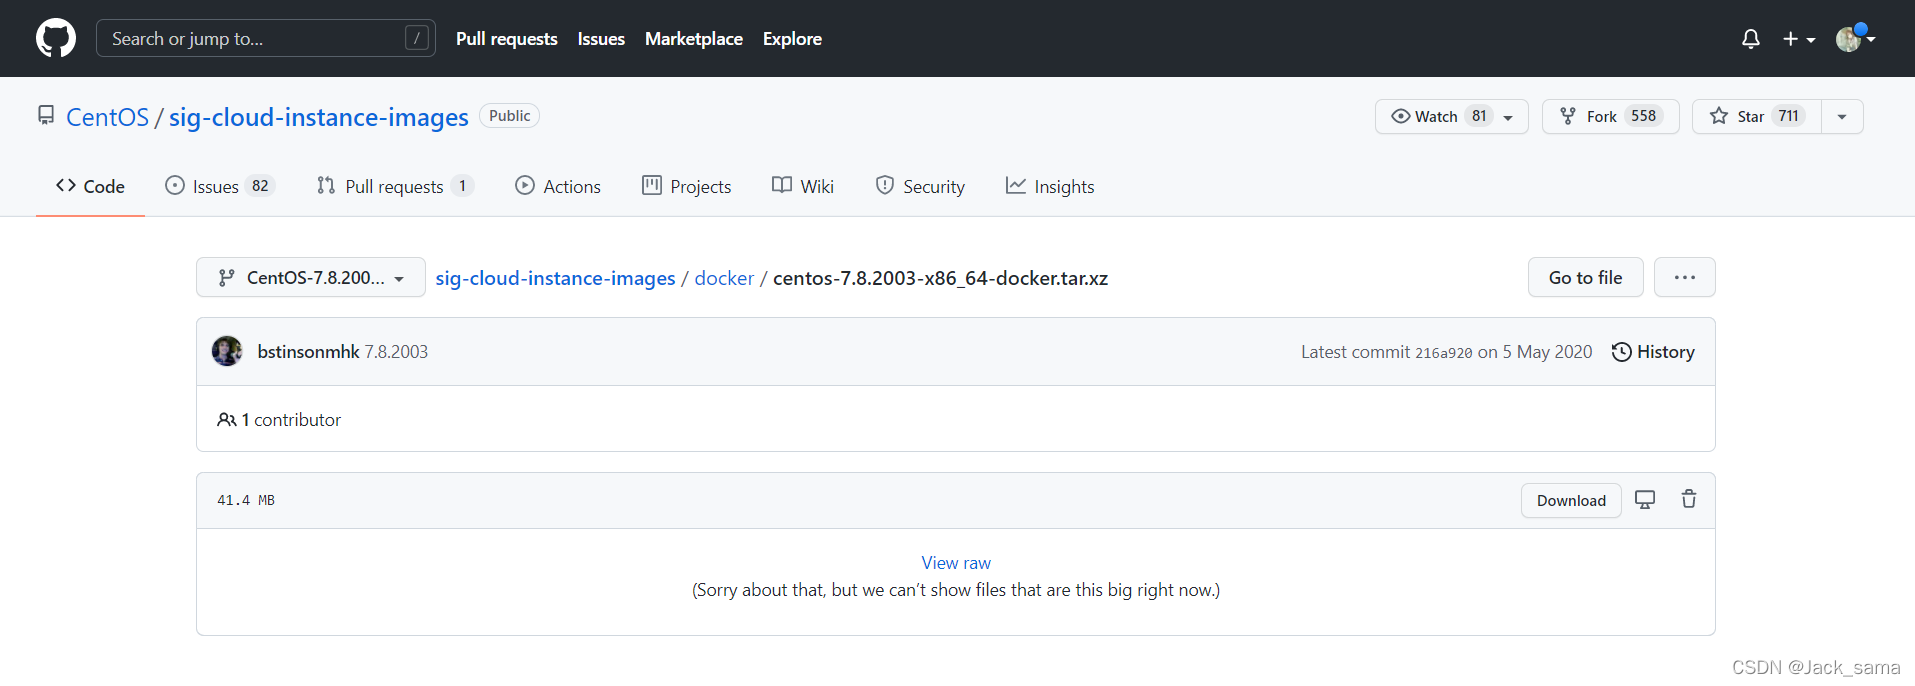
现在到这里,LxRunOffline就安装好了,现在我们还需要centos7的魔改版镜像,也很容易找到,就在LxRunOffline的gitbub项目下的centos分支中
centos7.8镜像
(点击界面中的download来下载镜像,大家应该都知道的)

下载好以后需要存放在一个全英文路径下(看教程这么说的,但我也没试过放中文路径咋样,类似的情况倒是在其他软件安装使用时试过),然后使用LxRunOffline的install命令,如下:
PS E:\document> LxRunOffline install -n CentOS -f E:\document\centos-7.8.2003-x86_64-docker.tar.xz -d E:\linux\centos7.8
[WARNING] Love this tool? Would you like to make a donation: https://github.com/DDoSolitary/LxRunOffline/blob/master/README.md#donation
上面-f参数就是表明我的centos7.8镜像位置,-d就是我的centos7的wsl形式安装路径,install完毕以后在这个路径下就能看到安装好的目录列表,毕竟‘linux一切皆文件’(鸟哥说的)。

然后我们可以用LxRunOffline检查一下当前安装过的linux版本,Ubuntu和Debian都是我通过电脑的软件商店安装的,然后Centos是新加的,可以看到在这里有显示了,另外还需要新增一个桌面快捷方式,后面的命令就是做这个作业的。
PS E:\document> LxRunOffline l
Ubuntu
Debian
CentOS
PS E:\document> LxRunOffline s -n CentOS -f C:\Users\samu\Desktop\CentOS7.8.lnk
也可以通过wsl -d centos的命令在cmd终端进行系统切换,效果如下:
PS C:\Users\samu\Desktop> wsl -d centos
[root@DESKTOP-SJO8SMG Desktop]# cat /etc/centos-release
CentOS Linux release 7.8.2003 (Core)
可通过exit方式退出centos,而桌面快捷方式打开是这样的

要注意的是,这个时候的centos系统应该是按照最小安装进行的,所以很多命令你在使用的时候会出现-bash: command not found的情况。不过幸好它配置了yum安装工具,你可以很方便的安装你需要的命令。
LxRunOffline的centos7安装boost记
当前所处的centos7有很多命令都需要另外安装,包括获取安装包的wget命令,所以我们先安装下需要的工具吧。
yum -y install wget
yum -y install sudo
sudo yum install gcc
上面安装的是gcc4版本,所以上面在centos服务器上进行过的scl操作也要进行一次。
yum install centos-release-scl
yum install scl-utils
yum install devtoolset-7-toolchain#安装gcc7版本
scl enable devtoolset-7 bash
然后就获取压缩包,解压压缩包,巴拉巴拉。
wget https://boostorg.jfrog.io/artifactory/main/release/1.78.0/source/boost_1_78_0.tar.gz
tar xvzf boost_1_78_0.tar.gz
切换到boost_1_78_0.tar.gz的根目录下,运行bootstrap.sh脚本生成boost的build程序b2
./bootstrap.sh
不过我这个好像还是有点问题,生成过程中出现Unicode/ICU support for Boost.Regex?.. not found.这样一个情况,不过b2好像是生成在本目录下了,运行一下。
./b2 --buildtype=complete install
因为我想要比较全面地boost库,所以使用了全部安装,具体其他参数大家可以百度一下,应该很简单就能找到了。说明一下,我这里的安装都是生成在/usr/local目录下了,部分实现文件在lib目录下,其他大多以.hpp(.h+.cpp,声明+实现)的形式存放在include目录下。
测试如下
#include <iostream> #include <boost/version.hpp> #include <boost/config.hpp> using namespace std; int main() { cout << BOOST_VERSION << endl; cout << BOOST_LIB_VERSION << endl; cout << BOOST_PLATFORM << endl; cout << BOOST_COMPILER << endl; cout << BOOST_STDLIB << endl; return 0; }
寻常编译,结果如下:
[root@DESKTOP-SJO8SMG project]# g++ version.cpp -o version [root@DESKTOP-SJO8SMG project]# ./version 107800 1_78 linux GNU C++ version 7.3.1 20180303 (Red Hat 7.3.1-5) GNU libstdc++ version 20180303
由于上面的编译生成是有缺陷的,它跳过了10个生成项目,至于是哪几个,项目实在太多,后面遇到再更新吧。