用nexus部署maven私服
nexus 服务部署
由于本人习惯问题,本次继续用docker部署
查找docker镜像
通过https://hub.docker.com/ 网站查找,选用了官方的sonatype/nexus3
拉取镜像
docker pull sonatype/nexus3

创建宿主机挂载目录并编写docker-compose.yml
执行命令:
vi docker-compose.yml
mkdir nexus-data
docker-compose.yml内容:
version: '3'
services:
    nexus3:
        container_name: nexus3
        image: sonatype/nexus3:latest
        environment:
            - TZ=Asia/Shanghai
        volumes:
            - ./nexus-data:/var/nexus-data
        ports:
            - 8081:8081
        restart: always

启动容器
docker-compose up -d

浏览器验证
浏览器中输入http://IP:8081/,出现下面的页面启动完成

Nexus 服务的配置
浏览器中点击右上角的登录

登录
首次登录会提示密码保存在**/nexus-data/admin.password**(位置可能会变,看提示)
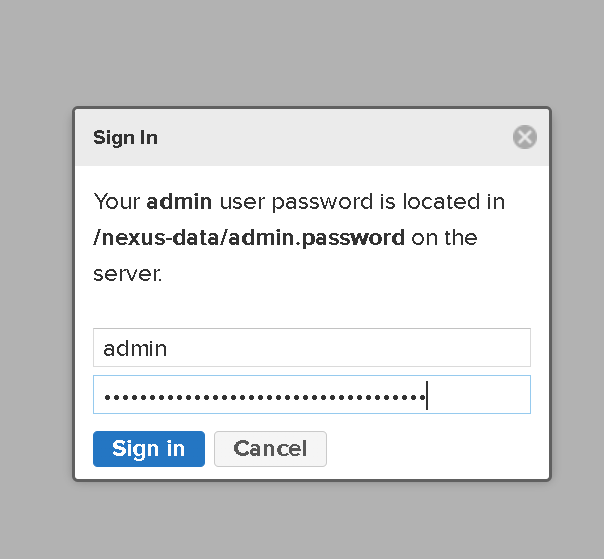
由于这个目录我们的docker并没有引出来,所以我们要去docker容器内查看
docker exec -it nexus3 /bin/bash
cat /nexus-data/admin.password
这地方注意下,cat后不会换行,注意看下密码,用户名是admin,文件中存的就是密码

设置密码
登录后:
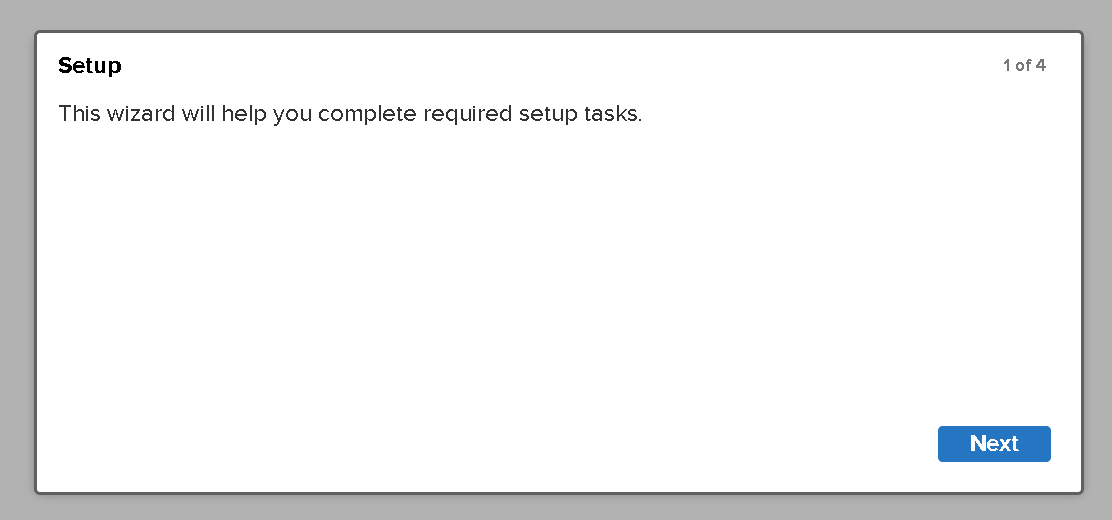
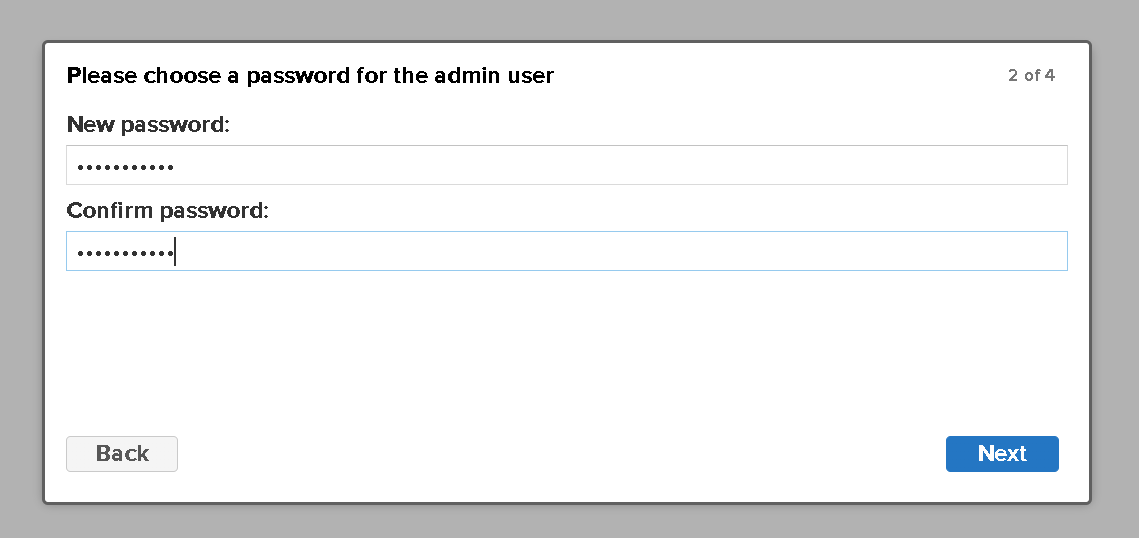
点击next设置新密码
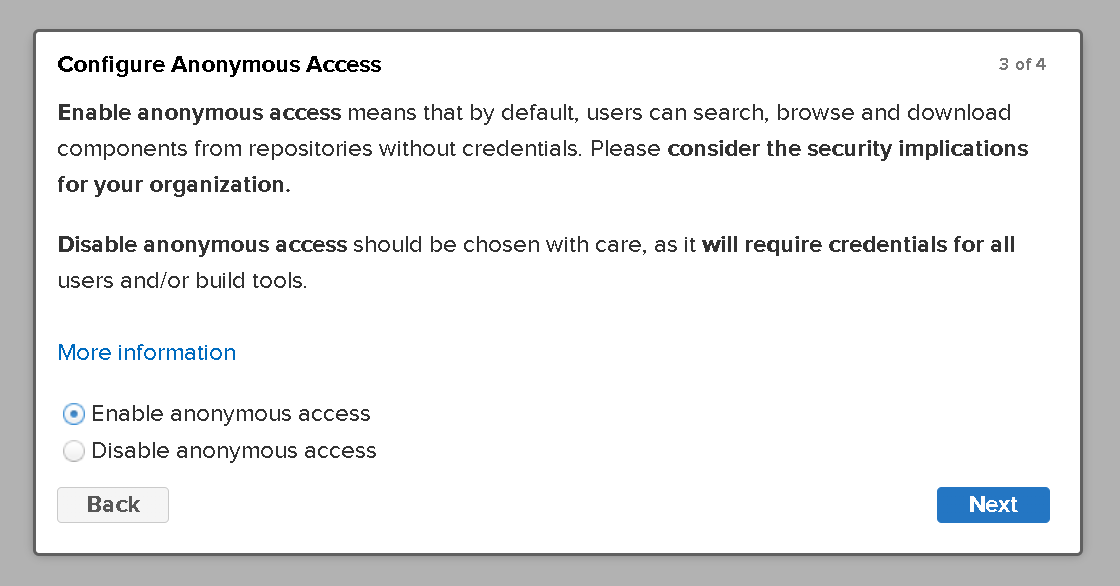
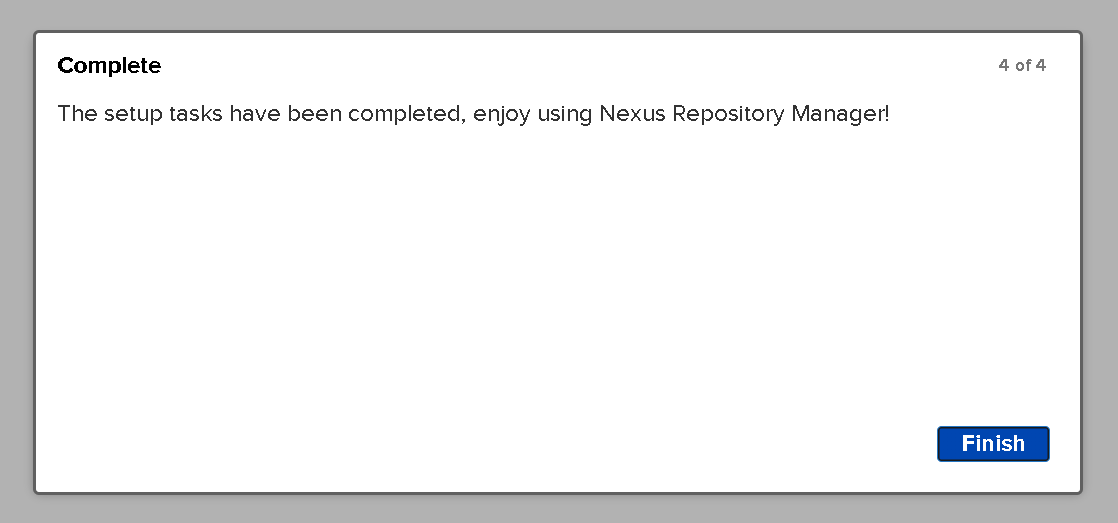
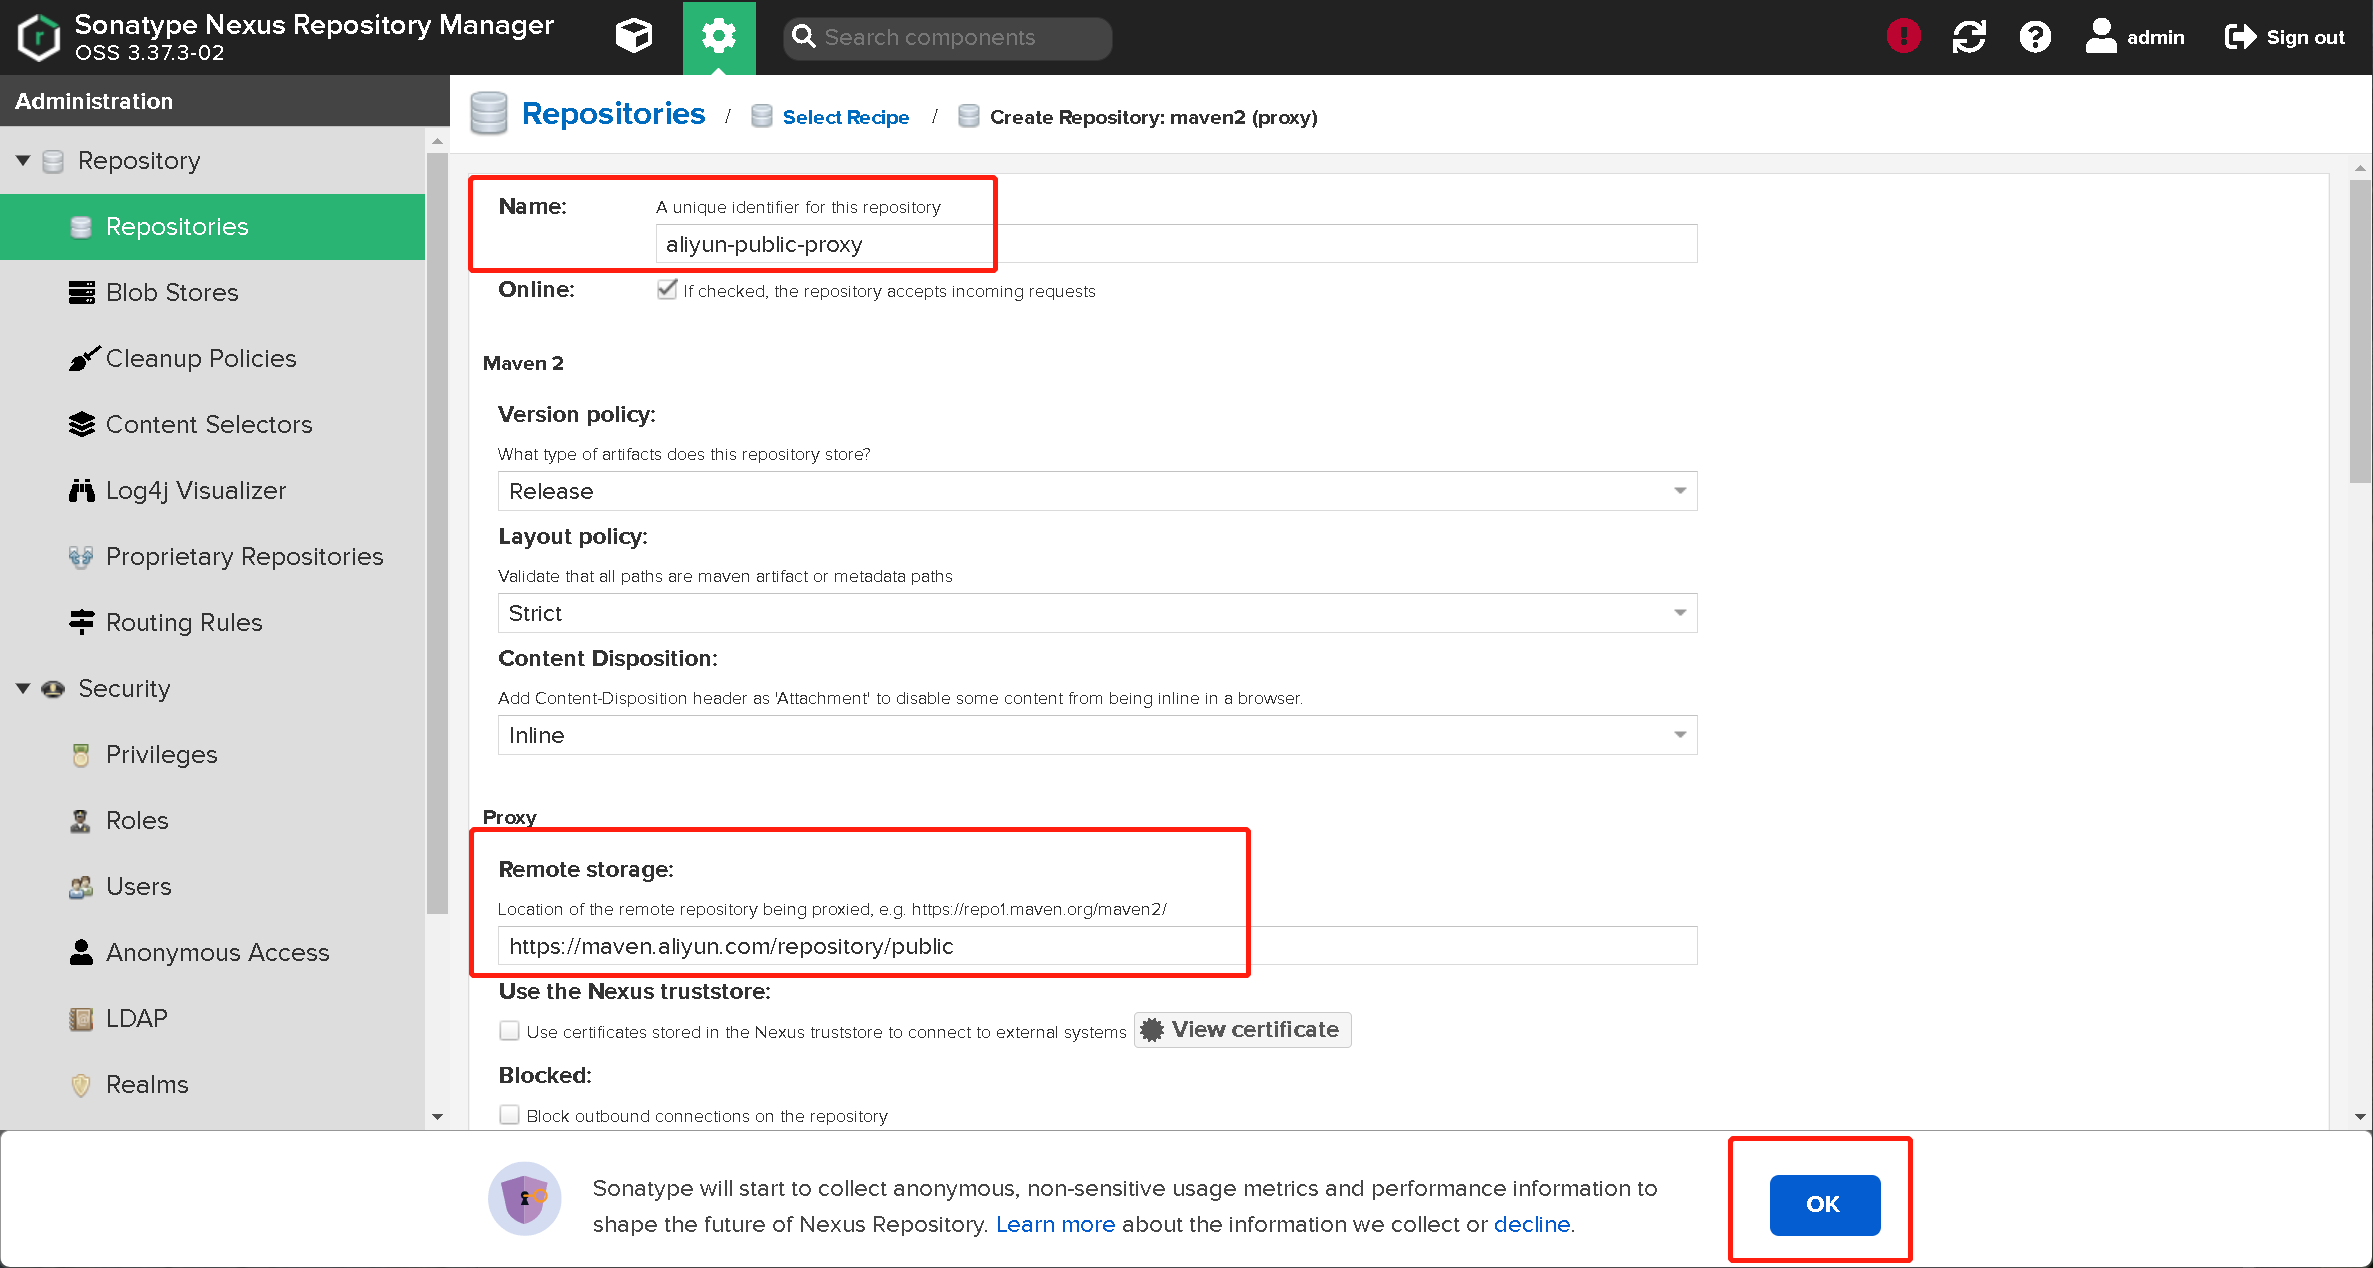
增加阿里云公共仓库
由于默认的里面没有阿里云仓库,用maven的仓库速度慢,所以增加一个阿里云仓库


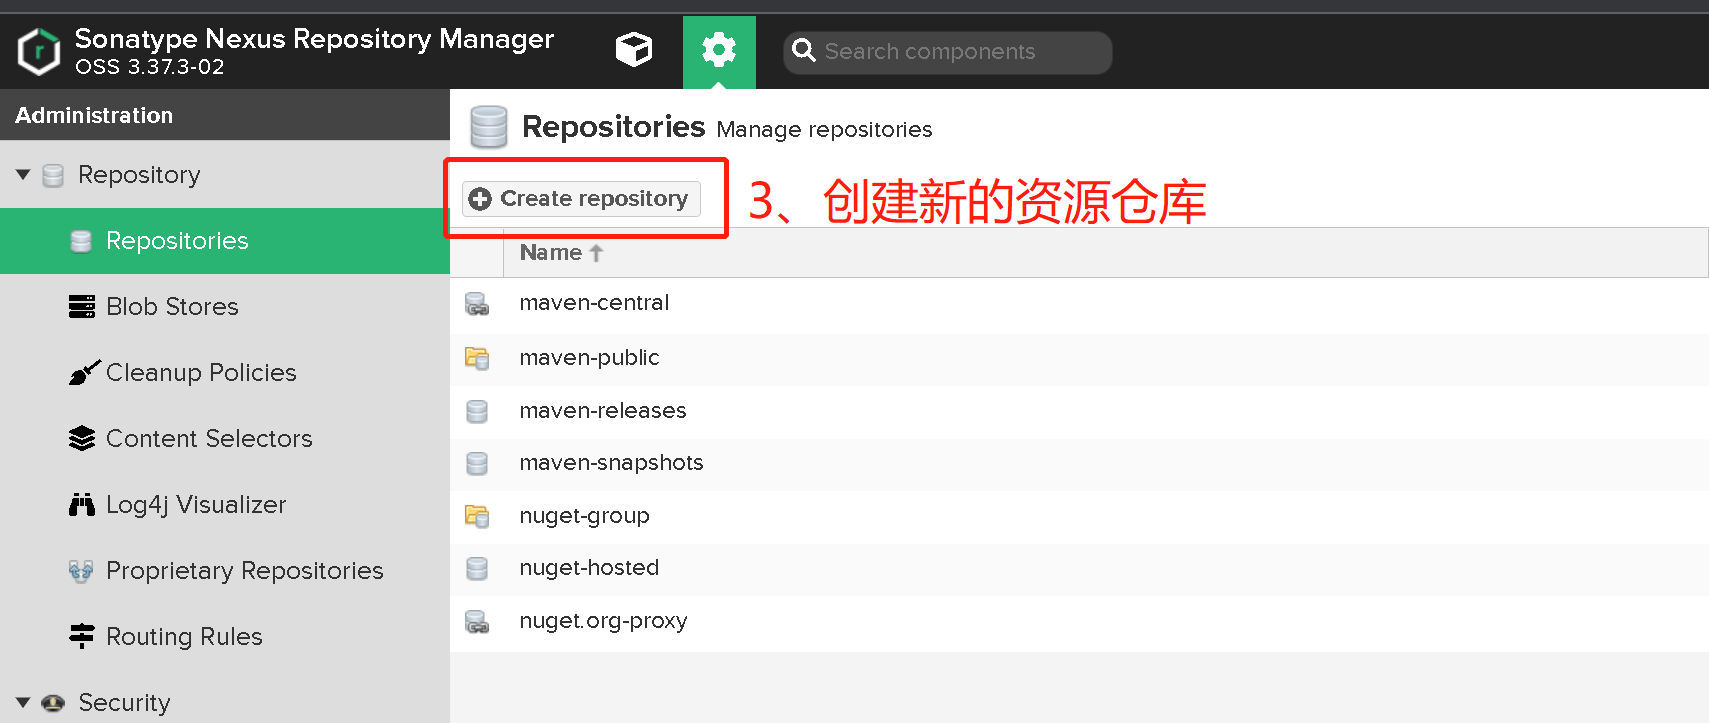
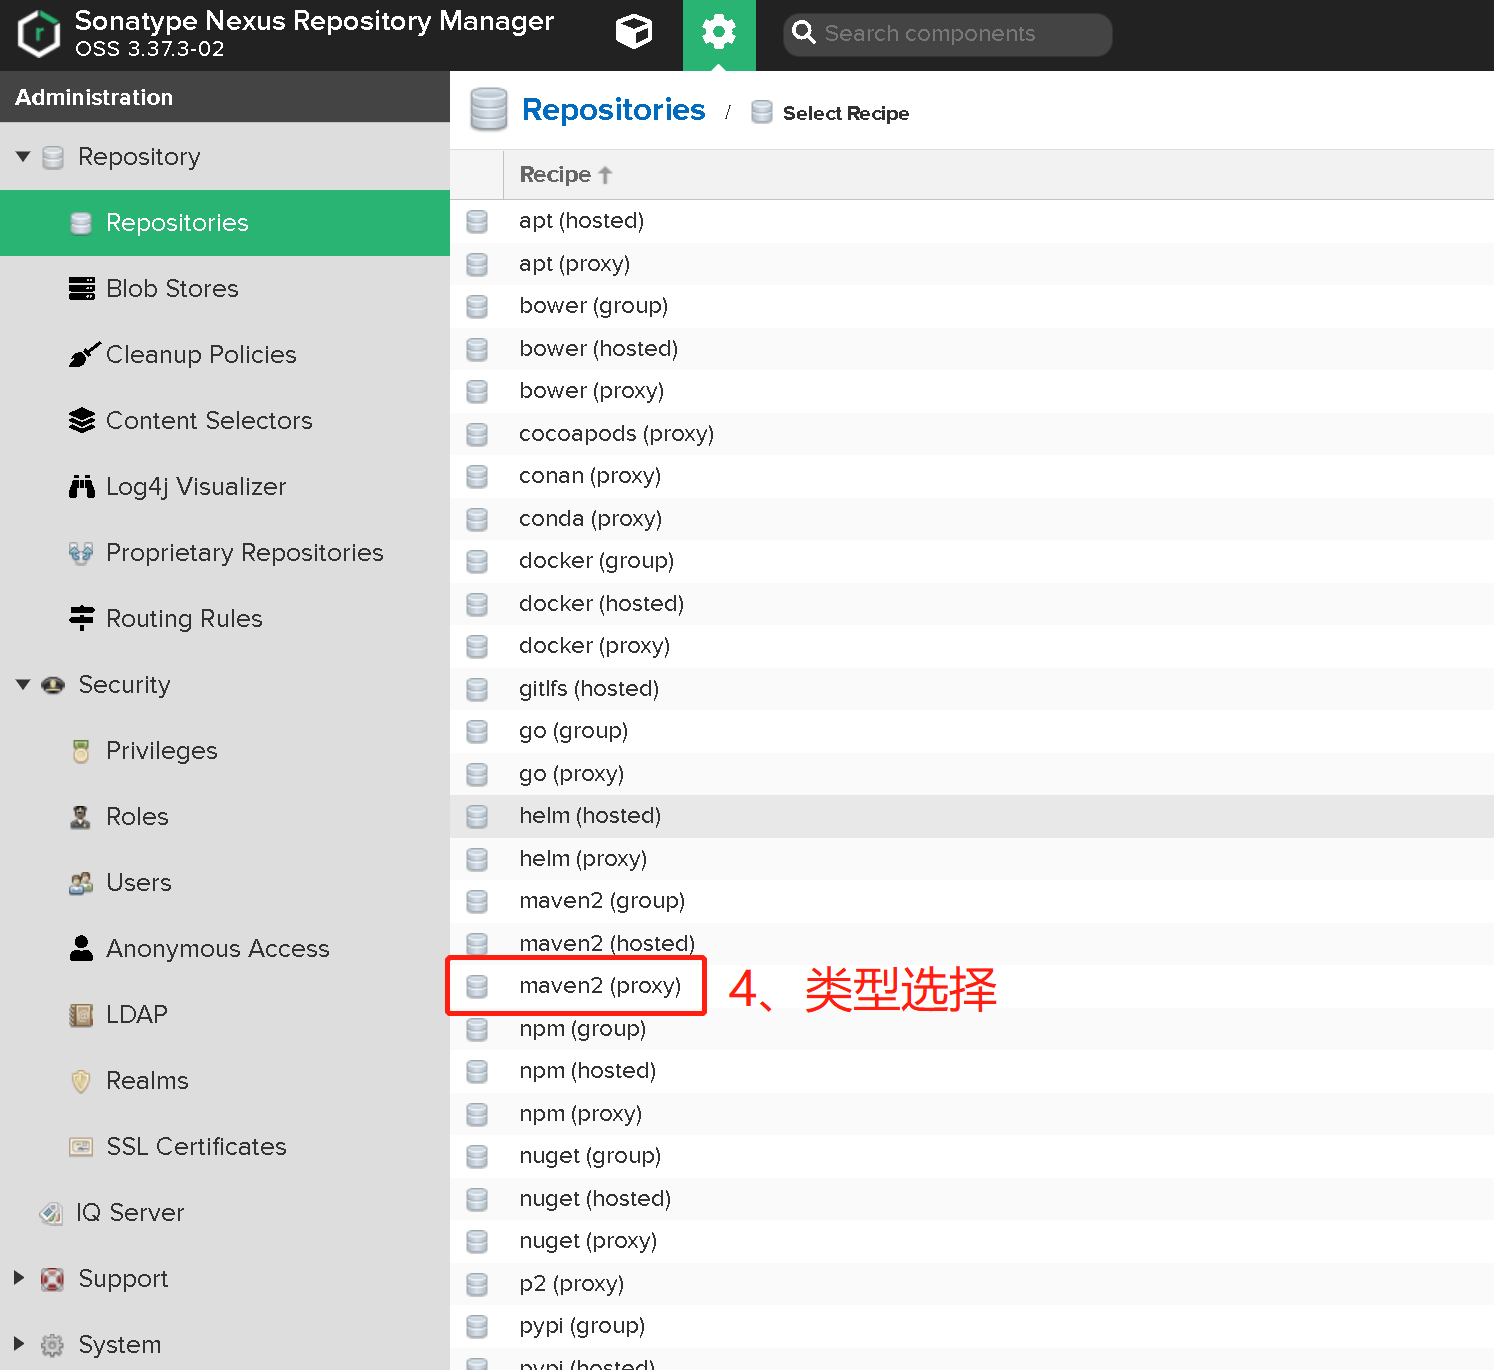
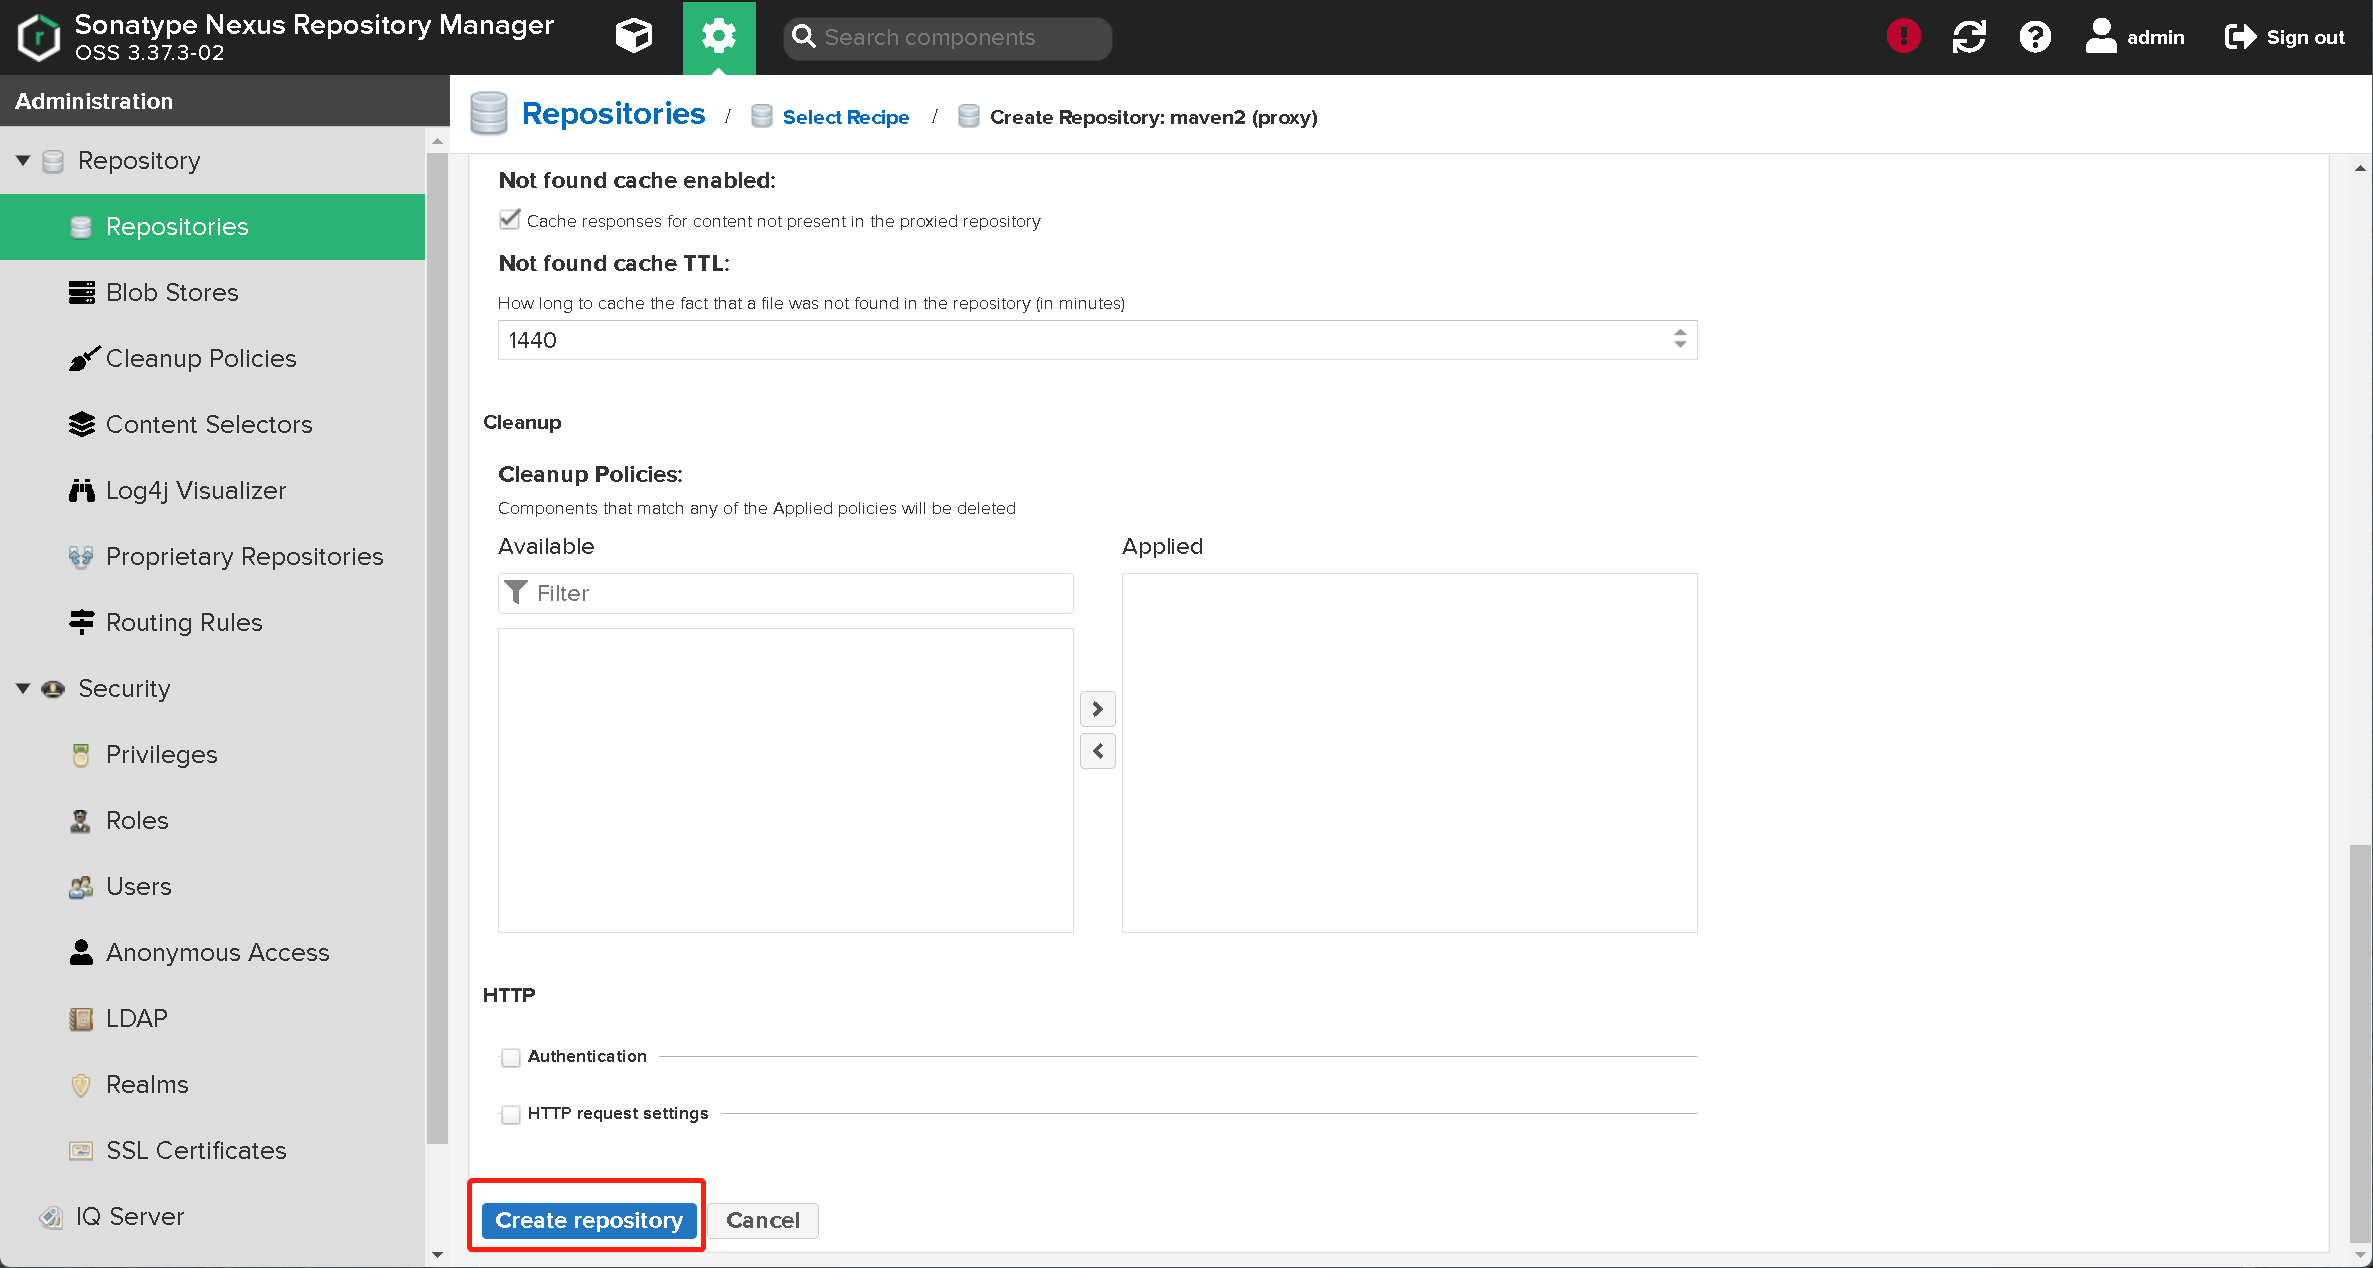
接下来填写信息:name这个随意填,为了方便记忆我填写的aliyun-public-proxy,下面的配置阿里云地址https://maven.aliyun.com/repository/public,两个填好后点击最下方的Create repository
统一私服
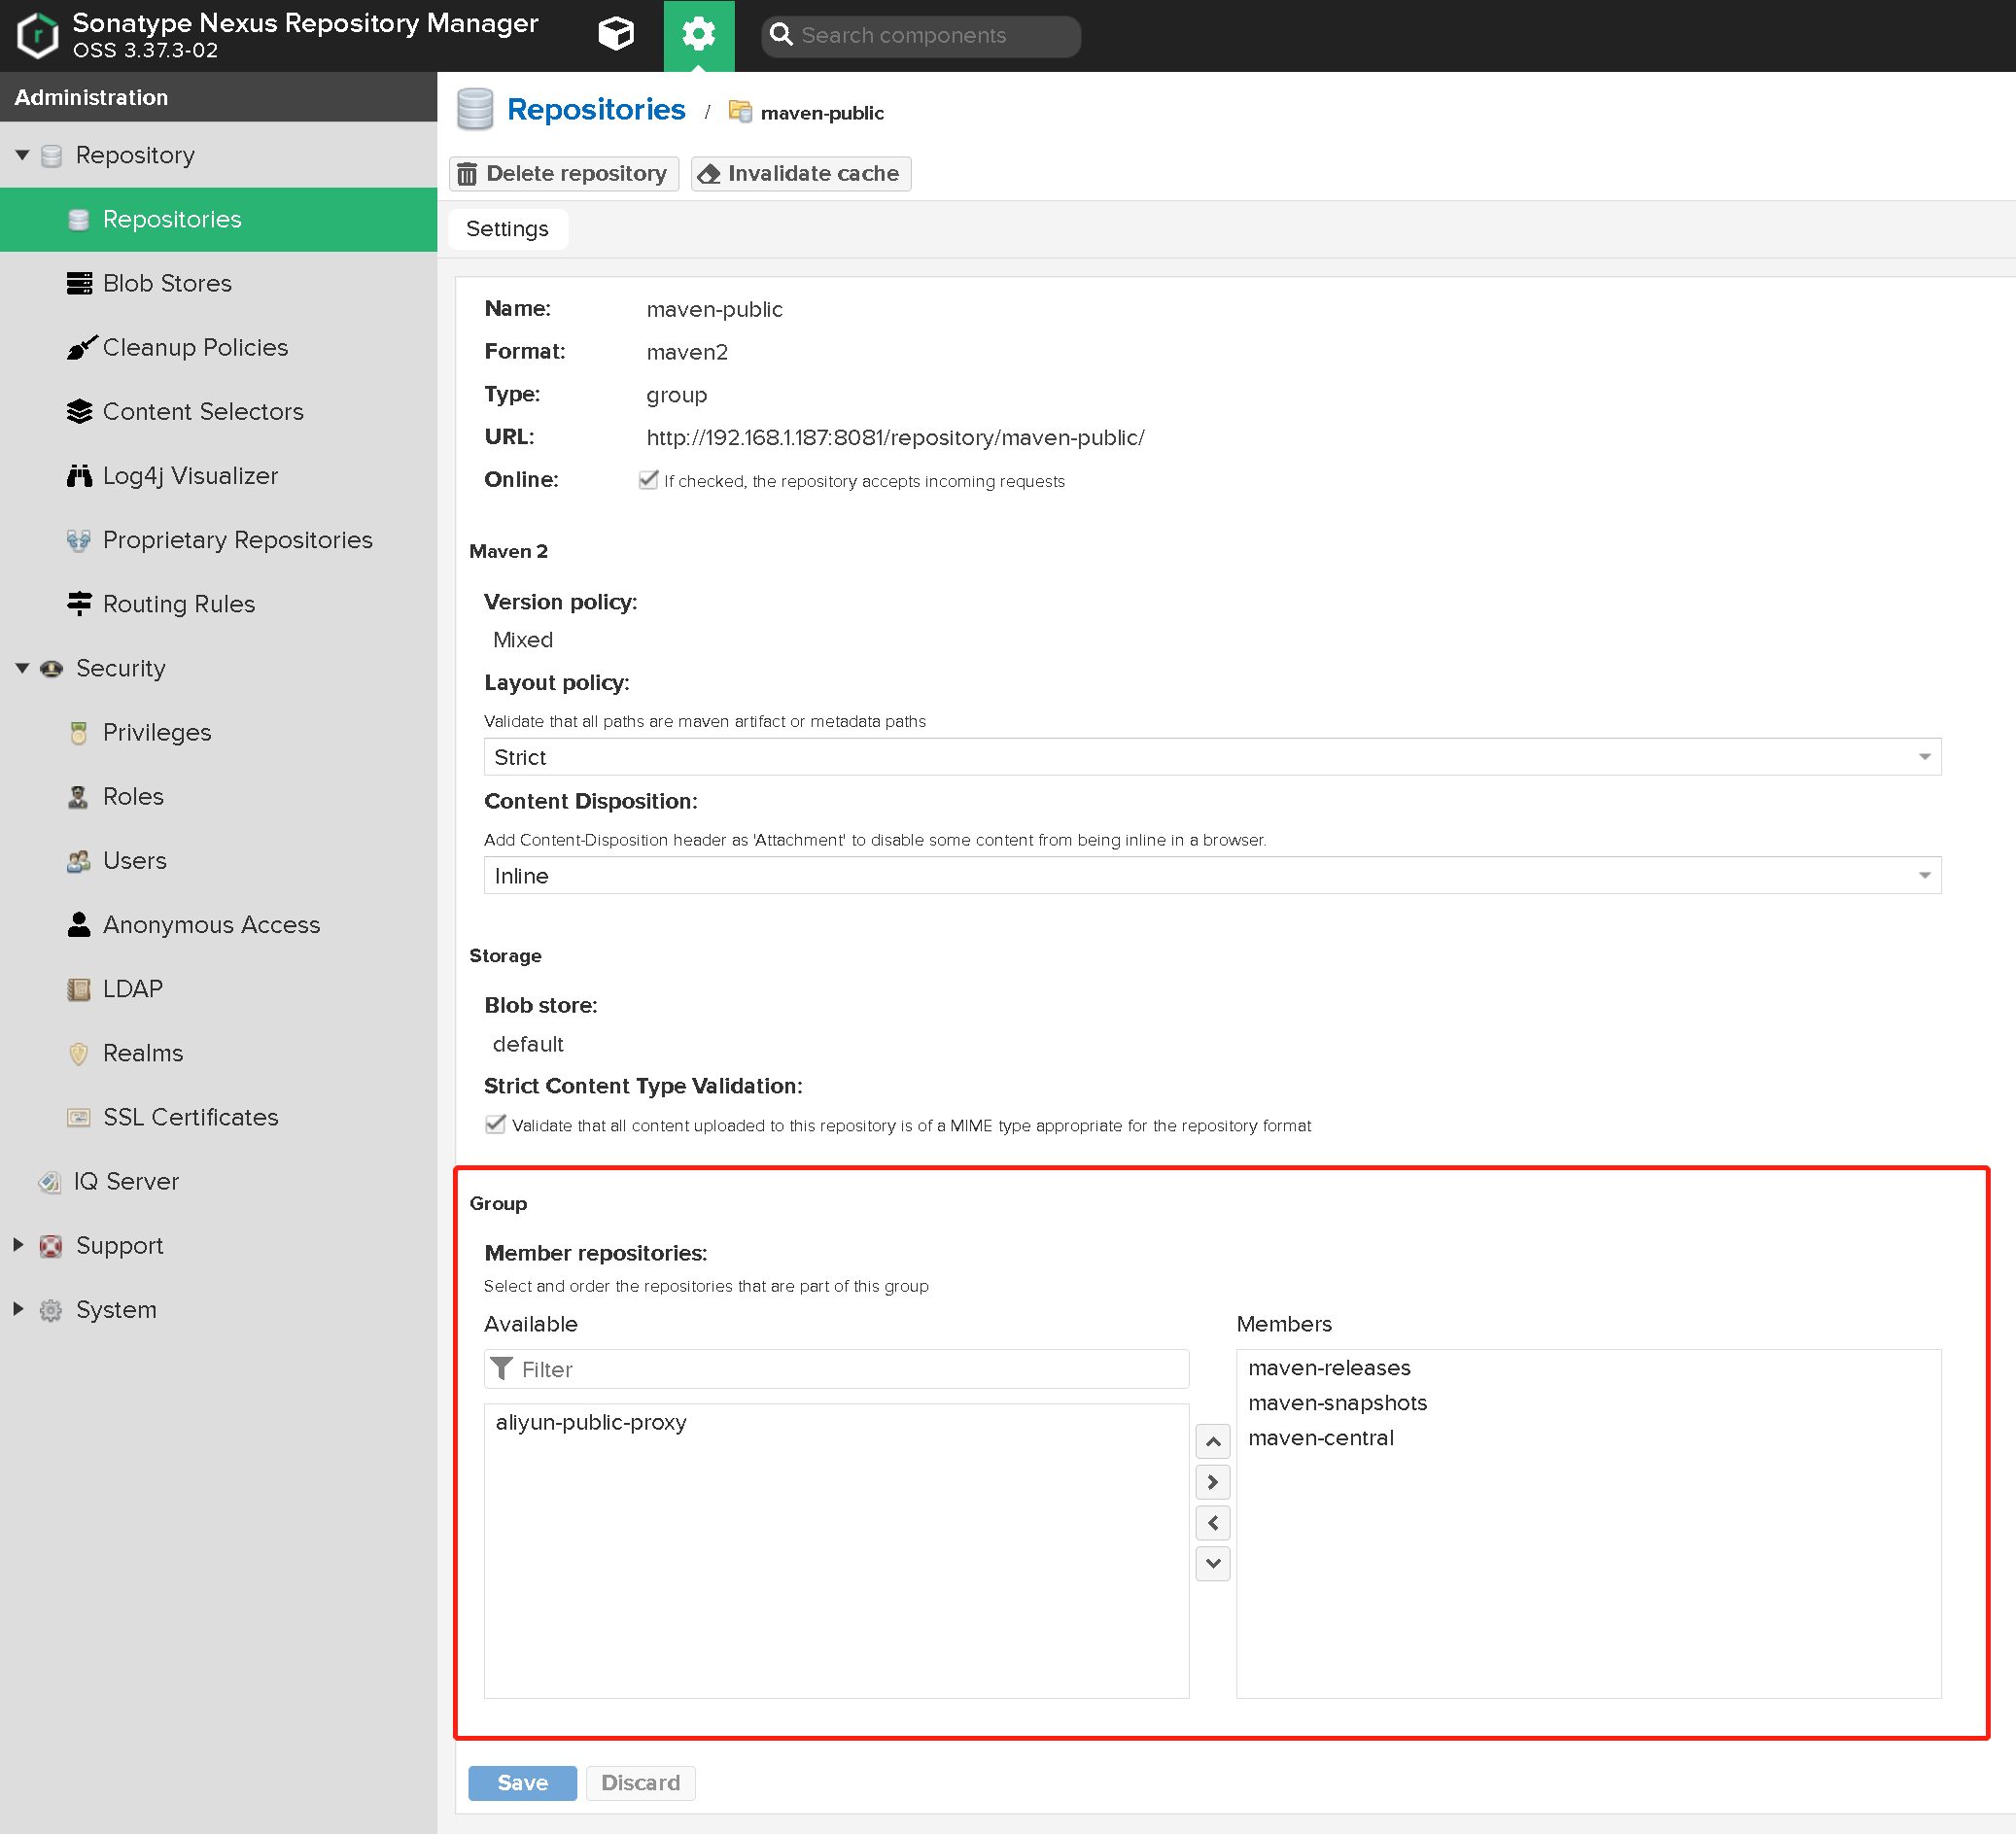
- 编辑maven-public

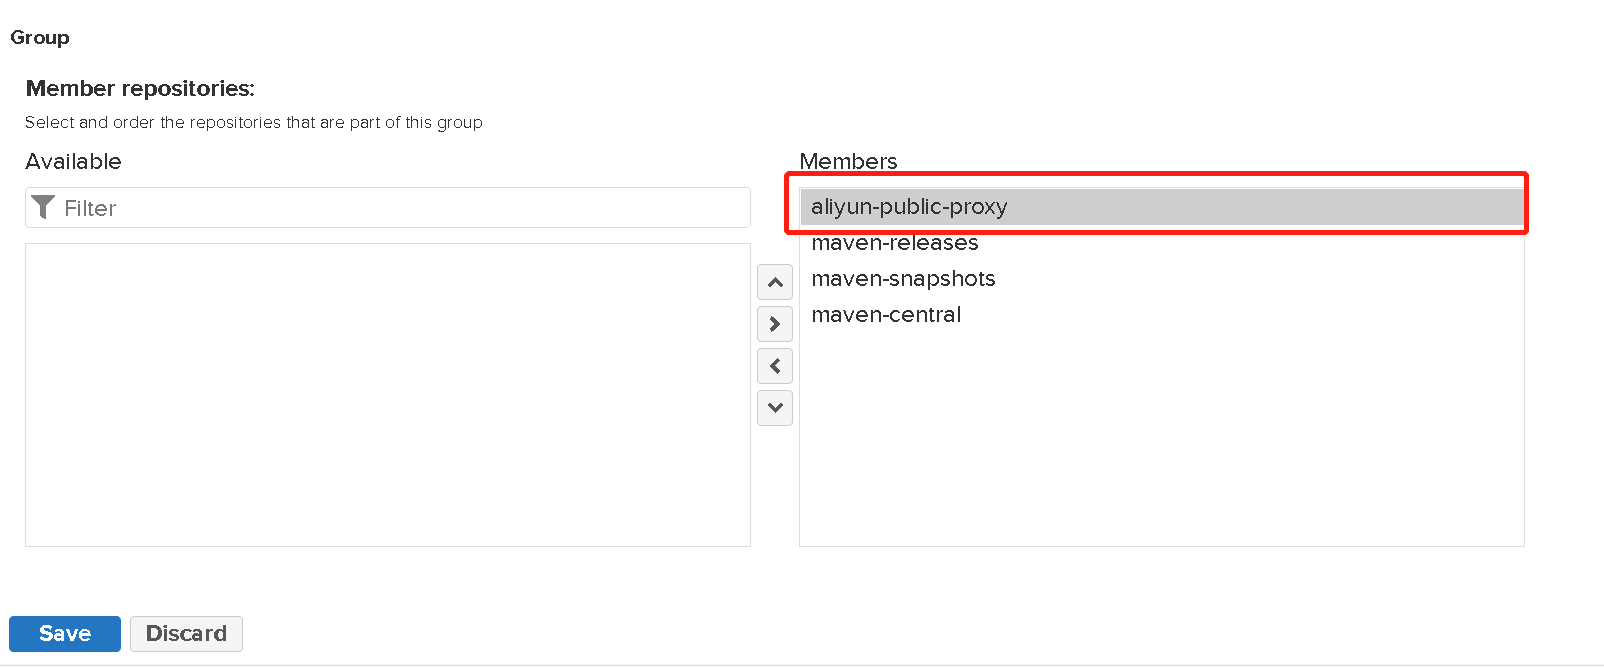
- 将刚刚的aliyun-public-proxy放入 group 中,并调整优先级,然后保存
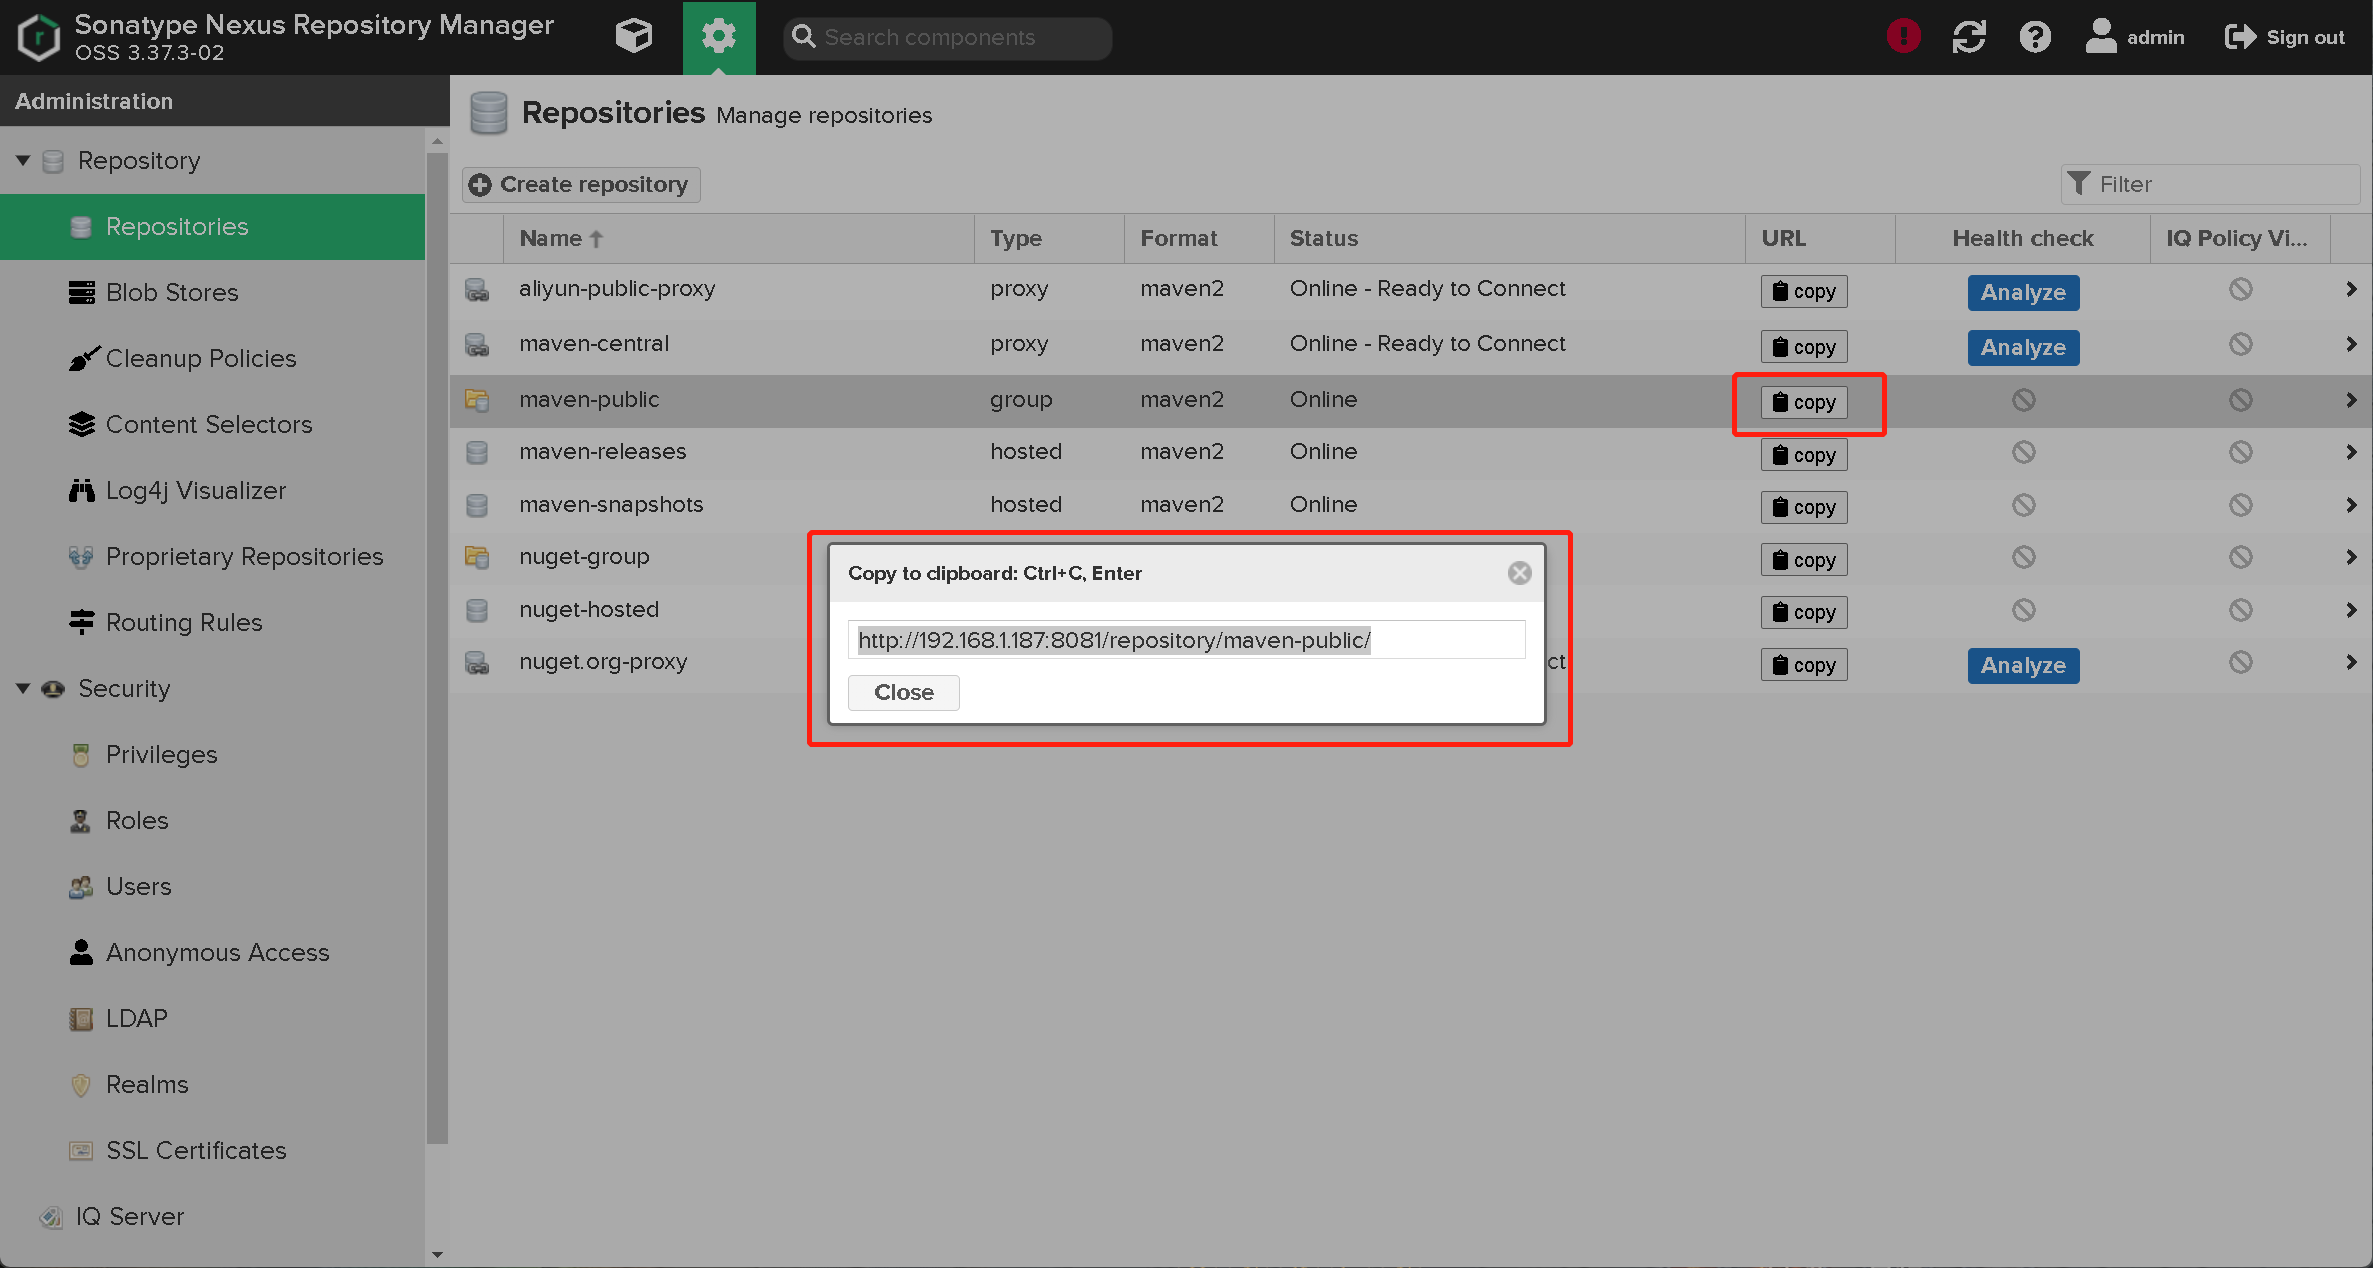
查看私服地址
回到上一个页面,点击copy,弹出来的地址就是私服地址
使用私服
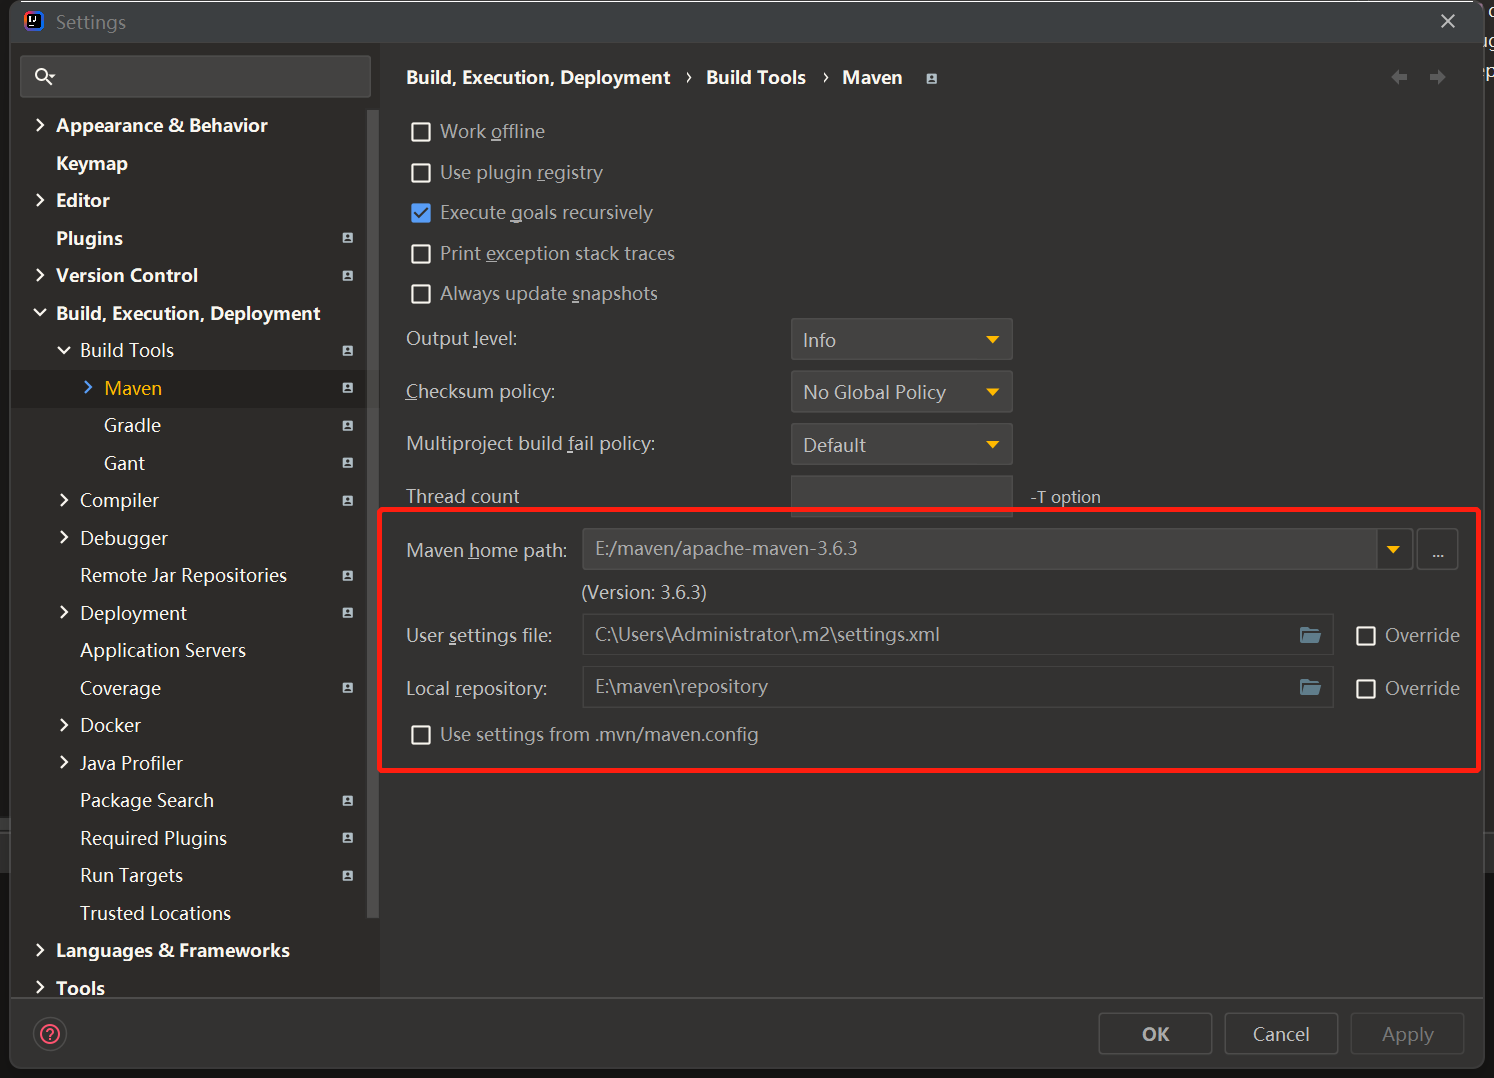
注:maven地址:E:\maven\apache-maven-3.6.3
maven中setting.xml 文件配置
-
下载依赖
找到mirrors位置,并将其标签内容修改如下
<mirrors> <!-- mirror | Specifies a repository mirror site to use instead of a given repository. The repository that | this mirror serves has an ID that matches the mirrorOf element of this mirror. IDs are used | for inheritance and direct lookup purposes, and must be unique across the set of mirrors. | <mirror> <id>mirrorId</id> <mirrorOf>repositoryId</mirrorOf> <name>Human Readable Name for this Mirror.</name> <url>http://my.repository.com/repo/path</url> </mirror> --> <mirror> <!--该镜像的唯一标识符。id用来区分不同的mirror元素。 --> <id>maven-public</id> <!--镜像名称 --> <name>maven-public</name> <!--*指的是访问任何仓库都使用我们的私服--> <mirrorOf>*</mirrorOf> <!--该镜像的URL。构建系统会优先考虑使用该URL,而非使用默认的服务器URL。 --> <url>http://192.168.1.187:8081/repository/maven-public/</url> </mirror> </mirrors> -
发布依赖
找到servers位置,并将其标签内容修改如下
<servers>
  <!-- server
   | Specifies the authentication information to use when connecting to a particular server, identified by
   | a unique name within the system (referred to by the 'id' attribute below).
   |
   | NOTE: You should either specify username/password OR privateKey/passphrase, since these pairings are
   |       used together.
   |
  <server>
    <id>deploymentRepo</id>
    <username>repouser</username>
    <password>repopwd</password>
  </server>
  -->
  <!-- Another sample, using keys to authenticate.
  <server>
    <id>siteServer</id>
    <privateKey>/path/to/private/key</privateKey>
    <passphrase>optional; leave empty if not used.</passphrase>
  </server>
  -->
  <server>
      <id>releases</id>
      <username>admin</username>
      <password>123456</password>
  </server>
  <server>
      <id>snapshots</id>
      <username>admin</username>
      <password>123456</password>
  </server>
</servers>
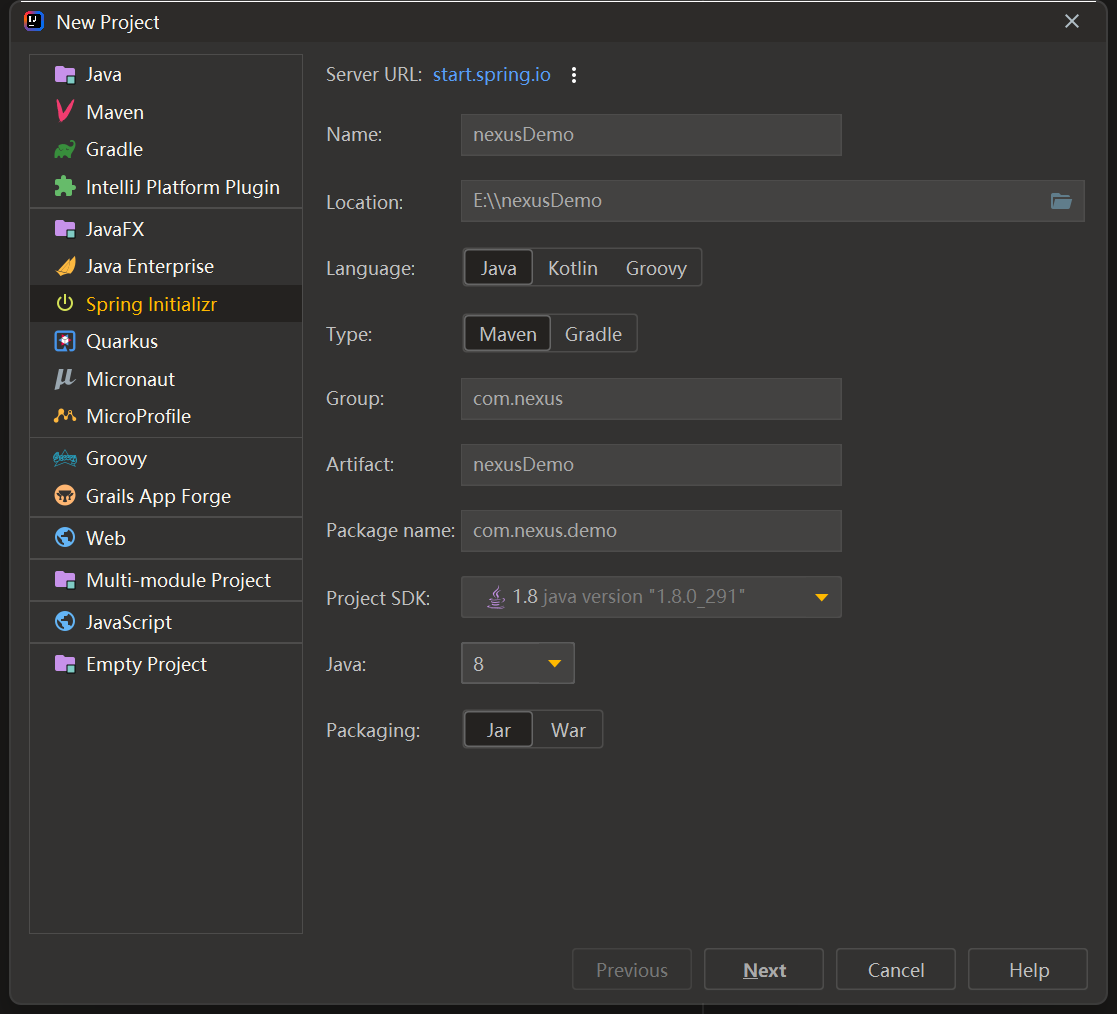
新建maven项目
我这边建了一个Springboot项目
设置maven路径
发布依赖
-
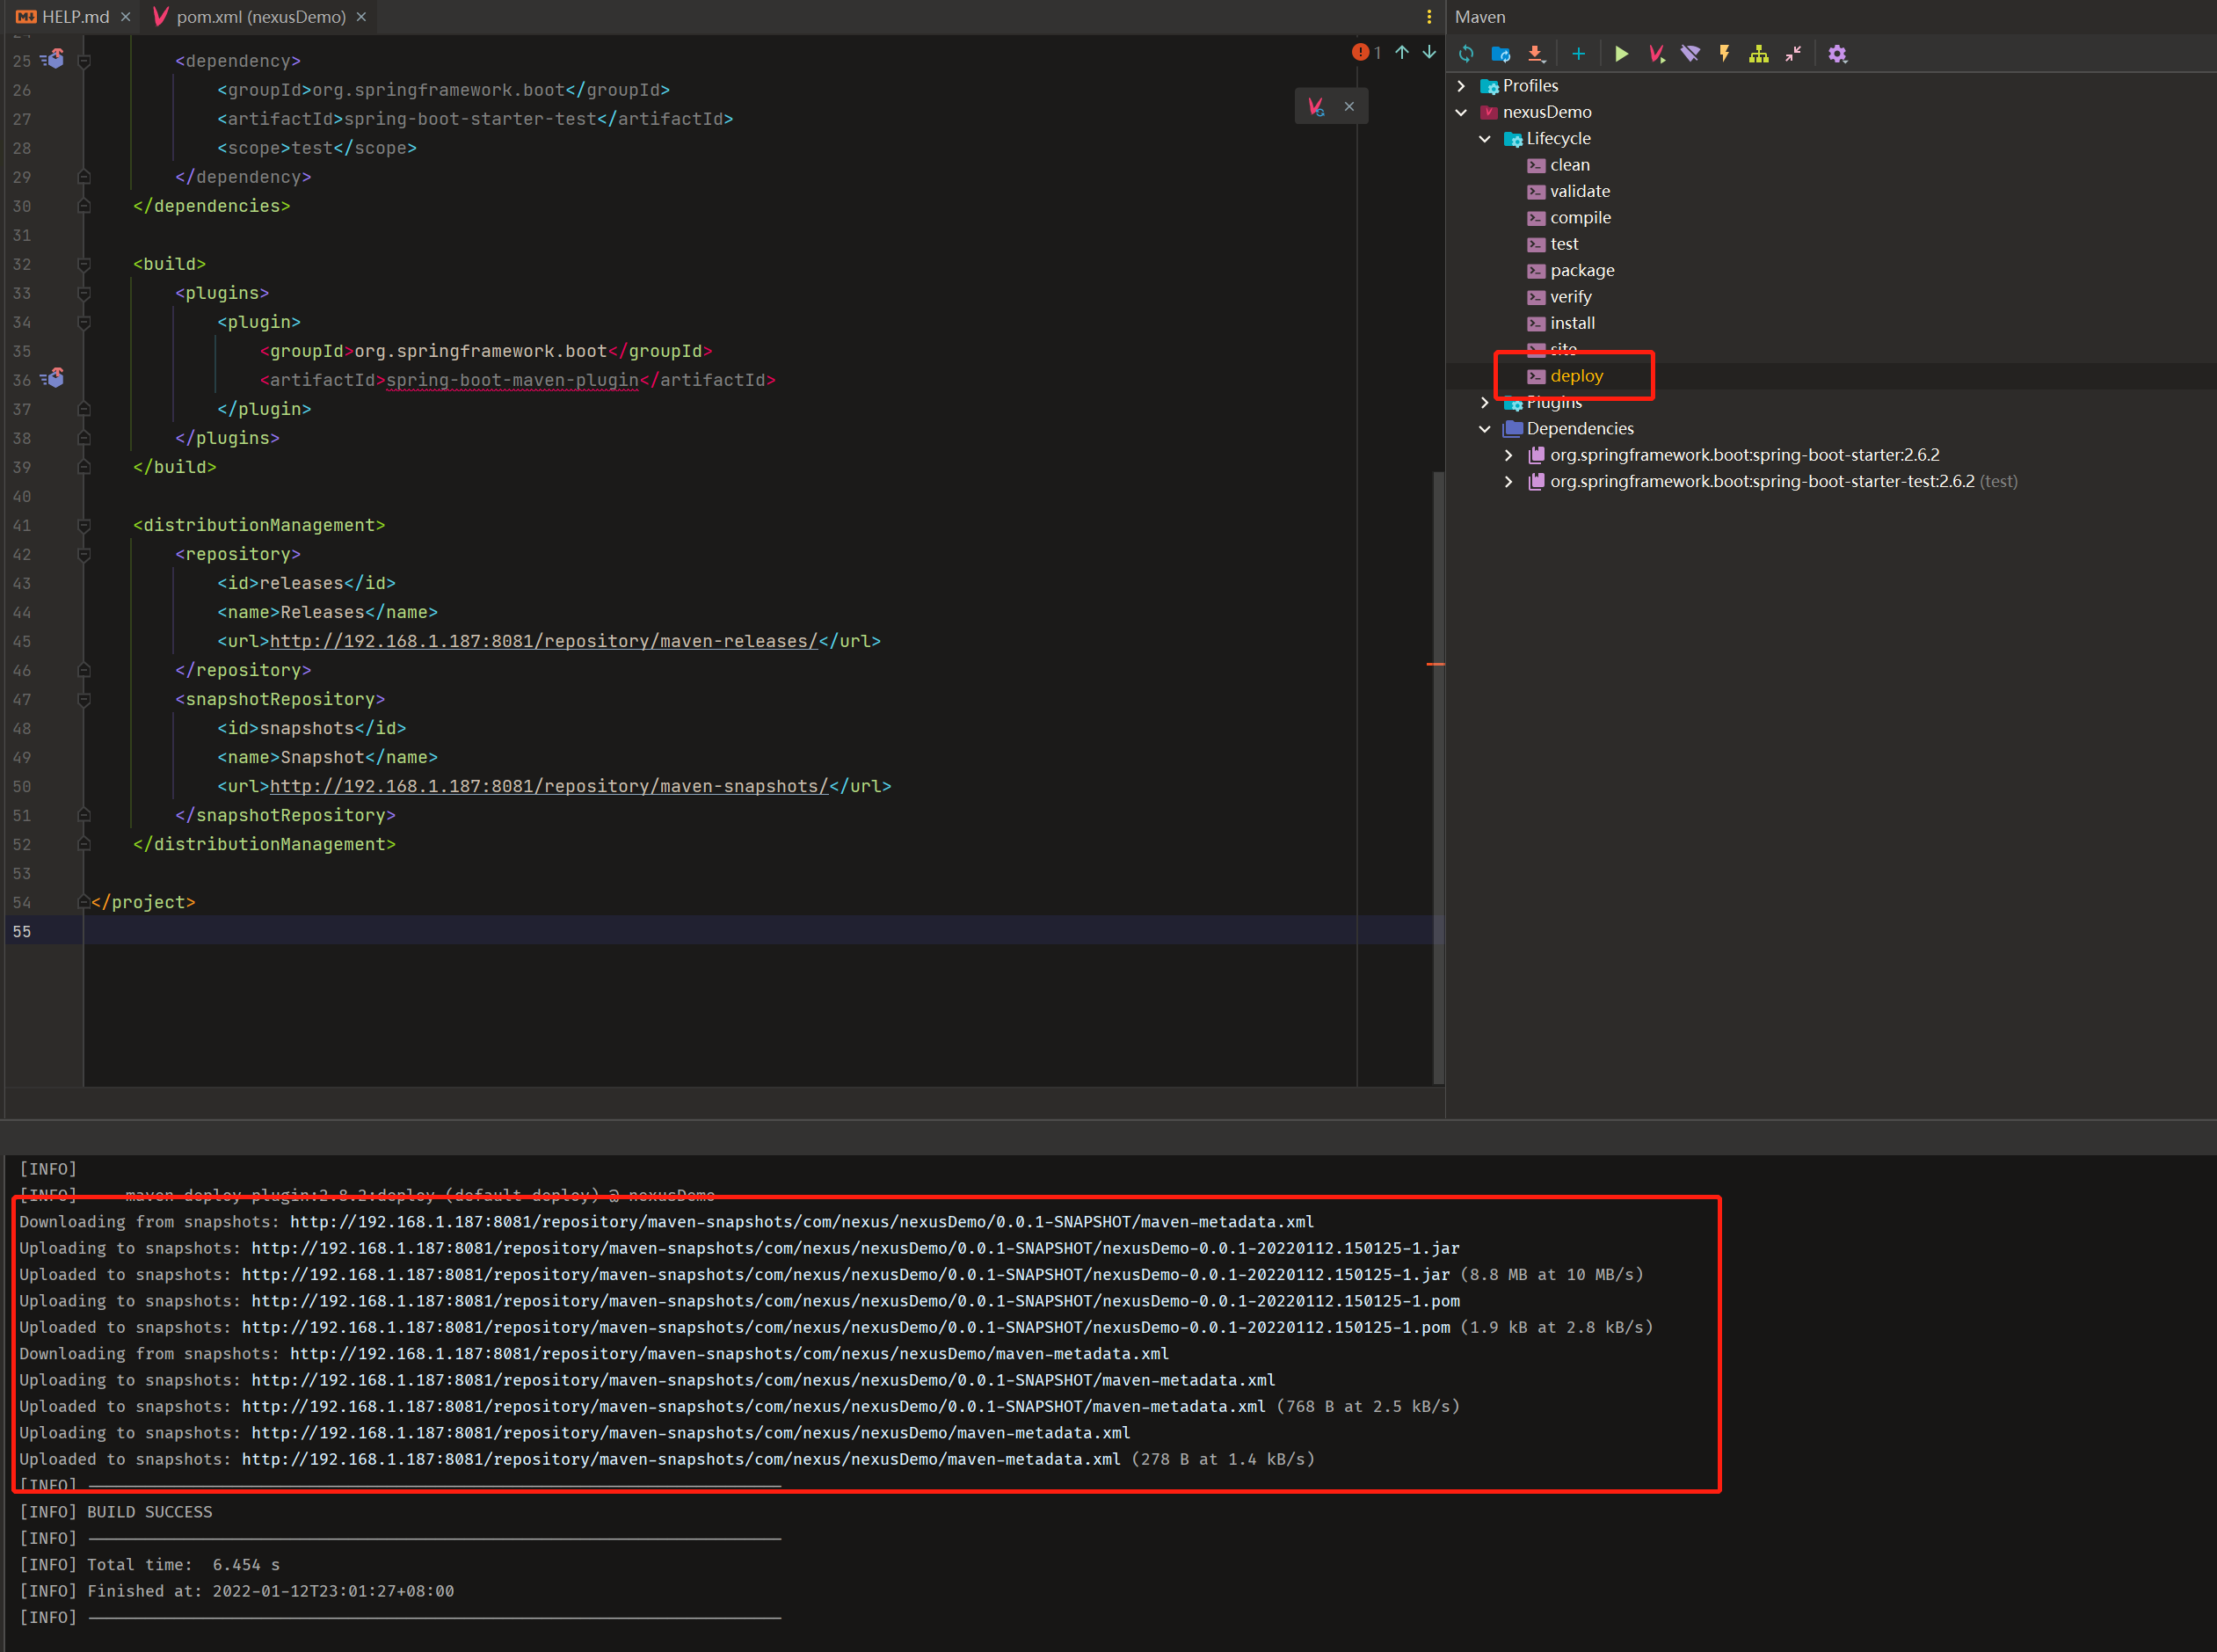
项目pom中添加 distributionManagement 节点
<distributionManagement> <repository> <id>releases</id> <name>Releases</name> <url>http://192.168.1.187:8081/repository/maven-releases/</url> </repository> <snapshotRepository> <id>snapshots</id> <name>Snapshot</name> <url>http://192.168.1.187:8081/repository/maven-snapshots/</url> </snapshotRepository> </distributionManagement>注:repository 里的 id 需要和上一步里的 server id 名称保持一致。
-
执行 mvn deploy 命令发布:
-
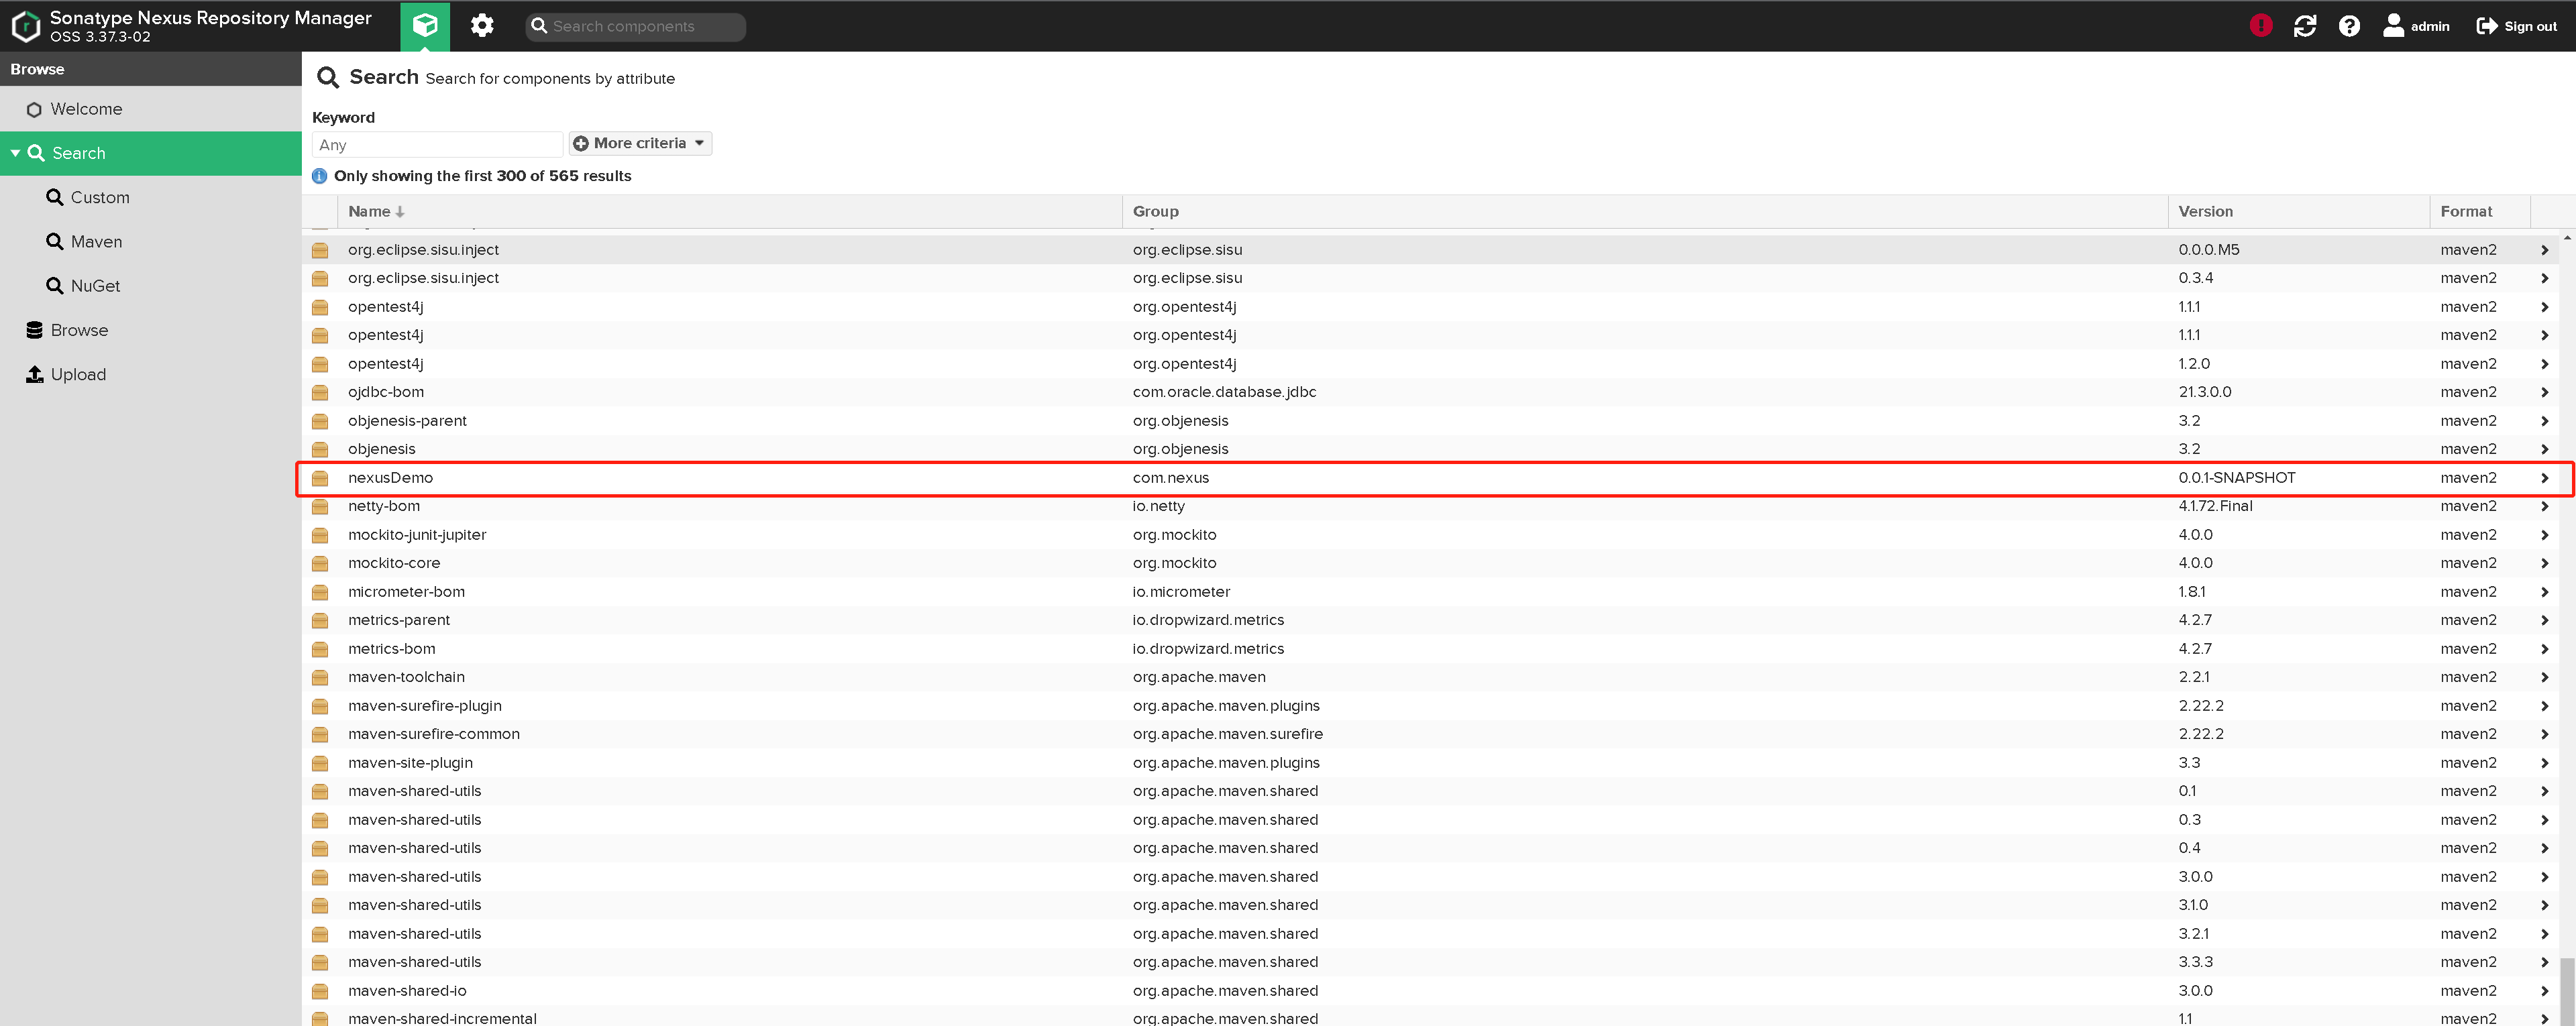
查看网页,是否部署成功
注:
- 若项目版本号末尾带有 -SNAPSHOT,则会发布到 snapshots 快照版本仓库
- 若项目版本号末尾带有 -RELEASES 或什么都不带,则会发布到 releases 正式版本仓库
