1、下载安装nginx
http://nginx.org/en/download.html
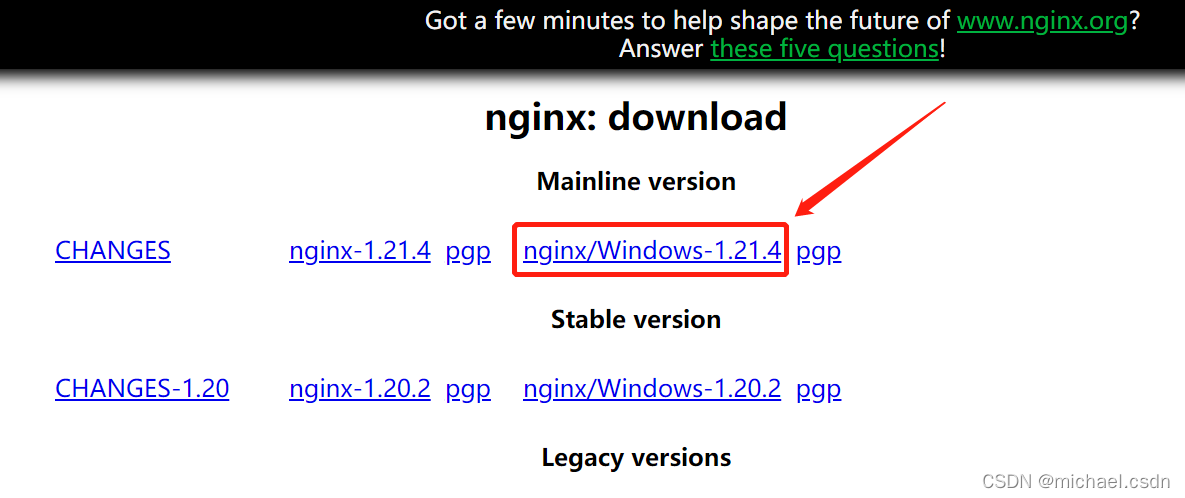
下载后,解压到E盘 E:\GreenSofts\Nginx-1.21.4
2、添加服务
需要借助Windows Service Wrapper小工具,下载地址:
http://repo.jenkins-ci.org/releases/com/sun/winsw/winsw/1.18/winsw-1.18-bin.exe
下载后放在nginx目录下,并修改名字为nginx-service.exe
创建配置文件 nginx-service.exe.config 和 nginx-service.xml
nginx-service.xml的内容如下:
<service>
  <id>nginx</id>
  <name>Nginx Service</name>
  <description>High Performance Nginx Service</description>
  <logpath>E:\GreenSofts\Nginx-1.21.4\docs</logpath>
  <log mode="roll-by-size">
    <sizeThreshold>10240</sizeThreshold>
    <keepFiles>8</keepFiles>
  </log>
  <executable>E:\GreenSofts\Nginx-1.21.4\nginx.exe</executable>
  <startarguments>-p E:\GreenSofts\Nginx-1.21.4</startarguments>
  <stopexecutable>E:\GreenSofts\Nginx-1.21.4\nginx.exe</stopexecutable>
  <stoparguments>-p E:\GreenSofts\Nginx-1.21.4 -s stop</stoparguments>
</service>
nginx-service.exe.config内容如下:
<configuration>
  <startup>
    <supportedRuntime version="v2.0.50727" />
    <supportedRuntime version="v4.0" />
  </startup>
  <runtime>
    <generatePublisherEvidence enabled="false"/>
  </runtime>
</configuration>
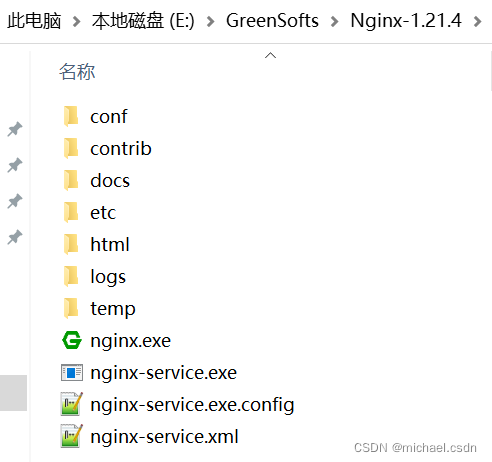
最终目录结构如下:
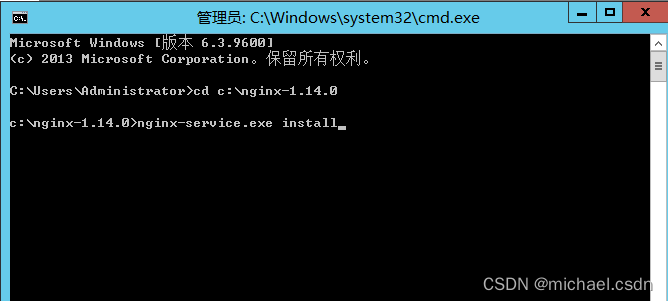
3、安装服务
最后用cmd命令进入nginx目录安装服务
4、验证服务
4.1 浏览器验证
在浏览器输入:http://localhost/,出现如下界面

表示安装且启动成功
4.2 命令验证
在cmd命令窗口输入命令tasklist /fi "imagename eq nginx.exe",若出现如下结果:
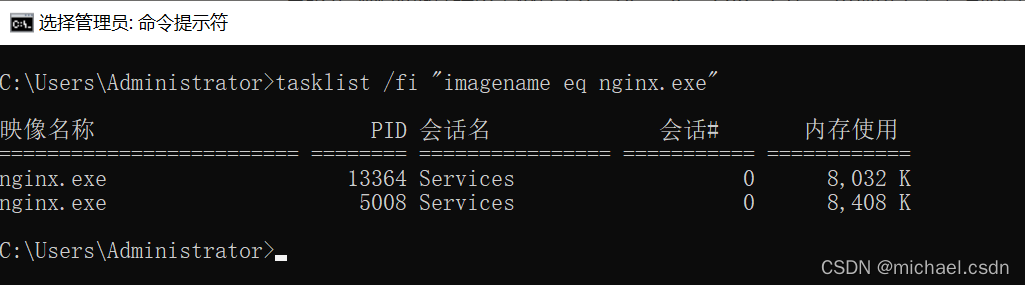
说明启动成功
5、检查80端口是否被占用
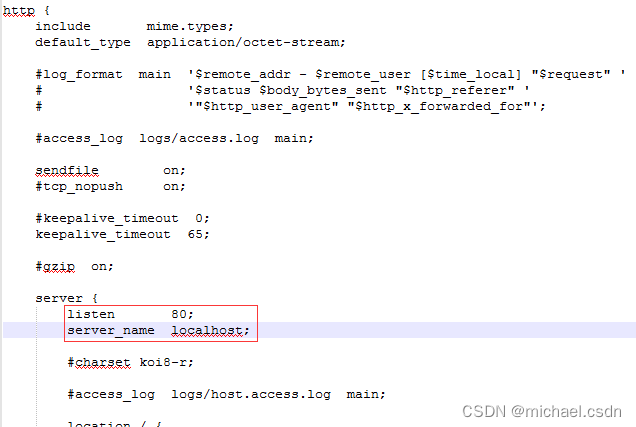
nginx的配置文件是conf目录下的nginx.conf,默认配置的nginx监听的端口为80,如果80端口被占用可以修改为未被占用的端口即可
命令:netstat -ano | findstr 0.0.0.0:80 或 netstat -ano | findstr "80"
当我们修改了nginx的配置文件nginx.conf时,不需要关闭nginx后重新启动nginx,只需要执行命令 nginx -s reload 即可让改动生效
6、检查nginx配置文件是否正确
修改完成后保存,使用以下命令检查一下配置文件是否正确,后面是nginx.conf文件的路径,successful就说明正确了
nginx -t -c E:/GreenSofts/Nginx-1.21.4/conf/nginx.conf

7、关闭nginx
如果使用cmd命令窗口启动nginx,关闭cmd窗口是不能结束nginx进程的,可使用两种方法关闭ginx:
(1) 输入nginx命令 nginx -s stop(快速停止nginx) 或 nginx -s quit(完整有序的停止nginx)
(2) 使用taskkill taskkill /f /t /im nginx.exe
8、使用nginx代理服务器做负载均衡
可以修改nginx的配置文件nginx.conf达到访问nginx代理服务器时跳转到指定服务器的目的,即通过proxy_pass配置请求转发地址,即当我们依然输入http://localhost:80时,请求会跳转到我们配置的服务器

同理,我们可以配置多个目标服务器,当一台服务器出现故障时,nginx能将请求自动转向另一台服务器,例如配置如下:

当服务器localhost:8080挂掉时,nginx能将请求自动转向服务器192.168.101.9:8080 。
上面还加了一个weight属性,此属性表示各服务器被访问到的权重,weight越高被访问到的几率越高。
9、nginx配置静态资源
将静态资源(如jpg|png|css|js等)放在如下配置的f:/nginx-1.12.2/static目录下,然后在nginx配置文件中做如下配置(注意:静态资源配置只能放在 location / 中),浏览器中访问 http://localhost:80/1.png 即可访问到 f:/nginx-1.12.2/static目录下的 1.png 图片
