1、方案:在点选摄像头时根据选中的摄像头id,读取rtsp地址,调用ffmpeg命令转换成hls格式,返回hls地址给前端,通过videojs进行播放
2、下载ffmpeg,windows下安装
地址:https://www.gyan.dev/ffmpeg/builds/packages/ffmpeg-5.0-full_build.7z
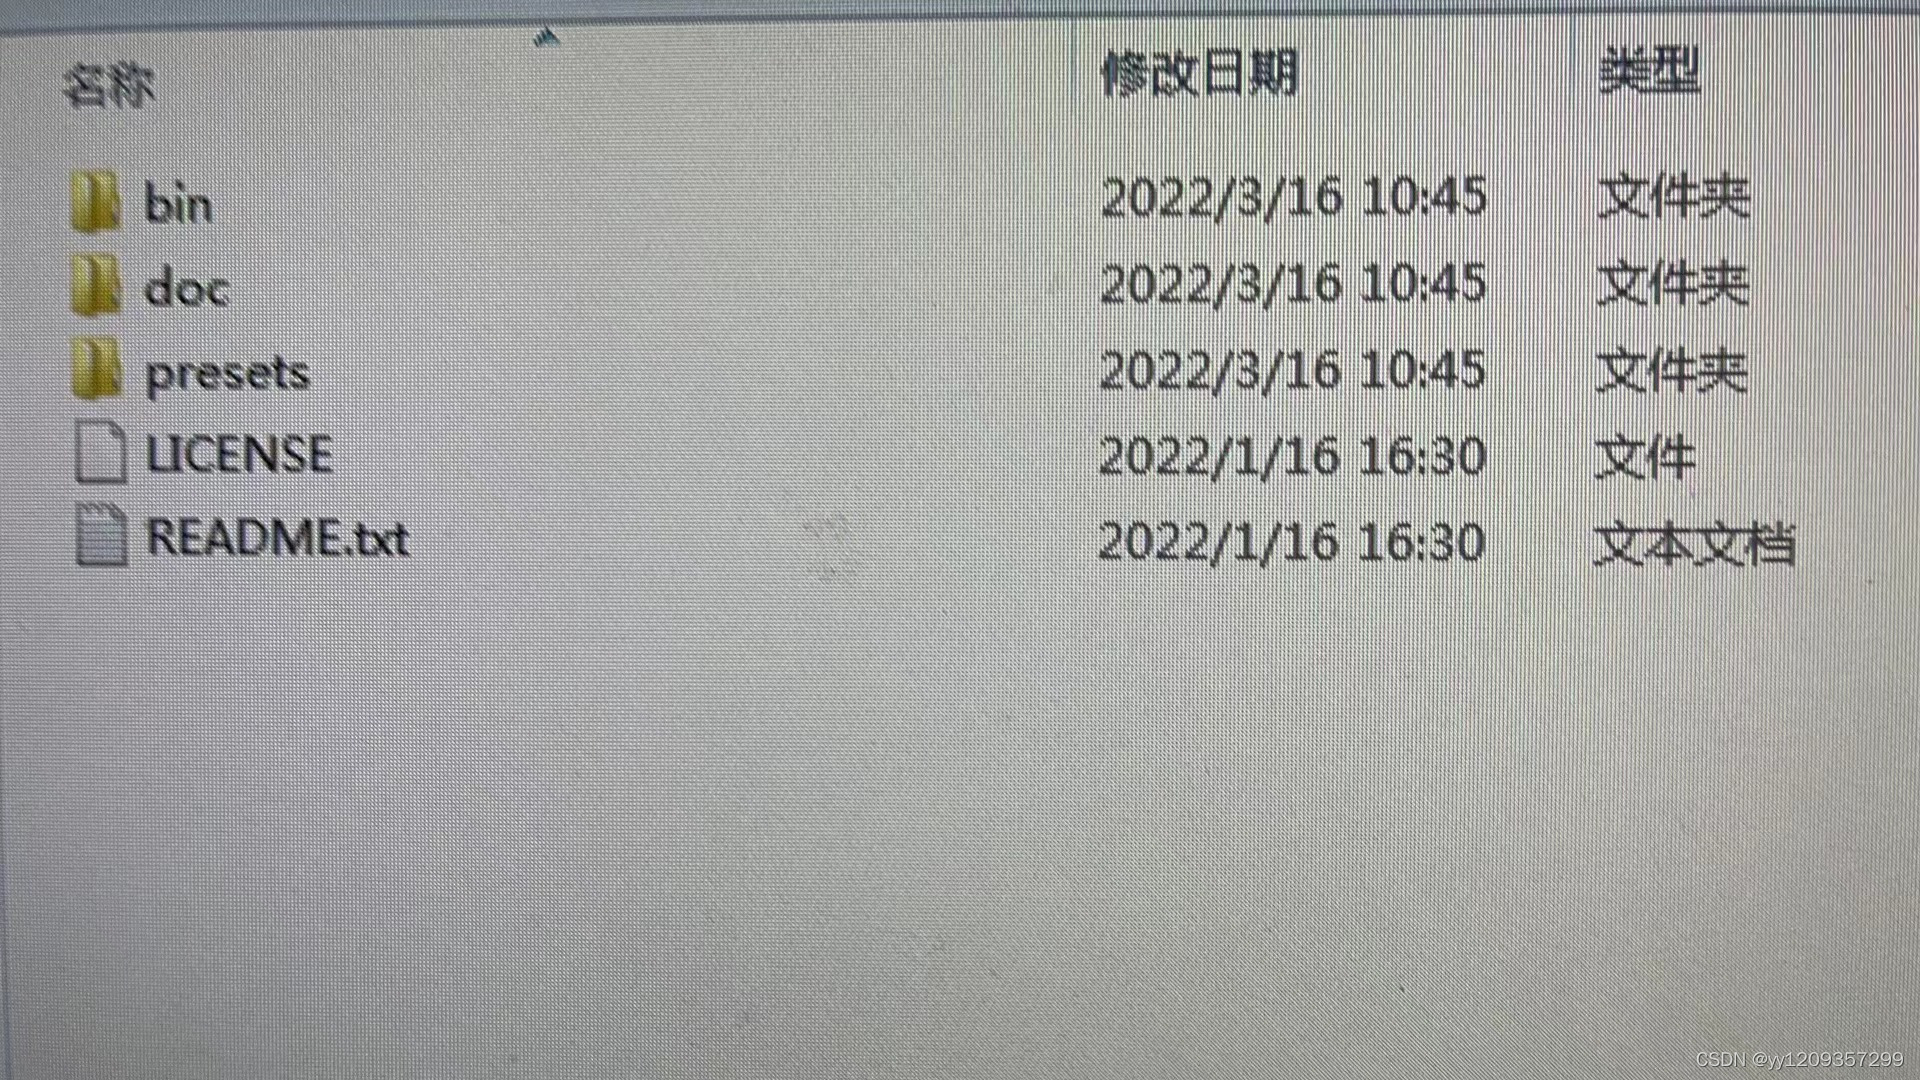
下载以后解压

在环境变量中添加path:d:\ffmpeg\bin
验证方法:cmd 输入ffmpeg -version

3、安装nginx
修改nginx.conf配置
并在html文件夹下创建hls文件

启动nginx:
start nginx.exe
4、执行ffmpeg命令将rtsp流转为hls流
ffmpeg -i "rtsp://admin:beidou123@172.169.0.211" -c copy -f hls -hls_time 2.0 -hls_list_size 0 -hls_wrap 15 E:/shipin/nginx/html/hls/test.m3u8
ffmpeg 关于hls方面的指令说明:
-hls_time n: 设置每片的长度,默认值为2。单位为秒
-hls_list_size n: 设置播放列表保存的最多条目,设置为0会保存有所片信息,默认值为5
-hls_wrap n: 设置多少片之后开始覆盖,如果设置为0则不会覆盖,默认值为0.这个选项能够避免在磁盘上存储过多的片,而且能够限制写入磁盘的最多的片的数量
-hls_start_number n: 设置播放列表中sequence number的值为number,默认值为0
此时nginx下的hls文件夹里会生成实时的视频流
注意:-hls_list_size 2 -hls_flags 2 代替 -hls_list_size 4 -hls_wrap 20
5、前端用video.js进行播放
地址:http://localhost:5010/hls/test.m3u8,通过nginx转发
<!doctype html>
<html>
<head>
<meta charset="utf-8">
<title>Video.js 7.4.1</title>
<link href="../lib/video-7.4.1/video-js.min.css" rel="stylesheet">
<style>
body {
	background-color: #191919
}
.m {
	width: 960px;
	height: 400px;
	margin-left: auto;
	margin-right: auto;
	margin-top: 100px;
}
</style>
</head>

<body>
	<div class="m">
		<video id="my-video" class="video-js" muted controls autoplay preload="auto" width="480" height="300" data-setup="{}">
			<source src="http://localhost:5010/hls/test.m3u8" type="application/x-mpegURL">
		</video>
		<video id="my-video" class="video-js" muted controls autoplay preload="auto" width="480" height="300" data-setup="{}">
			<source src="http://localhost:5010/hls/test.m3u8" type="application/x-mpegURL">
		</video>
		<script type="text/javascript" src="../lib/video-7.4.1/video.min.js"></script>
		<script type="text/javascript">
			var myPlayer = videojs('my-video');
			videojs("my-video").ready(function() {
				var myPlayer = this;
				myPlayer.play();
			});
		</script>
	</div>
</body>
</html>