安装包:mysql-5.7.36-linux-glibc2.12-x86_64.tar.gz
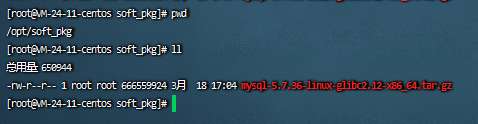
解压并移动到/usr/local目录下:
# 解压安装包
tar -zxvf mysql-5.7.36-linux-glibc2.12-x86_64.tar.gz

等待解压结束
# 把解压后的安装包移动到/usr/local目录下
mv mysql-5.7.36-linux-glibc2.12-x86_64 /usr/local/mysql
# 进入目标目录
cd /usr/local/mysql

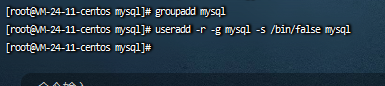
为当前目录创建用户组和用户
groupadd mysql
useradd -r -g mysql -s /bin/false mysql
添加环境变量(不添加的话每次执行MySQL相关的命令都需要输入可执行文件的全路径,很麻烦)
vim /etc/bashrc
# 在文件头部加上如下代码后保存退出
export PATH=$PATH:/usr/local/mysql/bin
# 刷新文件,使配置生效
source /etc/bashrc


为MySQL创建数据和日志目录:
mkdir -p data log
chown mysql:mysql -R data log
chmod 750 data log

配置my.cnf配置文件
备份原配置文件
cp /etc/my.cnf /etc/my-back.cnf
写入配置
打开配置文件
vim /etc/my.cnf
文件中写入下面内容
[mysqld]
bind-address=0.0.0.0
port=3306
user=mysql
basedir=/usr/local/mysql
datadir=/usr/local/mysql/data
socket=/tmp/mysql.sock
log_error=/usr/local/mysql/log/mysql.err
log_warnings = 2
pid_file=/usr/local/mysql/mysql.pid
character_set_server=utf8mb4
collation_server = utf8mb4_unicode_ci
init_connect='SET NAMES utf8mb4'
lower_case_table_names = 1
symbolic_links=0
explicit_defaults_for_timestamp=true
[mysqld_safe]
#log-error=/var/log/mariadb/mariadb.log
#pid-file=/var/run/mariadb/mariadb.pid
!includedir /etc/my.cnf.d

初始化MySQL
mysqld --defaults-file=/etc/my.cnf --basedir=/usr/local/mysql --datadir=/usr/local/mysql/data --user=mysql --initialize
设置开机自启
cp /usr/local/mysql/support-files/mysql.server /etc/init.d/mysqld
chmod +x /etc/init.d/mysqld
chkconfig --add mysqld
chkconfig --level 345 mysqld on
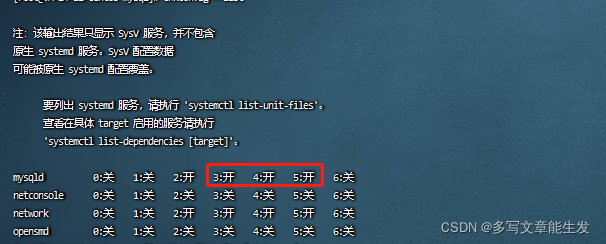
chkconfig --list
设置完成之后服务状态是这样的:
查看MySQL安装后的默认密码:
grep 'A temporary password' /usr/local/mysql/log/mysql.err |awk '{print $NF}'

启动MySQL服务:
service mysql start


登录成功但是报错:ERROR 1820 (HY000): You must reset your password using ALTER USER statement before executing this statement.
这时候不要推出MySQL命令行,初始化的默认密码只能登录一次,登录后不立马修改密码的话,这个密码就会失效!
修改密码(密码自己修改):
alter user 'root'@'localhost' identified by '你设置的新登录密码';

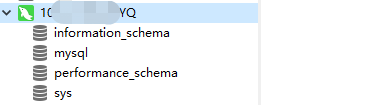
执行一些简单的操作:
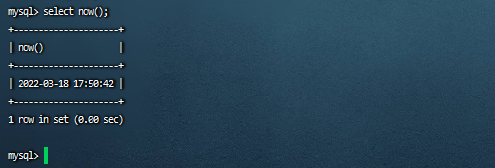
到这里本地登录MySQL已经没有问题了。
试试使用navicat链接MySQL:
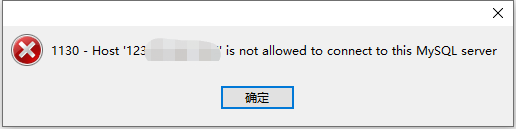
使用navicat连接时报错如上图所示,这是因为MySQL安装时默认设置root用户执行本地链接数据库,要修改这个限制,先看下默认的配置是什么:

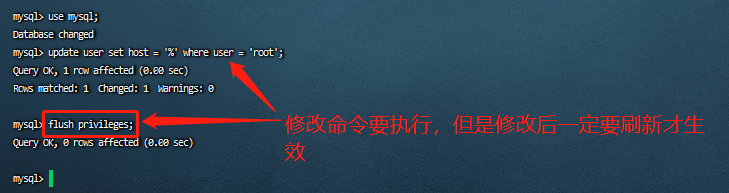
如图所示,默认配置root用户只能在服务器本地连接数据库,执行以下命令修改:
use mysql;
update user set host = '%' where user = 'root';
flush privileges;
host字段可设置的值:
- 指定IP的话只有指定的IP才能访问
- 101.101.1.%只有101.101.1段的IP才能访问
- %表示所有IP都能访问
大多数情况下到这里就可以使用了
如果不行就继续往下看!
再次使用navicat连接数据库:
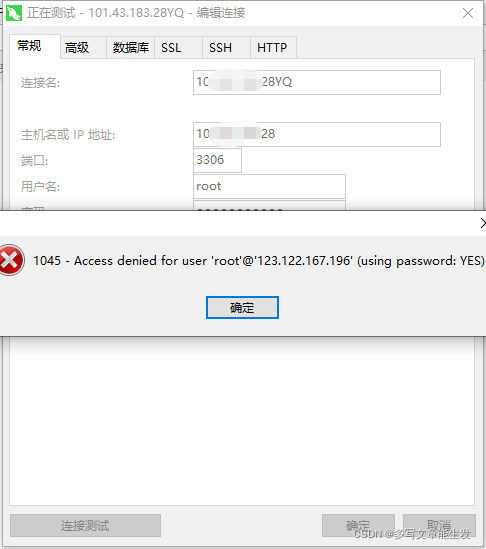
出现 Error 1045 错误时,表明你输入的用户名或密码错误被拒绝访问了,需要给root用户授权:
use mysql;
GRANT ALL PRIVILEGES ON *.* TO “root”@”%” IDENTIFIED BY '你的数据库密码' WITH GRANT OPTION;
flush privileges;

报错信息如下:
ERROR 1064 (42000): You have an error in your SQL syntax; check the manual that corresponds to your MySQL server version for the right syntax to use near '%” identified by 'NIshichou38' with grant option' at line 1

再次授权:
 use mysql;
grant all privileges on *.* to 'root'@'%' identified by 'NIshichou38' with grant option;

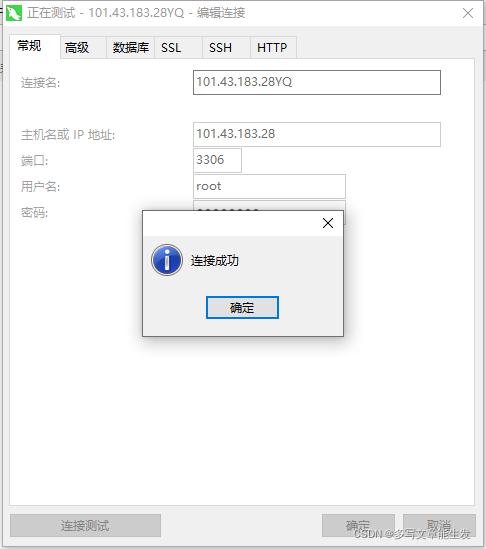
再次使用navicat连接数据库进行验证: