jenkins的环境搭建方法有很多,本篇使用docker快速搭建一个jenkins环境。
环境准备:
- linux服务器
- docker
docker运行jenkins
先下载jenkins镜像Docker Hub,选择lts的jenkins最新版本。
jenkins版本太低的话,很多插件安装不上,升级也很麻烦。
docker pull jenkins/jenkins:lts
新建jenkins用户的工作目录,注意这一步最好目录保持一致。
mkdir /home/jenkins
查看目录归属ID命令 ls -nd /home/jenkins ,这里查看ID是1000
[root@VM_0_2_centos home]# ls -nd /home/jenkins
drwxr-xr-x 2 1000 1000 4096 Dec 29 15:58 /home/jenkins
给ID为1000的用户添加操作权限
chown -R 1000:1000 /home/jenkins
运行容器
docker run -itd -p 9090:8080 -p 50000:50000 --name jenkins --privileged=true -v /home/jenkins:/var/jenkins_home jenkins/jenkins:lts
- --privileged=true 让容器有root权限,方便进入容器操作
- -p 9090:8080 jenkins的web访问端口9090
- -v /home/jenkins:/var/jenkins_home 容器/var/jenkins_home路径映射到宿主机/home/jenkins
浏览器输入http://ip:9090/访问jenkins首页
启动jenkins
启动页面输入密码
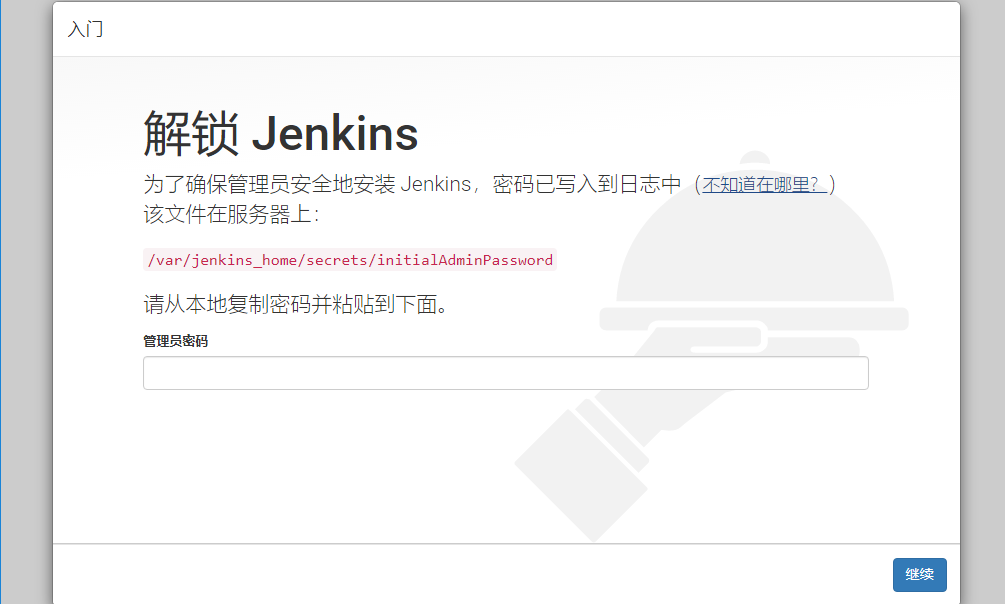
密码地址:/var/jenkins_home/secrets/initialAdminPassword
上面启动容器的时候容器/var/jenkins_home路径映射到宿主机/home/jenkins,在宿主机的/home/jenkins/secrets/initialAdminPassword地址可以找到密码
[root@VM_0_2_centos ~]# cat /home/jenkins/secrets/initialAdminPassword
a1f6ceaa9c554d40a729158429faa36e
接下来进入到下载插件页面
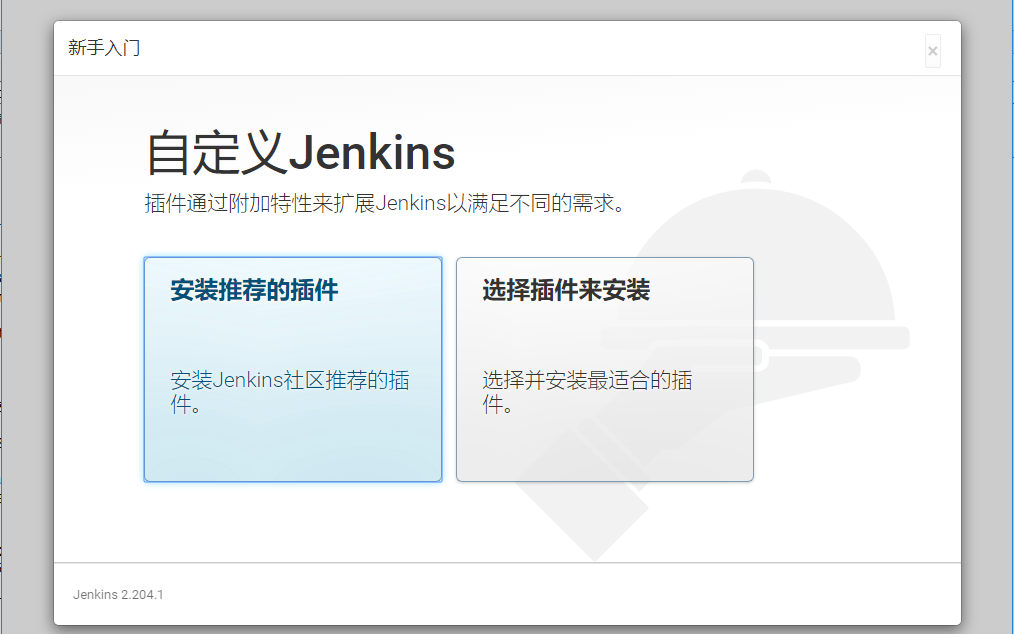
下载插件
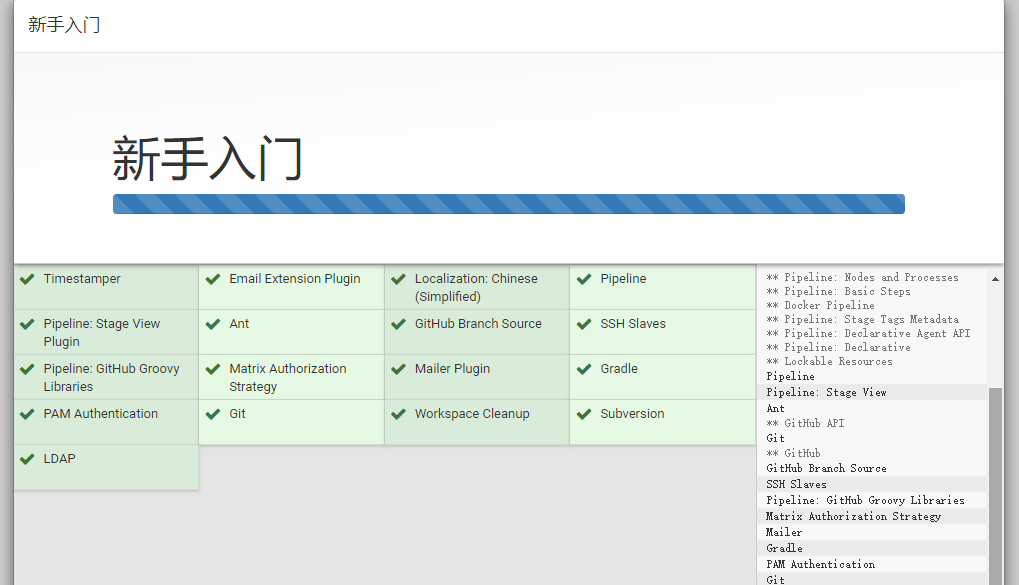
选左侧安装推荐的插件,自动安装就可以了,jenkins学习3-Jenkins插件下载速度慢、安装失败
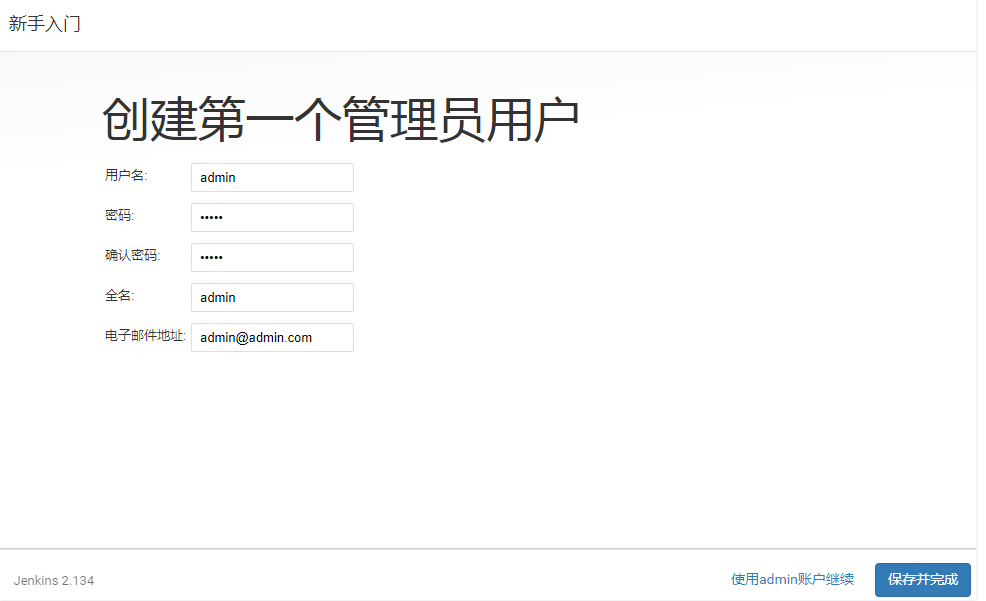
设置账号
插件下载完成后,设置admin账户和密码
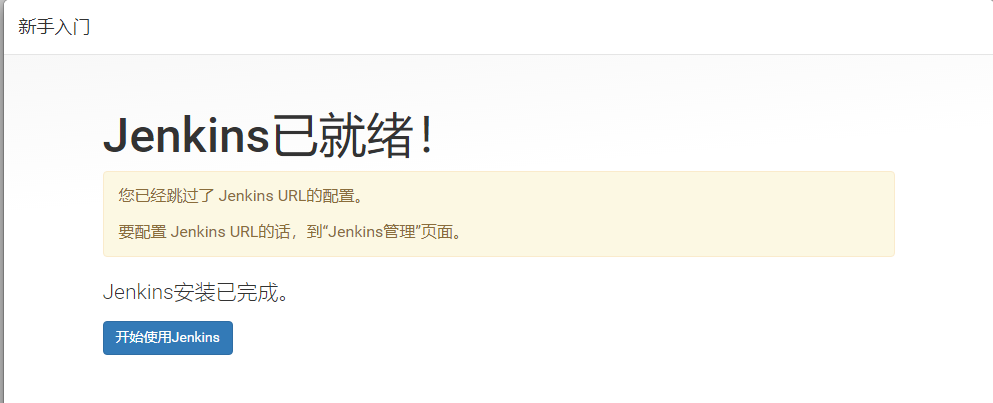
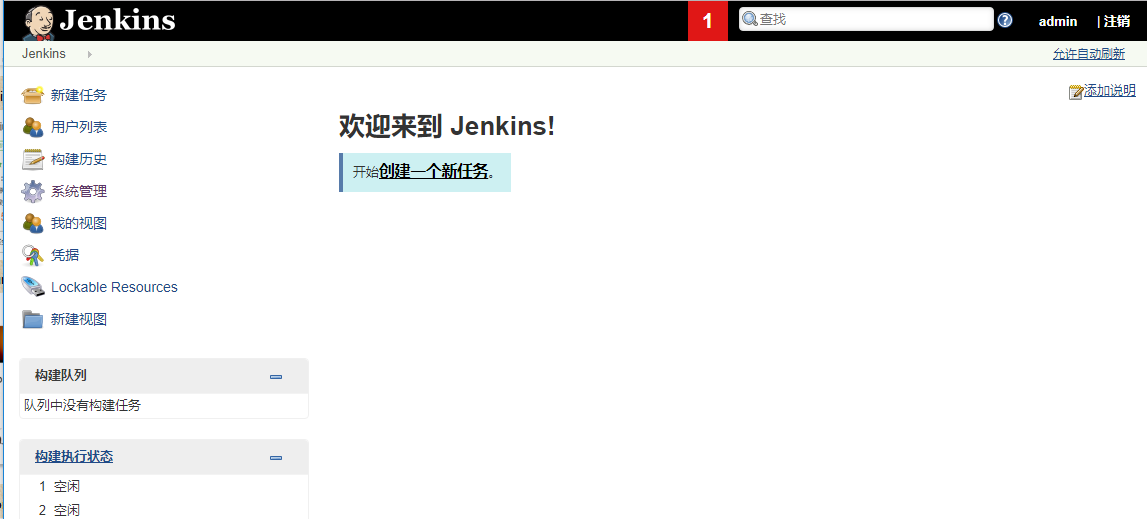
jenkins首页
安装过程中遇到的问题以及解决办法
jenkins学习2-首次输入密码后卡在空白页不加载
jenkins学习3-Jenkins插件下载速度慢、安装失败
容器内部安装python3环境
下载python3安装包
进入容器内部, linux安装python3环境,参考这篇Linux学习5-CentOS安装Python3.6环境和pip3 - 上海-悠悠 - 博客园
root@cb8e397d5308:/var/jenkins_home# cd /var/jenkins_home/
root@cb8e397d5308:/var/jenkins_home# mkdir python3
root@cb8e397d5308:/var/jenkins_home# cd python3/
root@cb8e397d5308:/var/jenkins_home/python3# wget https://www.python.org/ftp/python/3.6.8/Python-3.6.8.tgz
root@cb8e397d5308:/var/jenkins_home/python3# tar -xvf Python-3.6.8.tgz
root@cb8e397d5308:/var/jenkins_home/python3# ls
Python-3.6.8  Python-3.6.8.tgz
root@cb8e397d5308:/var/jenkins_home/python3# cd Python-3.6.8
root@cb8e397d5308:/var/jenkins_home/python3/Python-3.6.8# ./configure --prefix=/var/jenkins_home/python3
checking build system type... x86_64-pc-linux-gnu
checking host system type... x86_64-pc-linux-gnu
checking for python3.6... no
checking for python3... no
checking for python... python
checking for --enable-universalsdk... no
checking for --with-universal-archs... no
checking MACHDEP... linux
checking for --without-gcc... no
checking for --with-icc... no
checking for gcc... no
checking for cc... no
checking for cl.exe... no
configure: error: in `/var/jenkins_home/python3/Python-3.6.8':
configure: error: no acceptable C compiler found in $PATH
See `config.log' for more details
执行?./configure --prefix=/var/jenkins_home/python3时报上面错:configure: error: no acceptable C compiler found in $PATH
apt-get 安装依赖包
这个是因为缺少gcc相关依赖包,使用apt-get代替yum安装相关依赖包
apt-get -y install gcc automake autoconf libtool make
apt-get -y install make*
apt-get -y install zlib*
apt-get -y install openssl libssl-dev
apt-get install sudo
make编译安装
在/var/jenkins_home/python3/Python-3.6.8目录执行make和make install 安装
./configure --prefix=/var/jenkins_home/python3 --with-ssl
make
make install
添加软链接
添加python3软链接
ln -s /var/jenkins_home/python3/bin/python3.6 /usr/bin/python3
添加pip3软链接
ln -s /var/jenkins_home/python3/bin/pip3 /usr/bin/pip3
检查环境
输入pip3 和python3检查环境
root@cb8e397d5308:/var/jenkins_home/python3/Python-3.6.8# pip3

root@cb8e397d5308:/var/jenkins_home/python3/Python-3.6.8# python3
Python 3.6.8 (default, Jan  1 2020, 10:15:14)
[GCC 6.3.0 20170516] on linux
Type "help", "copyright", "credits" or "license" for more information.
>>> exit()
使用pip3安装一个requests包
pip3 install requests
ssl问题
如果pip3安装的时候遇到报ssl相关问题:pip is configured with locations that require TLS/SSL, however the ssl module in Python is not available.
这个是因为缺少ssl依赖包,网上的解决方案是yum install openssl-devel?,由于Debian系统没有yum,用apt-get安装
apt-get -y install openssl libssl-dev
安装完成之后只能解决系统自带的python2对应的pip安装问题,无法解决python3的pip3安装问题。
解决办法:上面编译的时候需加上参数 --with-ssl
./configure --prefix=/var/jenkins_home/python3 --with-ssl
重新执行make和make install 就可以了
也可以在python环境检查是否能导入ssl
root@cb8e397d5308:/var/jenkins_home/python3/Python-3.6.8# python3
Python 3.6.8 (default, Jan  1 2020, 10:15:14)
[GCC 6.3.0 20170516] on linux
Type "help", "copyright", "credits" or "license" for more information.
>>> import ssl
python自动化的脚本开发完成后需提交到git代码仓库,接下来就是用Jenkins拉取代码去构建自动化代码了
git源码管理
代码上传git仓库这里就不介绍了,可以看之前写过的github相关这篇git使用教程1-本地代码上传到github - 上海-悠悠 - 博客园
自己公司内部的一般用gitlab,可以参考这篇Linux学习18-gitlab新建项目提交代码 - 上海-悠悠 - 博客园
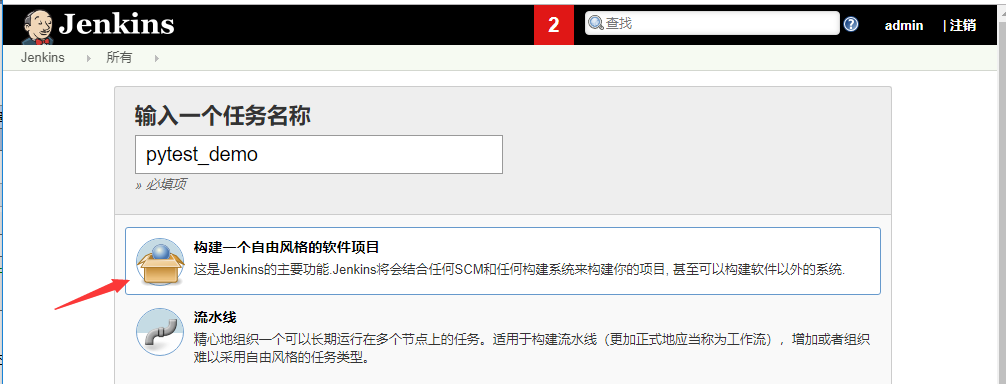
打开Jenkins新建一个自由风格的项目
源码管理
- Repository URL 代码仓库地址
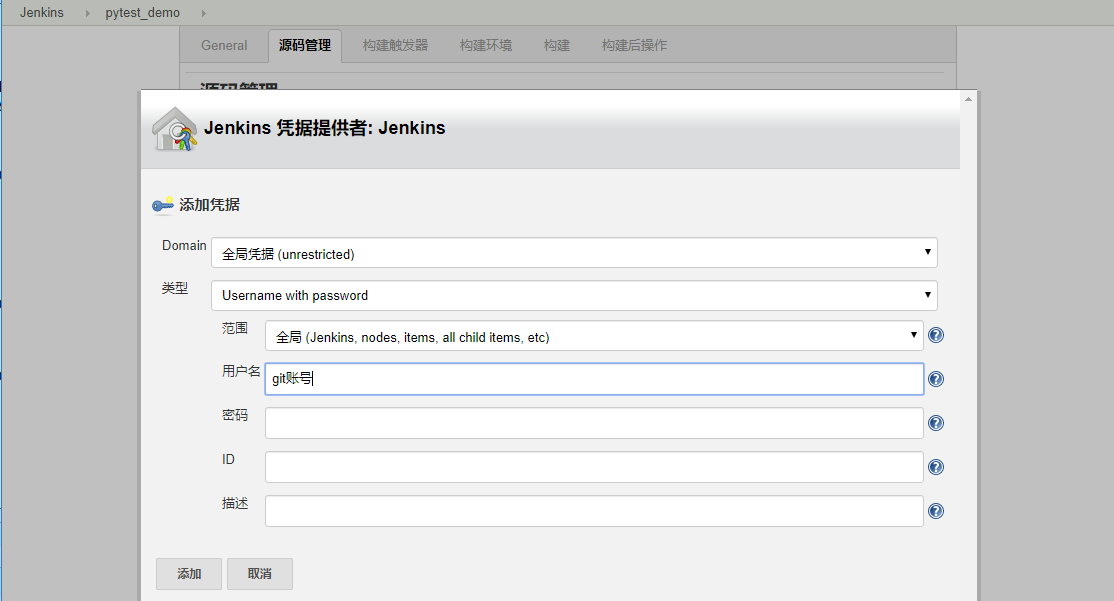
- Credentials git仓库登陆的账号和密码凭证
- 指定分支(为空时代表any)分支默认
*/master
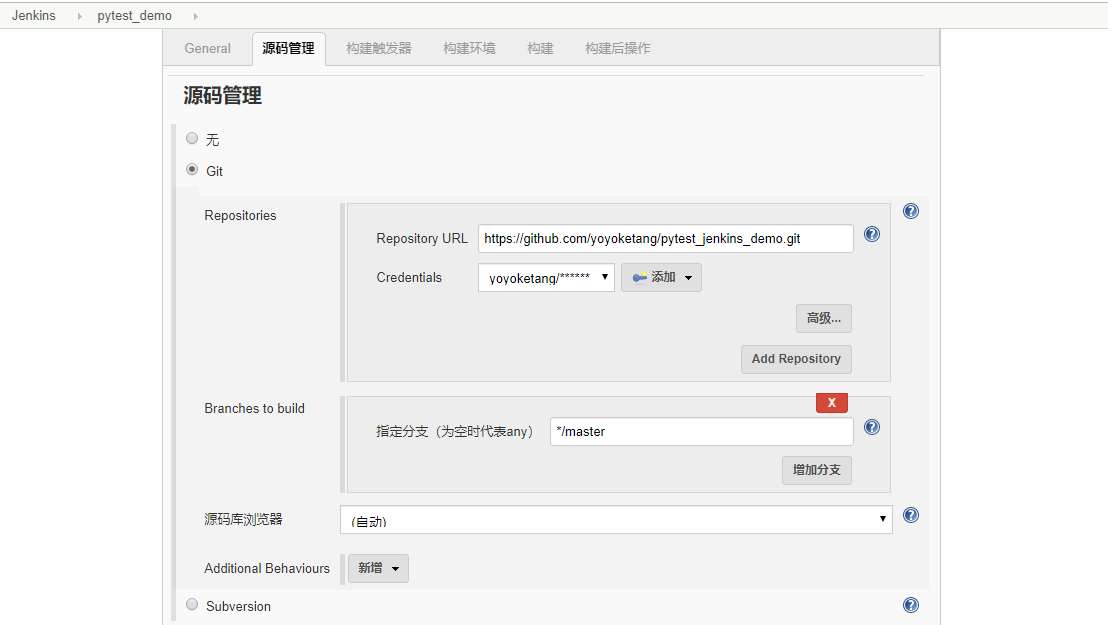
Repository URL 代码仓库地址
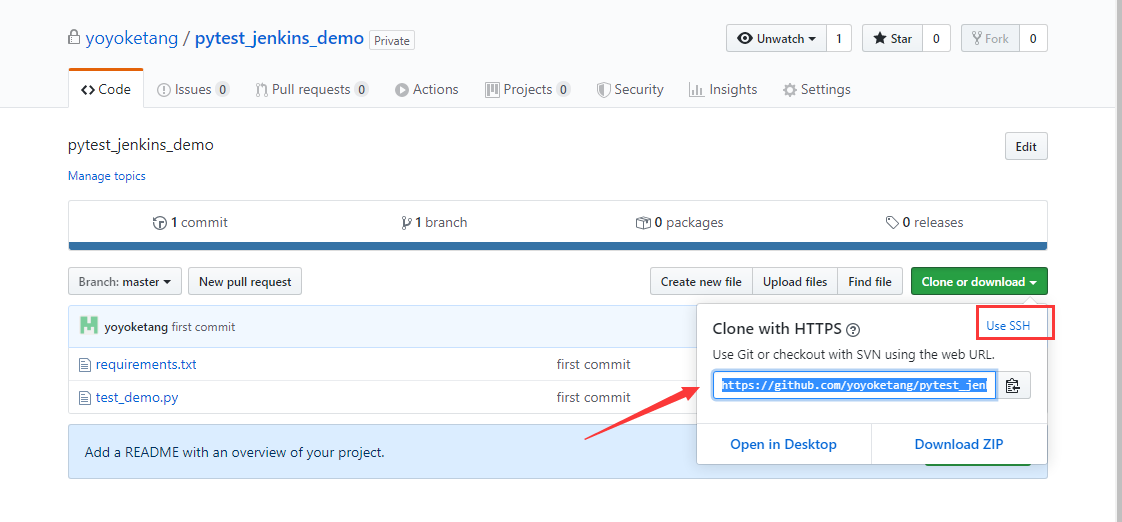
备注:如果是ssh方式链接的,就点右上角的SSH地址
Credentials 点开Jenkins按钮,输入git仓库登陆的账号和密码
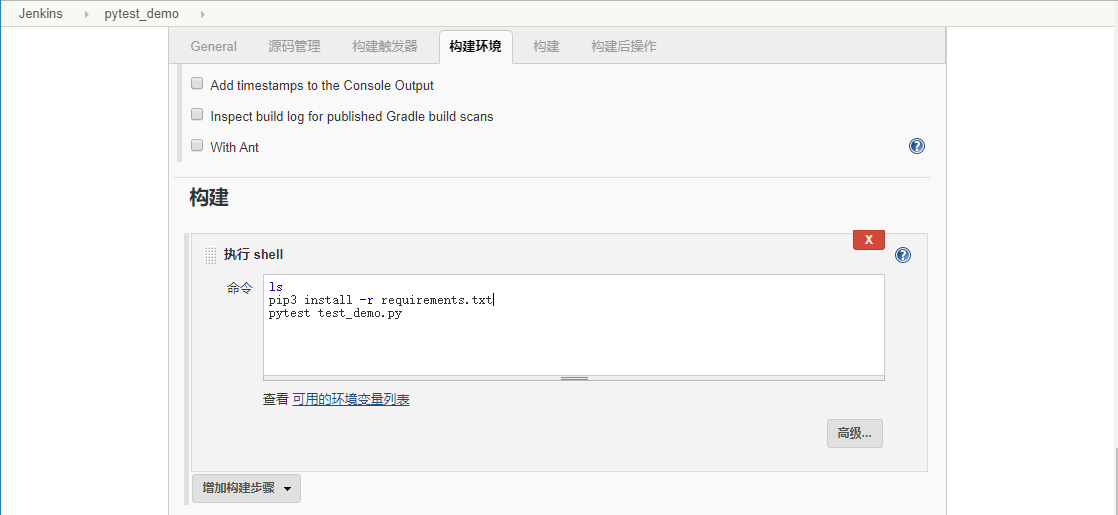
构建 执行shell
执行shell,先pip3安装requirements.txt,再用pytest执行脚本
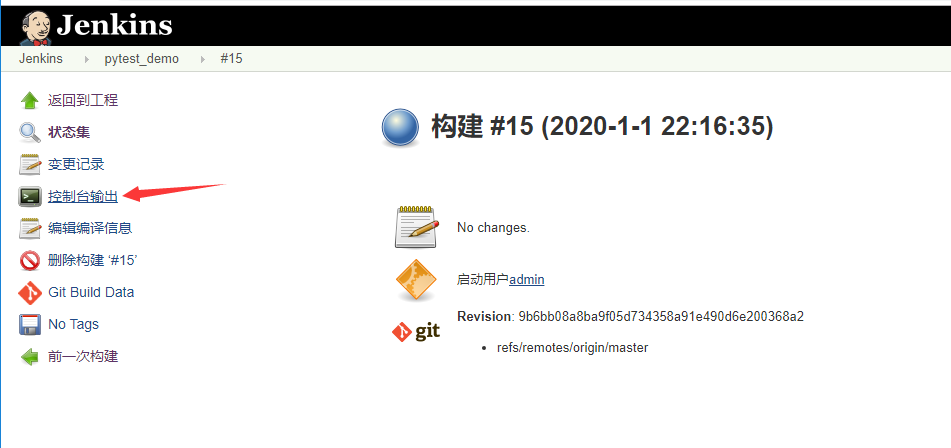
查看控制台输入出,console查看日志
+ ls
requirements.txt
test_demo.py
+ pip3 install -r requirements.txt
Collecting requests==2.18.4 (from -r requirements.txt (line 1))
  Downloading

Installing collected packages: idna, urllib3, requests, atomicwrites, six, more-itertools, wcwidth, attrs, py, zipp, importlib-metadata, pluggy, pytest, pytest-metadata, pytest-html
  Found existing installation: idna 2.8
    Uninstalling idna-2.8:
Could not install packages due to an EnvironmentError: [Errno 13] Permission denied: '/var/jenkins_home/python3/lib/python3.6/site-packages/idna-2.8.dist-info/INSTALLER'
Consider using the `--user` option or check the permissions.
发现没有权限安装,可以进入容器内部安装
docker exec -it -u root 容器id /bin/bash
打开workspace目录安装 /home/jenkins/workspace/pytest_demo
[root@cb8e397d5308]# cd /home/jenkins/workspace/pytest_demo
[root@cb8e397d5308]# ls
requirements.txt  test_demo.py
[root@cb8e397d5308]# pip3 install -r requirements.txt
安装完成后输入pytest检查pytest:-bash: pytest: command not found
[root@VM_0_2_centos pytest_demo]# pytest
-bash: pytest: command not found
查找pytest安装地址添加软链接,输入pytest --version查看环境
[root@cb8e397d5308]# find / -name pytest
/var/jenkins_home/python3/bin/pytest
[root@cb8e397d5308]# ln -s /var/jenkins_home/python3/bin/pytest /usr/bin/pytest
[root@cb8e397d5308]# pytest --version
This is pytest version 4.5.0, imported from /root/python36/lib/python3.6/site-packages/pytest.py
setuptools registered plugins:
  pytest-html-1.19.0 at /root/python36/lib/python3.6/site-packages/pytest_html/plugin.py
  pytest-metadata-1.8.0 at /root/python36/lib/python3.6/site-packages/pytest_metadata/plugin.py
构建job
上面需要的环境都安装完成后,执行shell的时候,直接输入pytest命令就可以执行自动化的脚本了
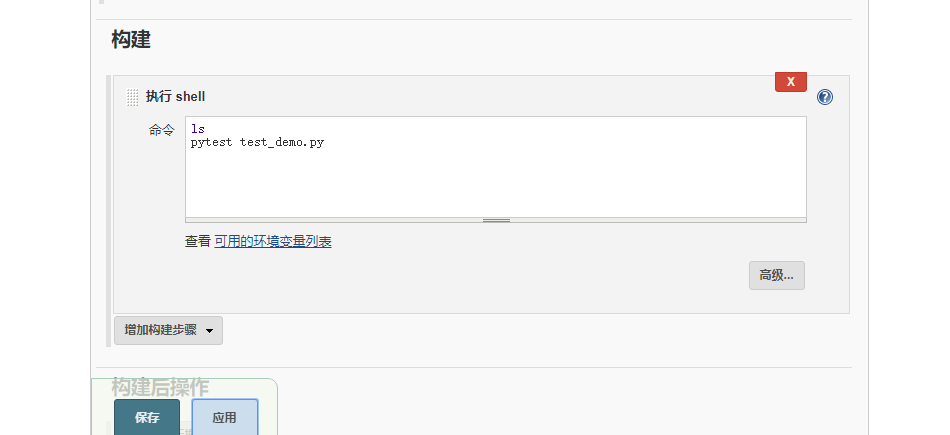
构建成功
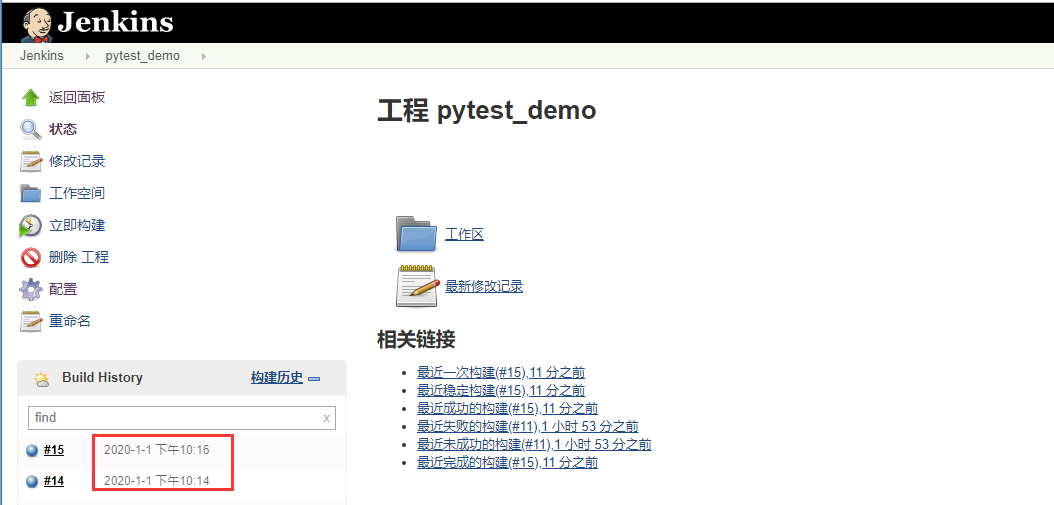
用docker搭建的Jenkins环境时间显示和我们本地时间相差8个小时,需修改容器内部的系统时间
查看时间
先查看宿主机的系统时间
date -R
进docker容器查看时间
docker exec -it -u root 容器id /bin/bash
查看容器内部的系统时间,跟宿主机的不一致
date -R
查看容器内部系统时区,显示的是Etc/UTC
root@cb8e397d5308:/# cat /etc/timezone
Etc/UTC
修改容器时间
容器内部创建Asia时区文件
echo Asia/Shanghai >/etc/timezone
localtime可以从宿主机拷贝到容器内部(exit退出容器,在宿主机上操作docker cp)
docker cp /usr/share/zoneinfo/Asia/Shanghai 容器id:/etc/localtime
查看Jenkins上的时间就可以正常显示了
?