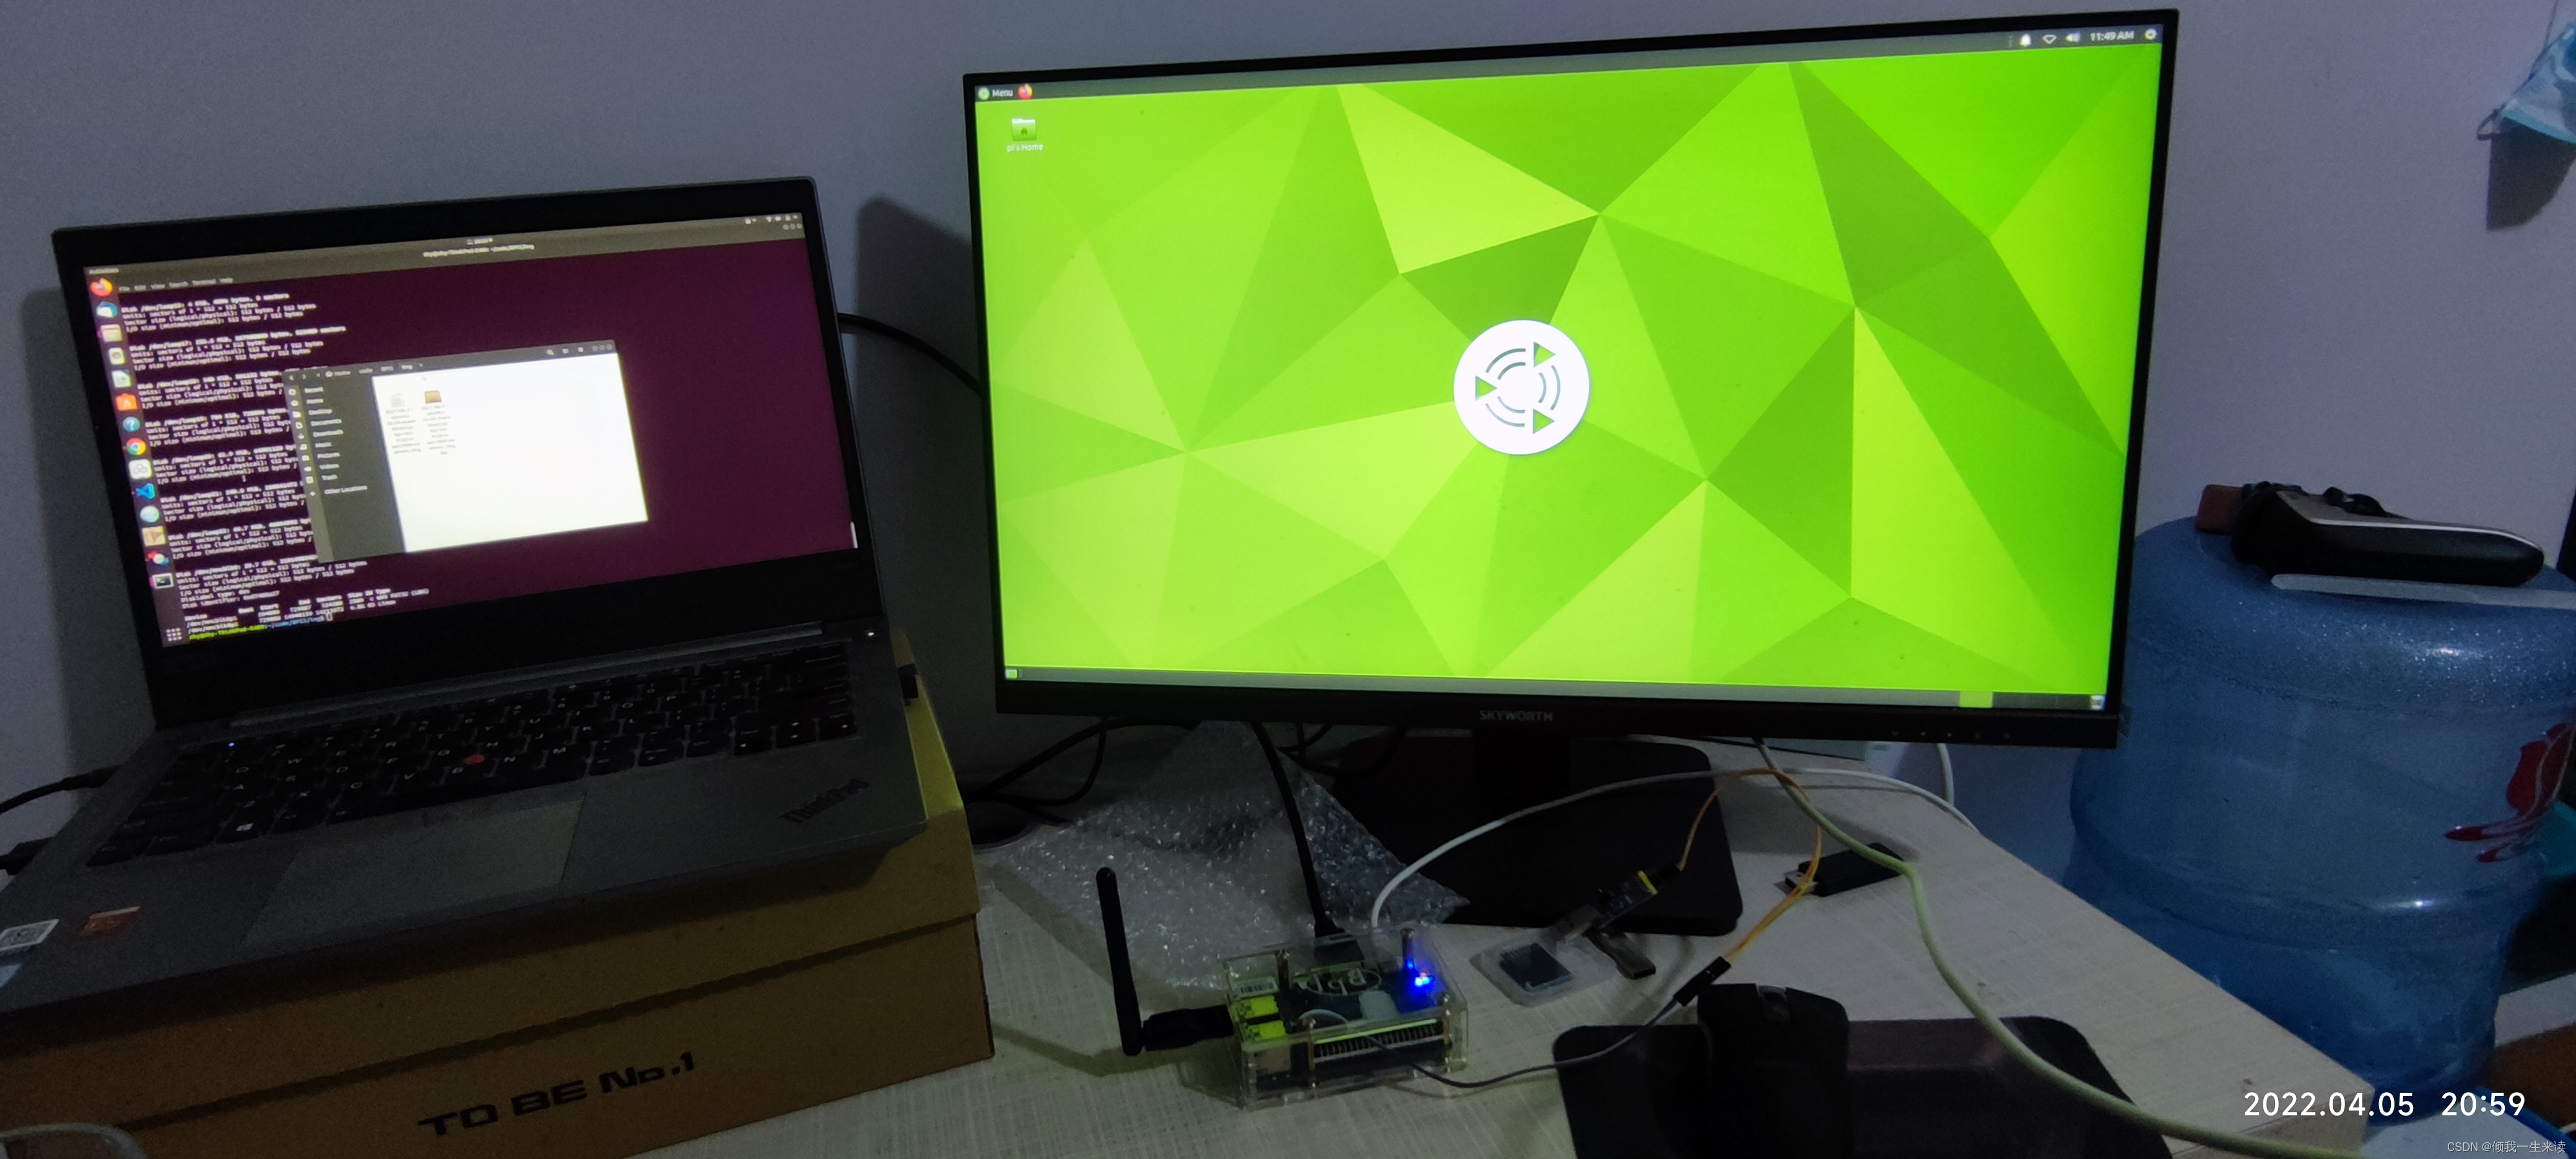
BPI官方提供的bsp还是比较完善,包括了u-boot、kernel、root file system以及一个完整的tool chain,本文章主要记录编译并替换BSP的过程。
1 BSP代码下载
下载官方提供的BSP代码
git clone https://github.com/BPI-SINOVOIP/BPI-M5-bsp
git submodule update --init --recursive
软件包中自带了toolchain,所以不需要再额外的下载安装了,toolchain位于toolchains目录,cd 到该目录看一下:
zhy@zhy-ThinkPad-E480:~/code/BPI5/BSP/BPI-M5-bsp/toolchains$ ls -l
total 12
drwxrwxr-x 8 zhy zhy 4096 4月   5 10:36 gcc-linaro-7.3.1-2018.05-x86_64_aarch64-linux-gnu
drwxrwxr-x 7 zhy zhy 4096 4月   5 10:36 gcc-linaro-aarch64-none-elf-4.8-2013.11_linux
drwxrwxr-x 7 zhy zhy 4096 4月   5 10:36 gcc-linaro-arm-none-eabi-4.8-2014.04_linux
zhy@zhy-ThinkPad-E480:~/code/BPI5/BSP/BPI-M5-bsp/toolchains$
可以看到有两个版本的toolchain,其中4.8版本的是用来编译u-boot的,7.3版本的是用来编译kernal的。
2 BSP代码编译
编译的方法比较简单,执行BSP根目录的编译脚步就可以:
./build.sh
结果如下,有七个编译选项,输入1编译 uboot 、kernel,生成rootfs。
zhy@zhy-ThinkPad-E480:~/code/BPI5/BSP/BPI-M5-bsp$ ./build.sh
This tool support following building mode(s):
--------------------------------------------------------------------------------
	1. Build all, uboot and kernel and pack to download images.
	2. Build uboot only.
	3. Build kernel only.
	4. kernel configure.
	5. Pack the builds to target download image, this step must execute after u-boot,
	   kernel and rootfs build out
	6. Update local build to SD with BPI Image flashed
	7. Clean all build.
--------------------------------------------------------------------------------
Please choose a mode(1-7):
编译完成后在执行一下脚本:
./build.sh
这次选择5,打包img,打包完成后执行以下命令把编译好的kernal、uboot、rootfs替换到用于开发板启动的SD 卡中。
./build.sh 6
按提示输入SD卡挂载的目录即可:
zhy@zhy-ThinkPad-E480:~/code/BPI5/BSP/BPI-M5-bsp$ ./build.sh 6
This tool support following building mode(s):
--------------------------------------------------------------------------------
	1. Build all, uboot and kernel and pack to download images.
	2. Build uboot only.
	3. Build kernel only.
	4. kernel configure.
	5. Pack the builds to target download image, this step must execute after u-boot,
	   kernel and rootfs build out
	6. Update local build to SD with BPI Image flashed
	7. Clean all build.
--------------------------------------------------------------------------------
 Now building...

scripts/mk_install_sd.sh
--------------------------------------------------------------------------------
  1. M5/M2Pro
--------------------------------------------------------------------------------
Please choose a target to install(1-1): 1

Please type the SD device(/dev/sdX): /dev/mmcblk0
此处需要注意的是SD卡必须要是flash过的才可以,也就是说SD 需要事先烧写过img,并且使开发板成功启动过,不确定SD卡是否被flash过可以用fdisk看一下:
sudo fdisk -l
SD卡的信息如下,可以看到/dev/mmcblk0被分成了两个分区,这就代表SD卡是flash过的。
Disk /dev/mmcblk0: 29.7 GiB, 31914983424 bytes, 62333952 sectors
Units: sectors of 1 * 512 = 512 bytes
Sector size (logical/physical): 512 bytes / 512 bytes
I/O size (minimum/optimal): 512 bytes / 512 bytes
Disklabel type: dos
Disk identifier: 0xd7488a27

Device         Boot  Start      End  Sectors  Size Id Type
/dev/mmcblk0p1      204800   729087   524288  256M  c W95 FAT32 (LBA)
/dev/mmcblk0p2      729088 14940159 14211072  6.8G 83 Linux
如果一切操作无误,控制台会有如下log输出:

将SD卡插到开发板,上电可以看到同样启动成功。
