服务器操作系统安装
安装RHEL 6.8 64位
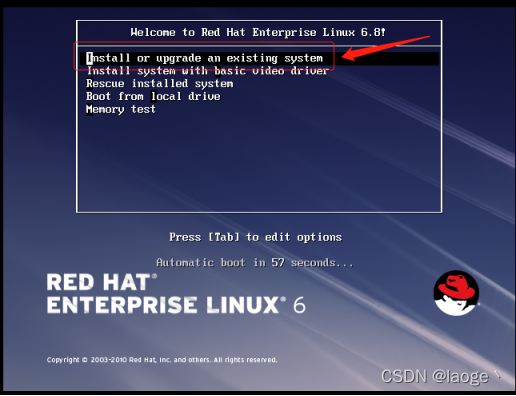
选择安装
跳过扫描光盘完整性

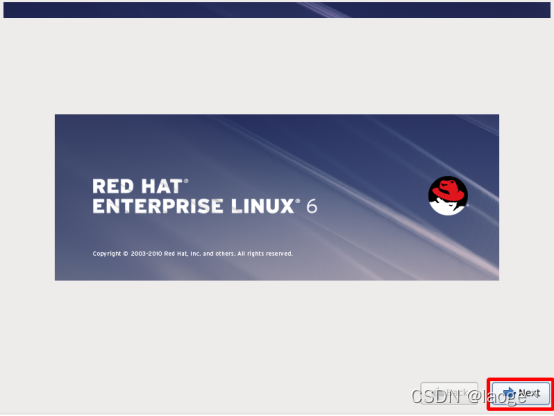
进入到安装向导界面,单击下一步
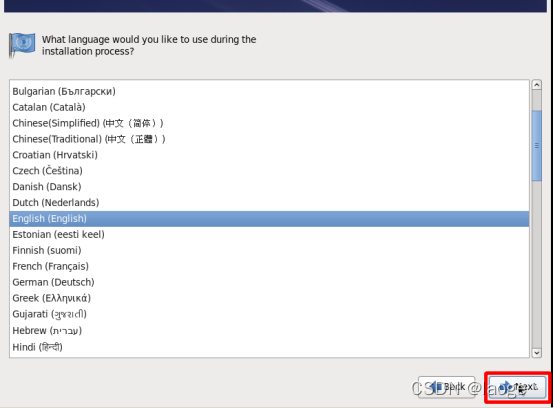
选择英语安装
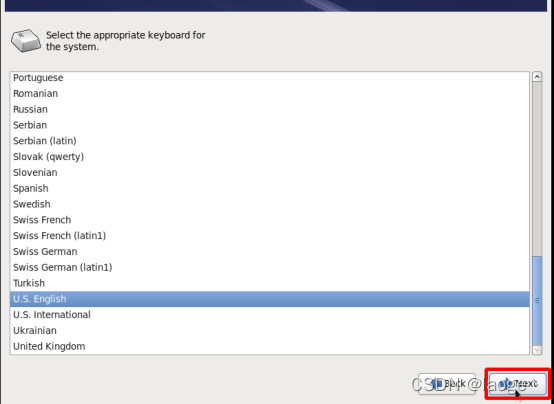
英文键盘
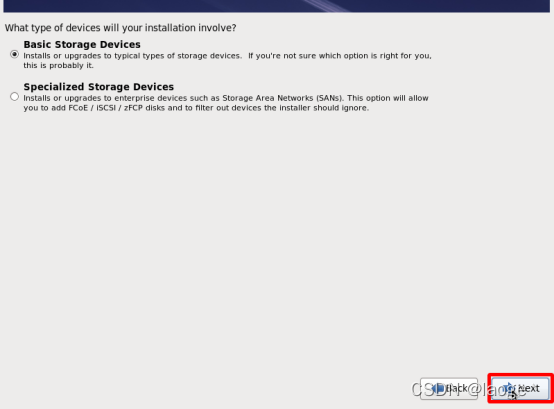
基本存储设备
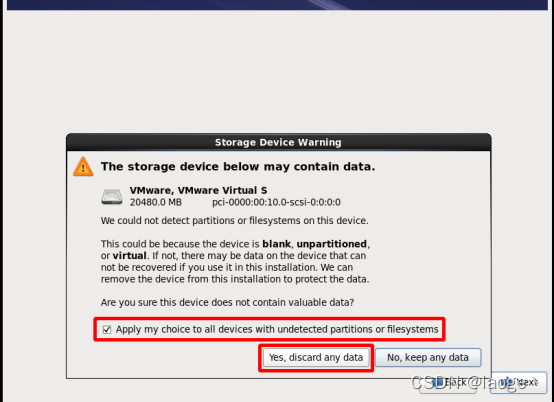
丢弃存储数据
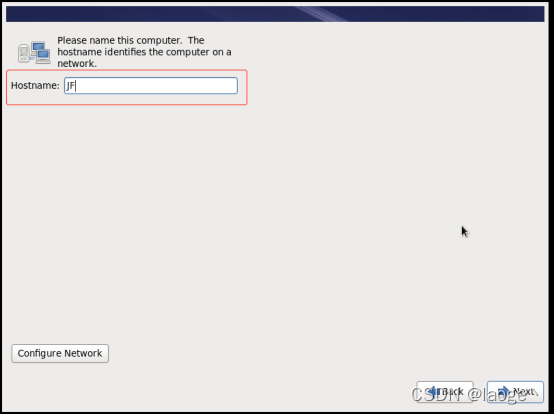
输入机器名称
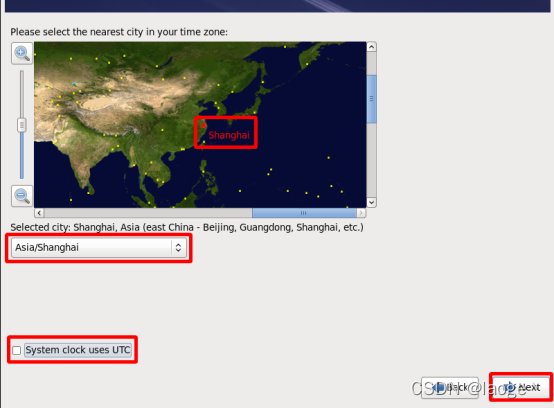
选取时区和去选夏令时
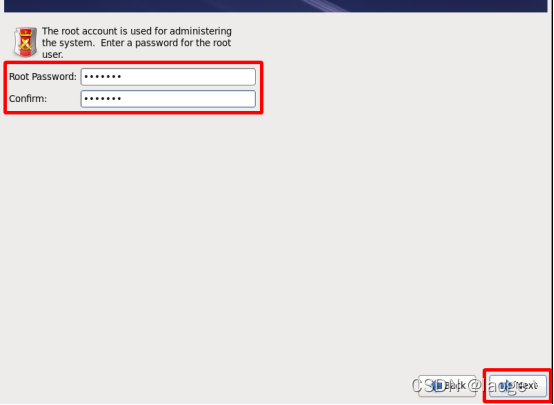
输入用户名和密码,单击next
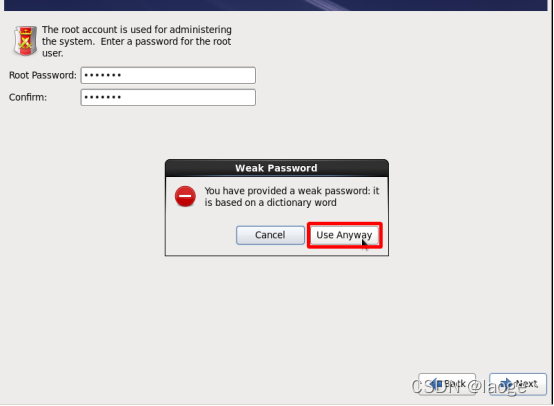
确认使用简单的密码
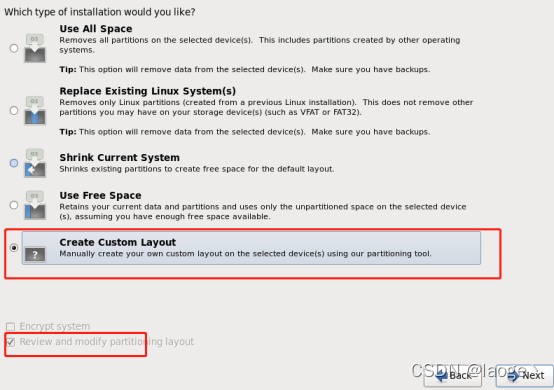
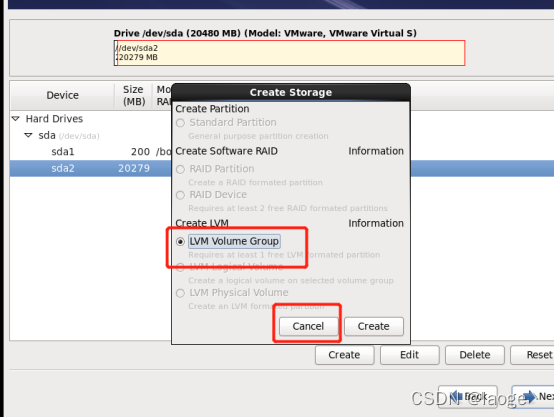
选用所有空间并预览分配(实际上选择Create Custom Layout)
这里选择第五个 进入此界面 然后全部删除
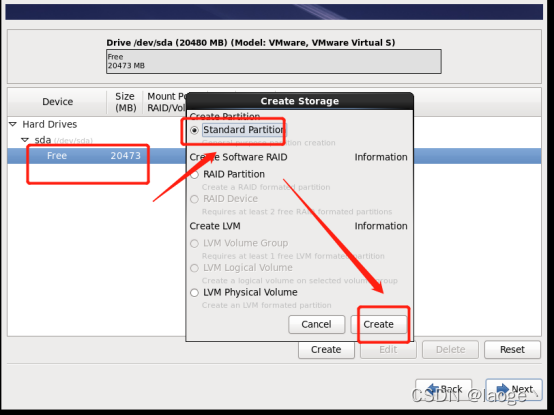
之后创建create
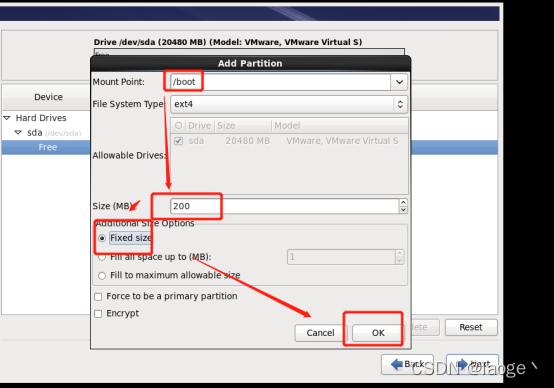
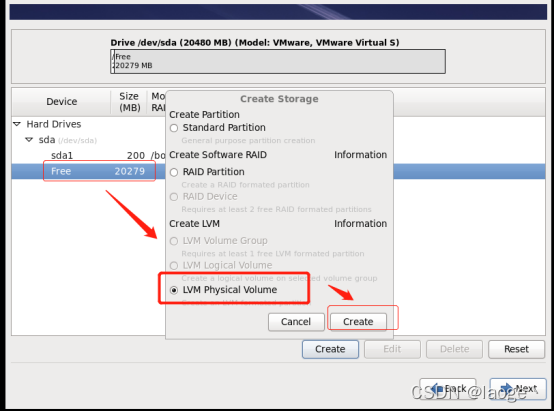
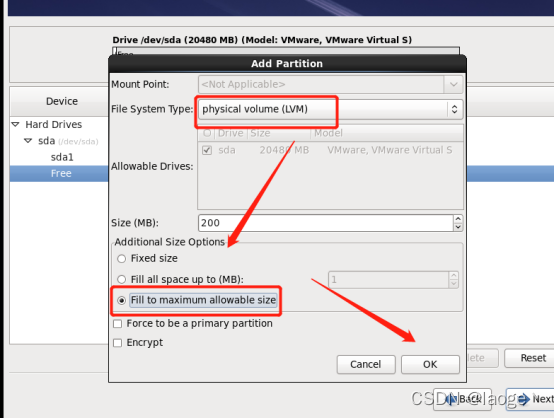
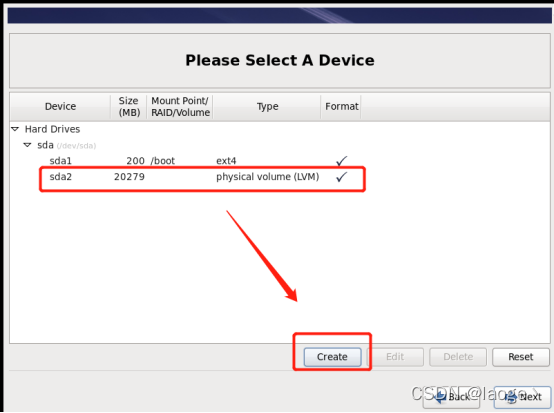
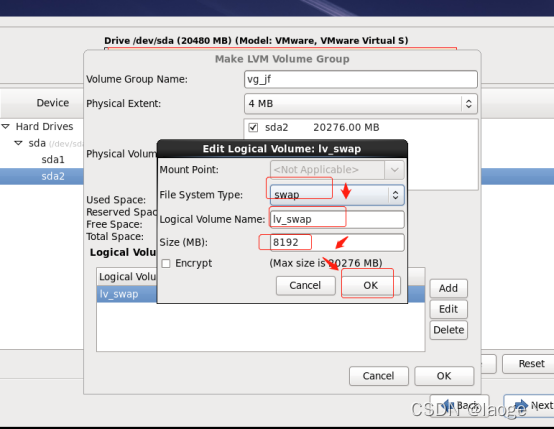
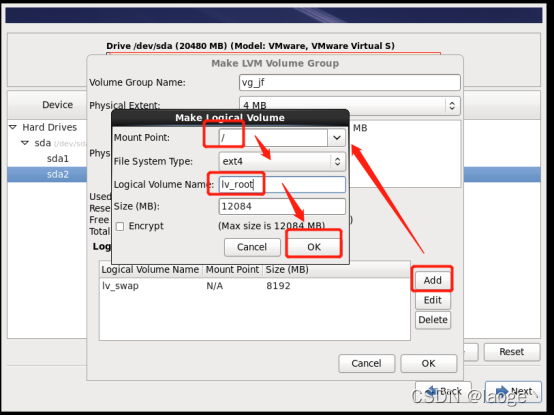
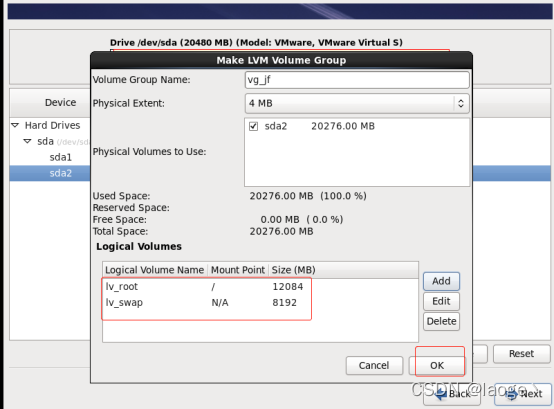
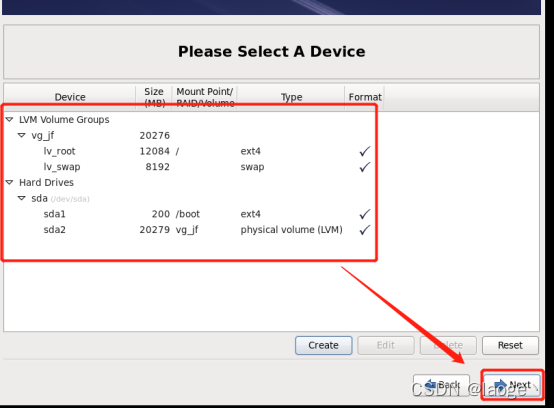
预览和修改分区,修改/boot为200M左右,swap一般与内存大小相等,将余下所有空间全部分给/目录,请按照实际硬盘raid大小来划分。单击右下角next
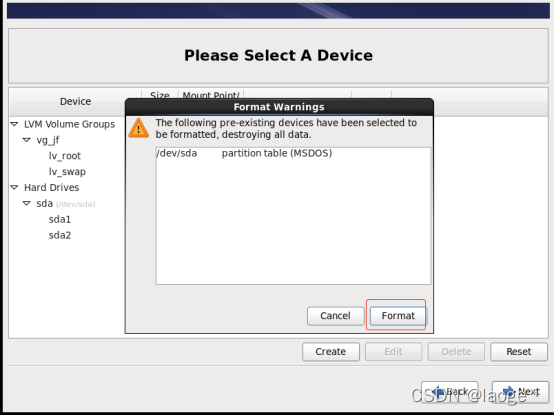
进行格式化
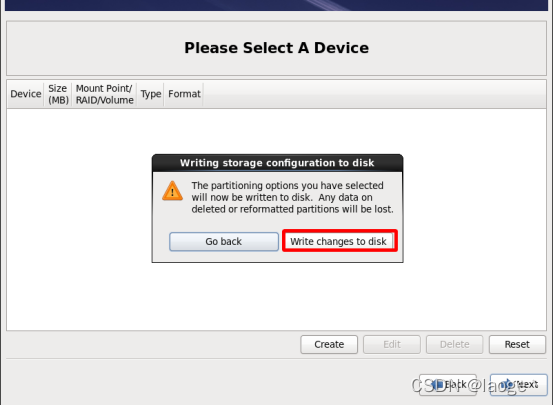
写入更改到磁盘
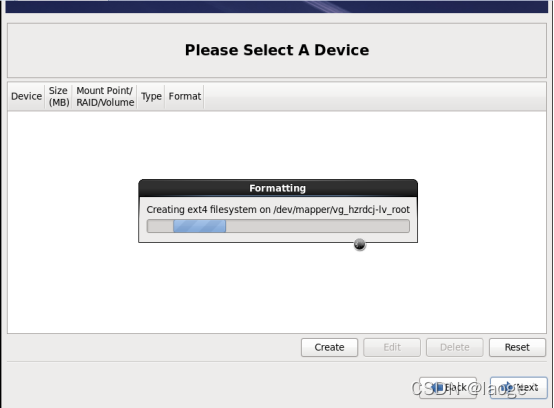
等待格式化完成
单击下一步
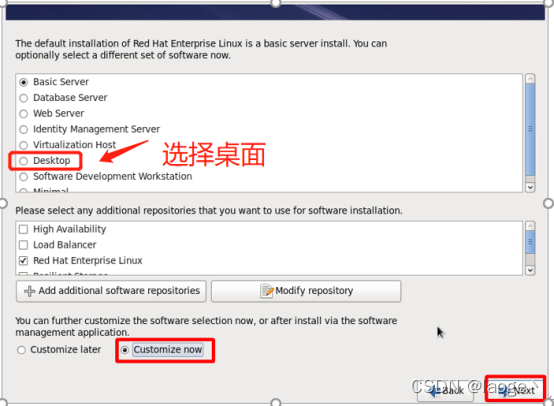
自定义安装包
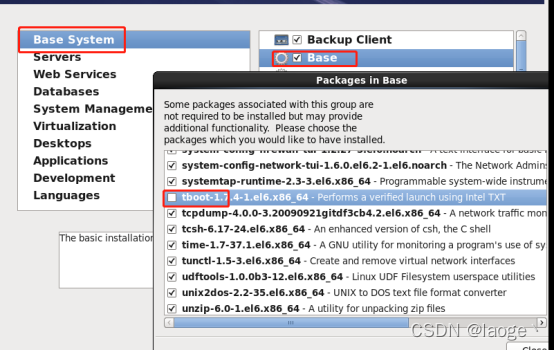
基本系统全选(Base里面的tboot去选)
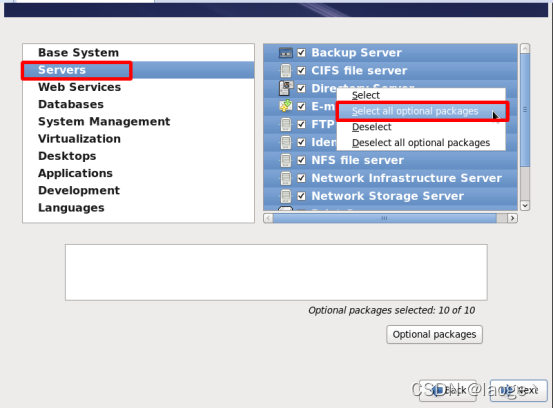
服务全选(E-mail Server去选)
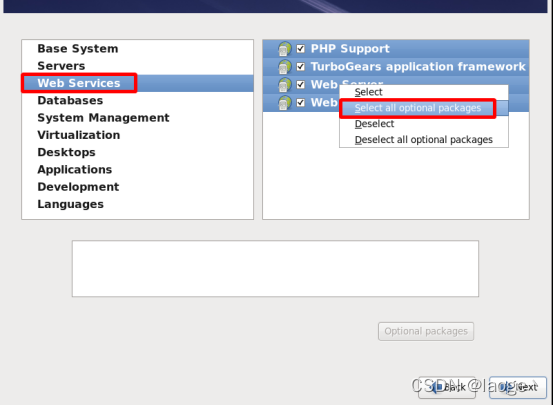
网页服务全选
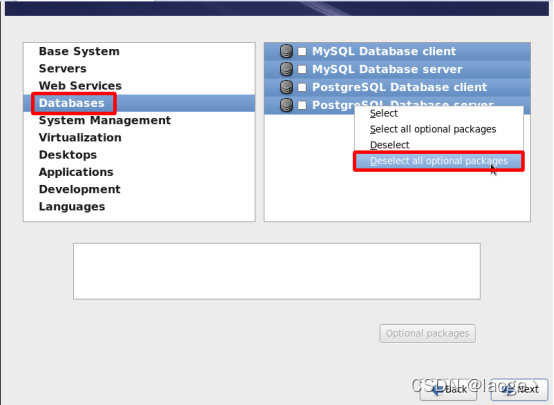
Database去选
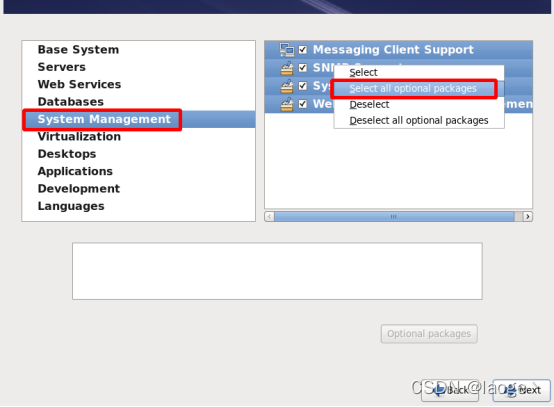
系统管理全选(System Management里面的watchdog,3个开头带有freeipmi去选)
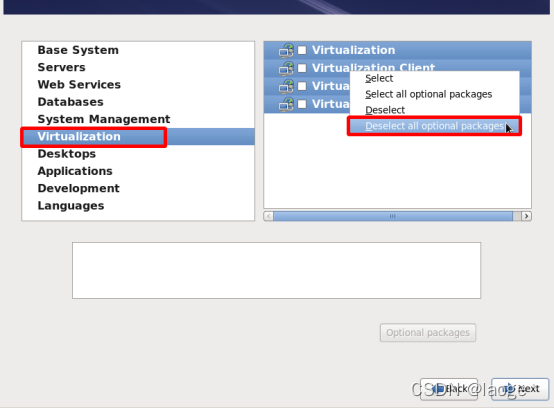
虚拟化去选
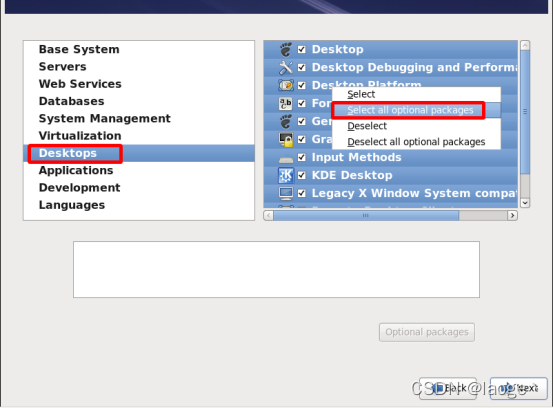
桌面全选
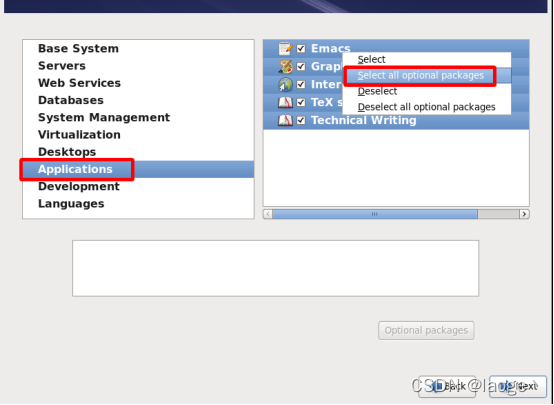
应用全选
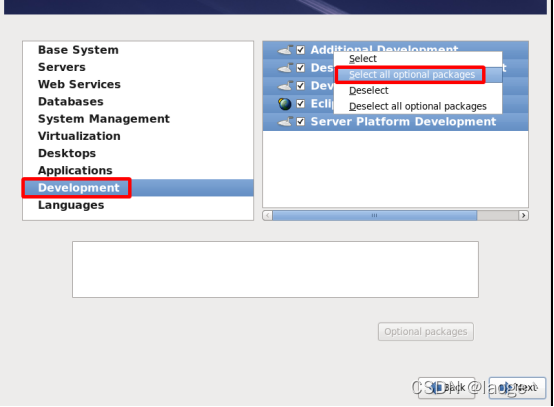
开发包全选
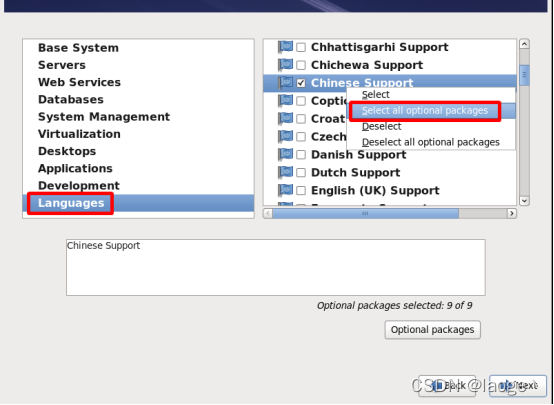
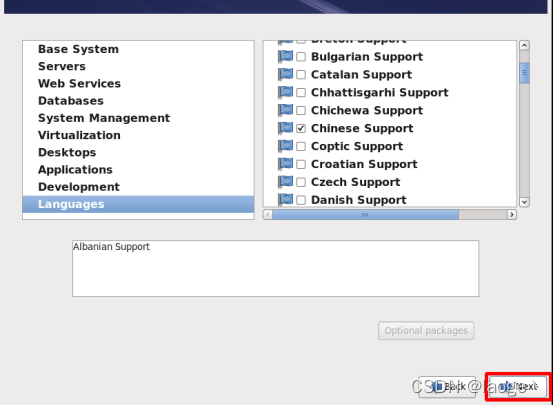
语言包中文全选
单击next
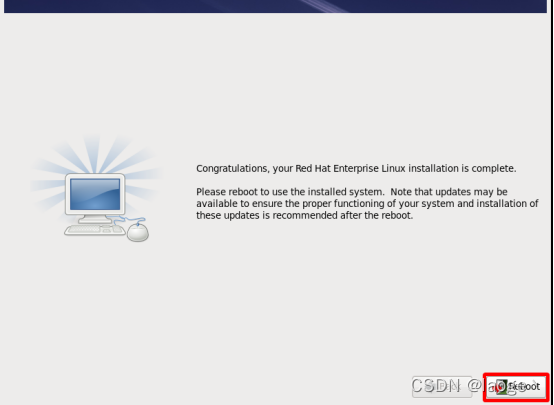
重新启动
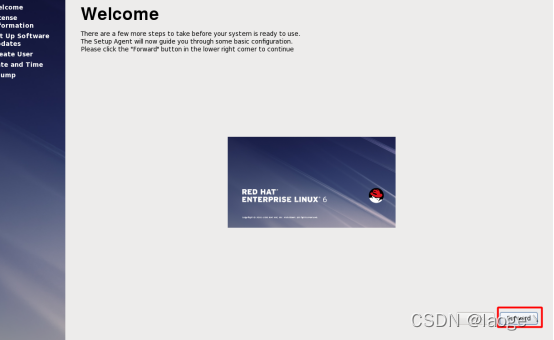
重启后进入欢迎界面单击forward
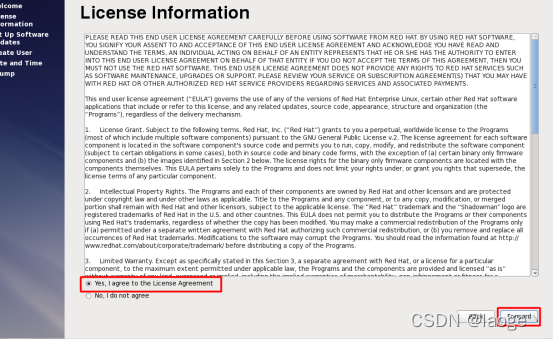
默认同意声明,单击forward
不进行注册
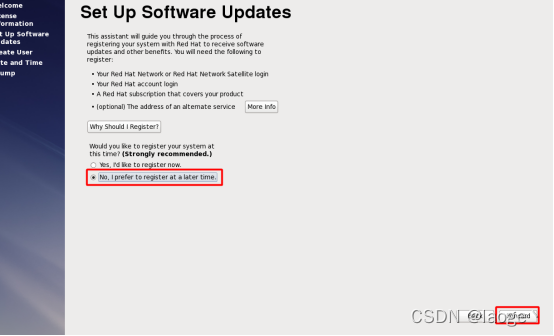
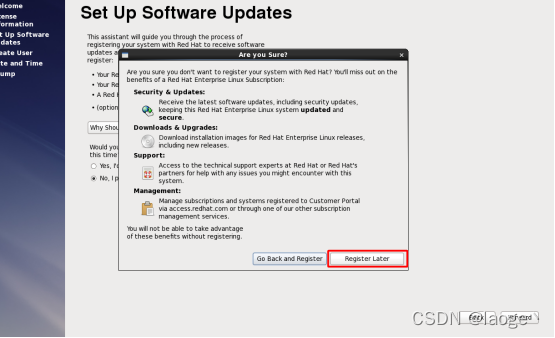
稍后注册
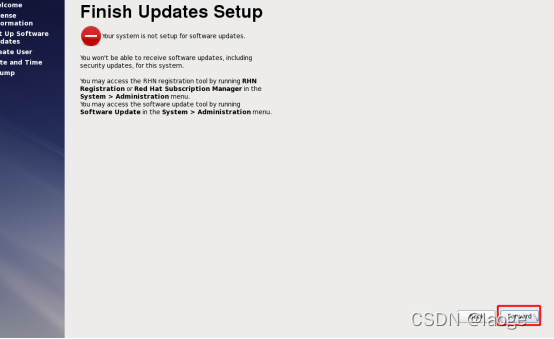
单击forward
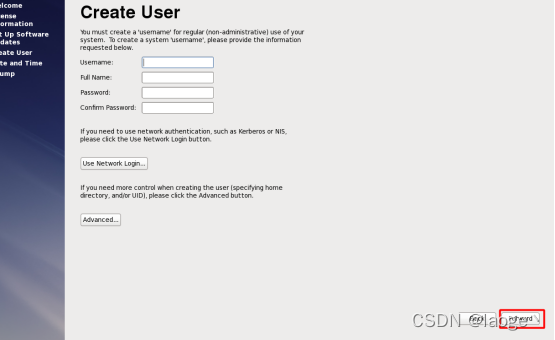
不新建用户
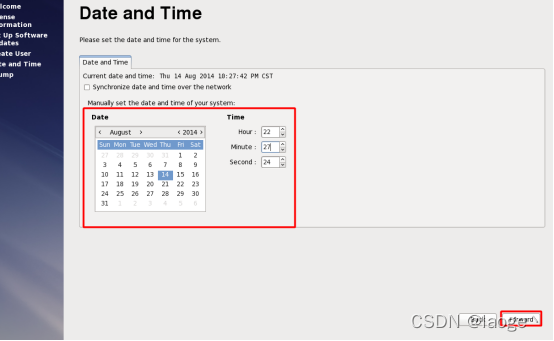
调整时间
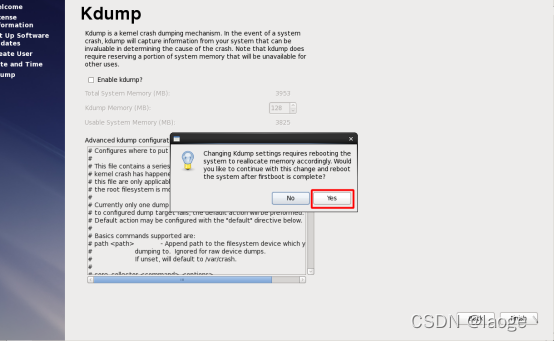
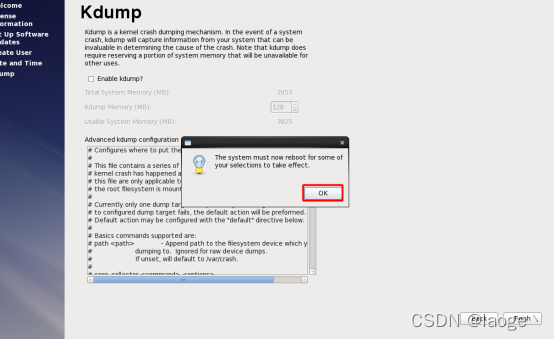
禁用kdump

重新启动
确认重启
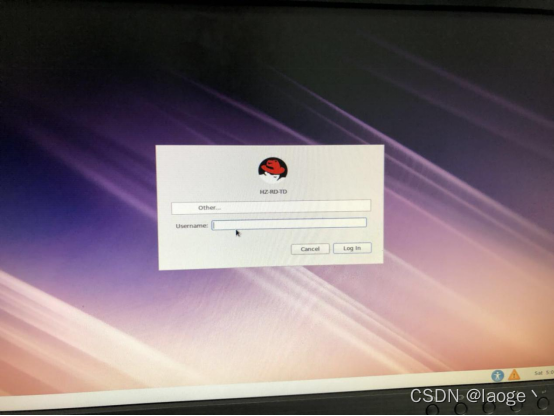
选择other输入账户密码
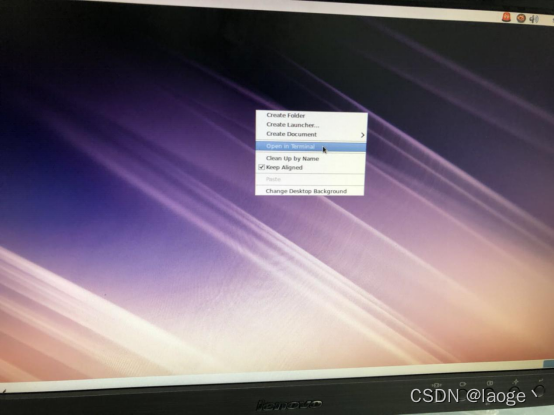
之后进入打开终端 编辑
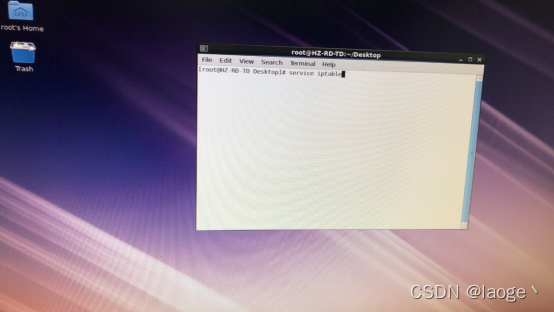
输入下面2.2命令
2.2. 检查iptables是否关闭成功
关闭防火墙
[root@XH-RD-CJ yum]# service iptables stop
iptables: Setting chains to policy ACCEPT: filter [ OK ]
iptables: Flushing firewall rules: [ OK ]
iptables: Unloading modules: [ OK ]
关闭iptables开机自启动功能
[root@XH-RD-CJ yum]# chkconfig iptables off
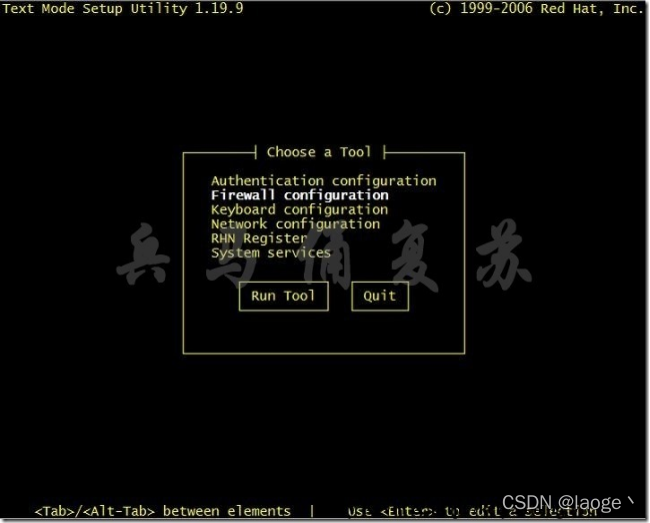
[root@XH-RD-CJ yum]# setup
如下图所示,选择Firewall configuration,敲击回车键。
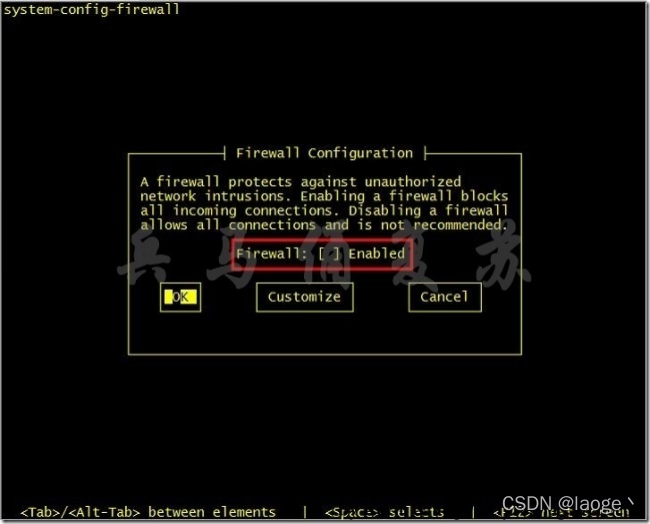
如下图所示,取消选中Enabled,选择OK,敲击回车键。
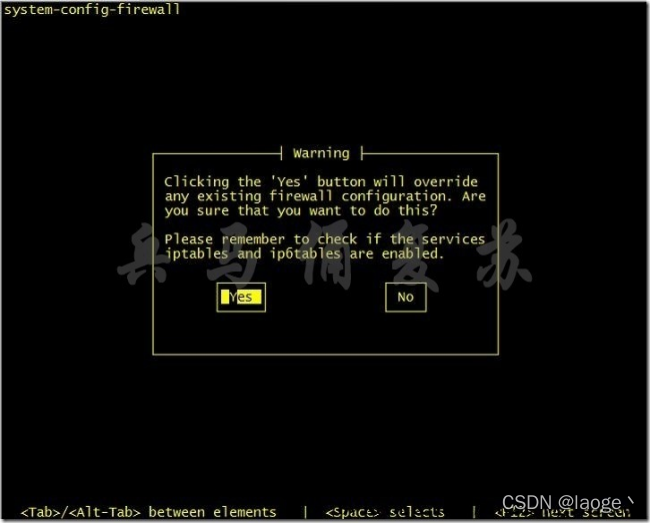
如下图所示,选择Yes,敲击回车键。
如下图所示,选择Quit,敲击回车键。

确认iptables状态
[root@XH-RD-CJ yum]# service iptables status
iptables: Firewall is not running.
检查selinux是否关闭成功
修改/etc/selinux/config文件如下内容:
将SELINUX=enforcing更改成SELINUX=disabled。
[root@XH-RD-CJ yum]# vi /etc/selinux/config
# This file controls the state of SELinux on the system.
# SELINUX= can take one of these three values:
# enforcing - SELinux security policy is enforced.
# permissive - SELinux prints warnings instead of enforcing.
# disabled - No SELinux policy is loaded.
SELINUX=disabled
# SELINUXTYPE= can take one of these two values:
# targeted - Targeted processes are protected,
# mls - Multi Level Security protection.
SELINUXTYPE=targeted

