VMware16的安装及VMware配置Linux虚拟机
1、下载文件
VMware软件下载地址:https://www.vmware.com/cn/products/workstation-pro/workstation-pro-evaluation.html
CentOS 7 下载映像文件地址:http://mirrors.aliyun.com/centos/7/isos/x86_64/
选择CentOS-7.0-x86_64-DVD-2009.iso 标准安装版

2、安装步骤
1、找到下载好的VMware-workstation-full-16.1.1-17801498.exe文件,鼠标右击以管理员身份运行

2、进入安装界面,点击下一步

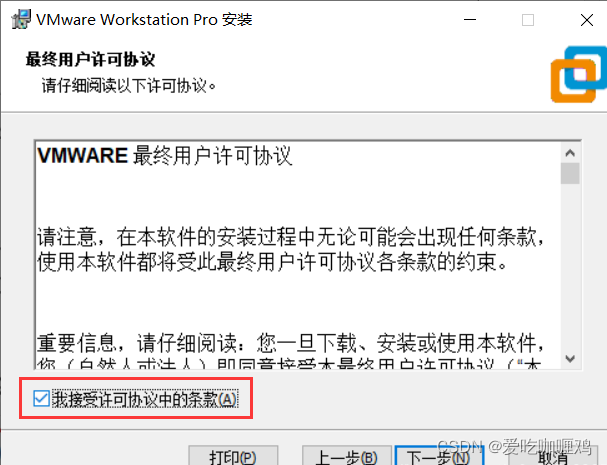
3、先勾选我接受许可协议中的条款,然后点击下一步
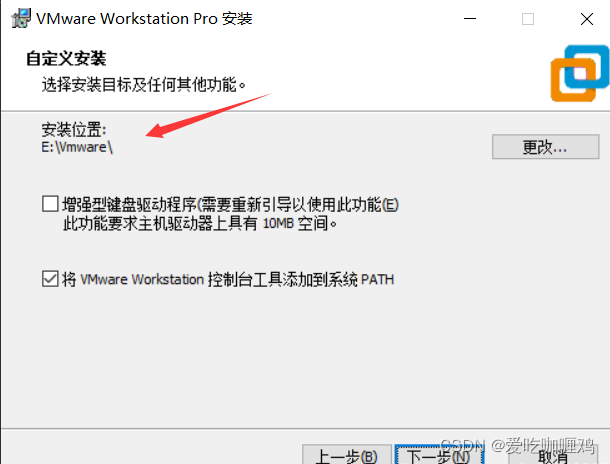
4、选择软件安装路径,默认安装在C盘,点击更改可修改安装路径,注意:安装路径文件夹名称均不能含有中文字符!这里我将软件安装在E盘Vmware文件夹下,然后点击下一步

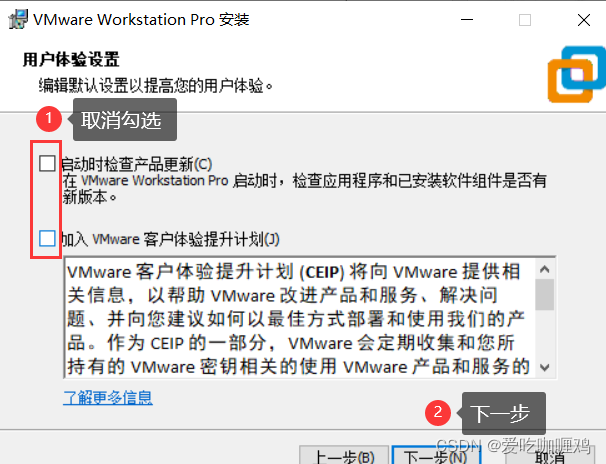
5、用户体验设置取消勾选,点击下一步
6、下一步

7、点击安装

8、安装中

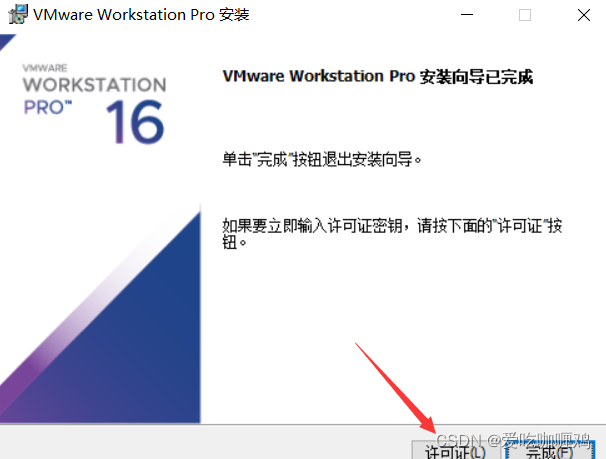
9、点击许可证
10、可以选择输入密钥,或者跳过进行试用30天,密钥可以在网上搜索

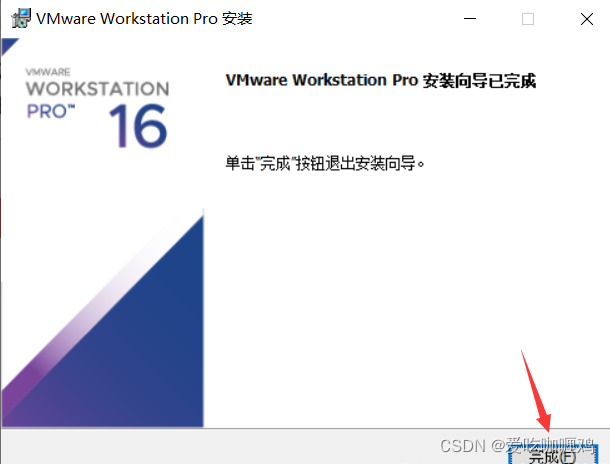
11、安装完成
3、VMware配置Linux虚拟机
1、桌面上找到,VMware Workstation Pro,右击以管理员身份运行

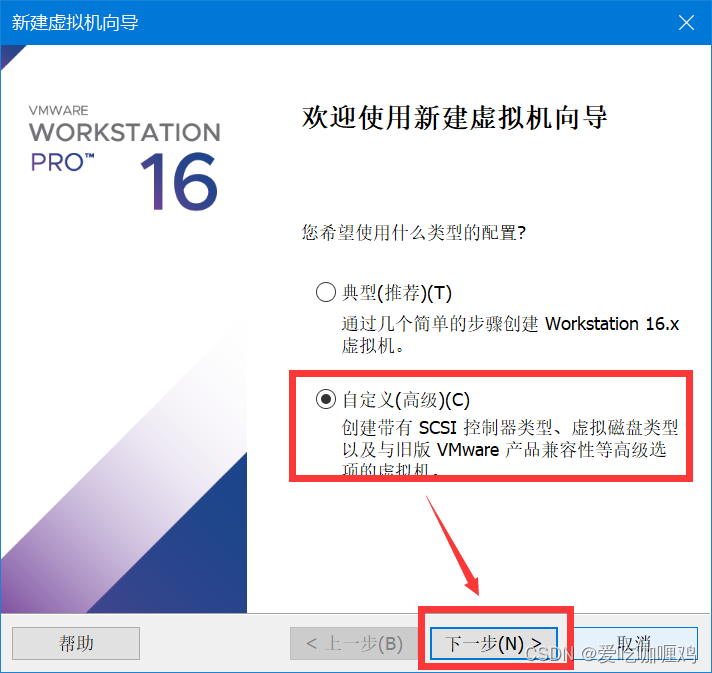
2、创建新的虚拟机

3、选择自定义,点击下一步
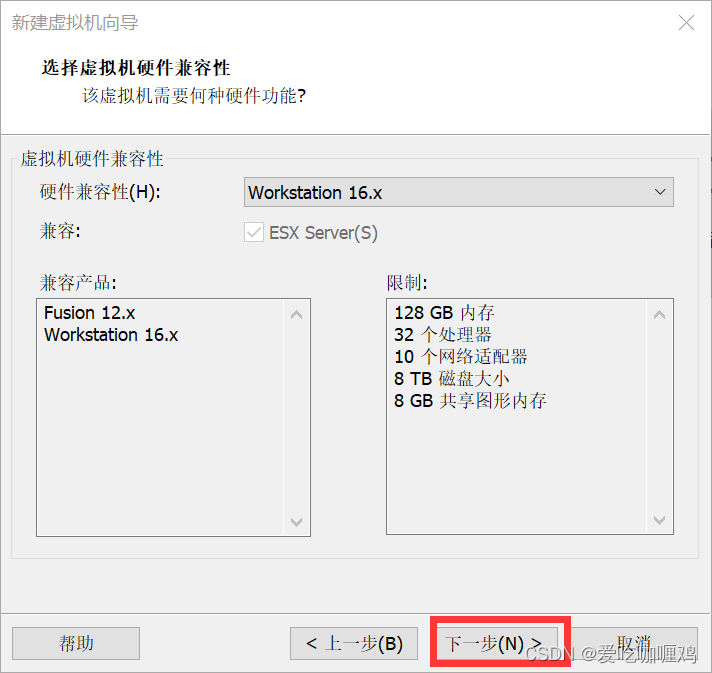
4、下一步
5、选择安装程序光盘映像文件,点击浏览,找到开始所下载的CentOS映像文件,点击下一步

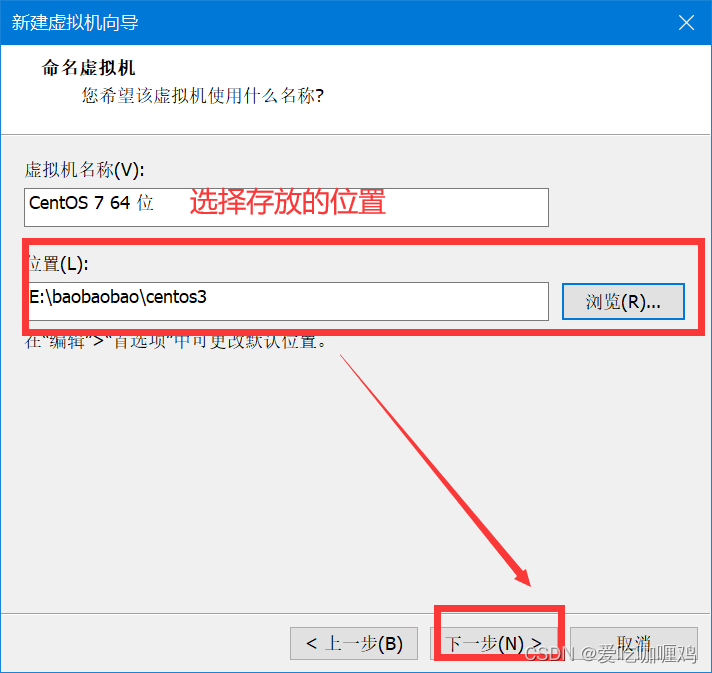
6、选择本地存放的位置,然后下一步
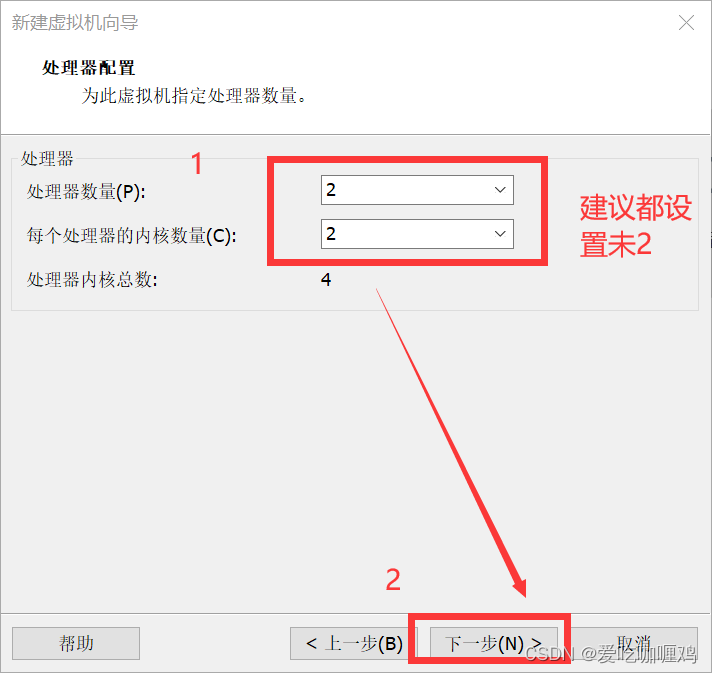
7、处理器的配置
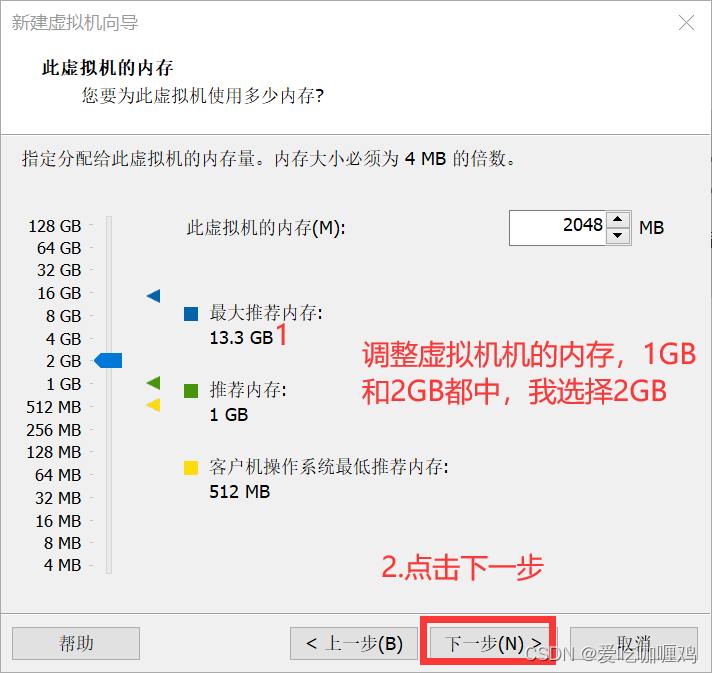
8、设置虚拟机内存
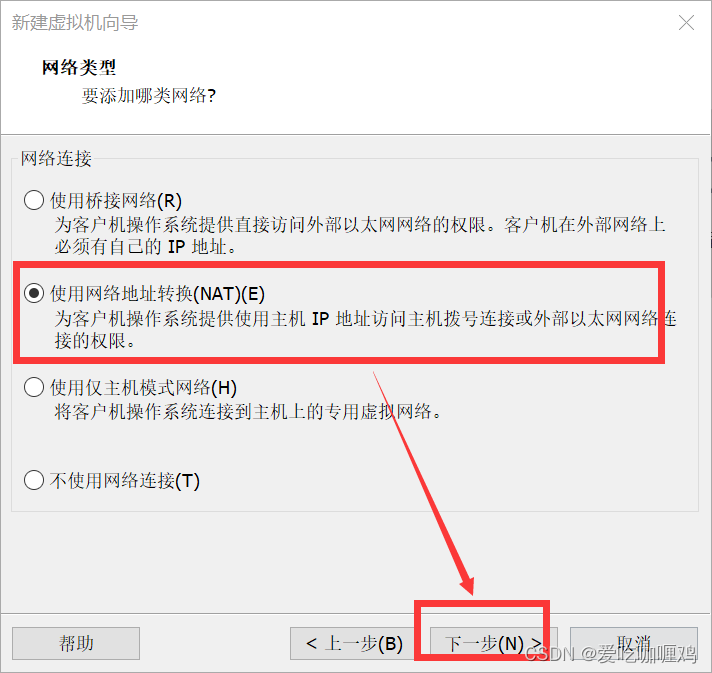
9、选择网络类型为:使用网络地址转换(NAT),点击下一步
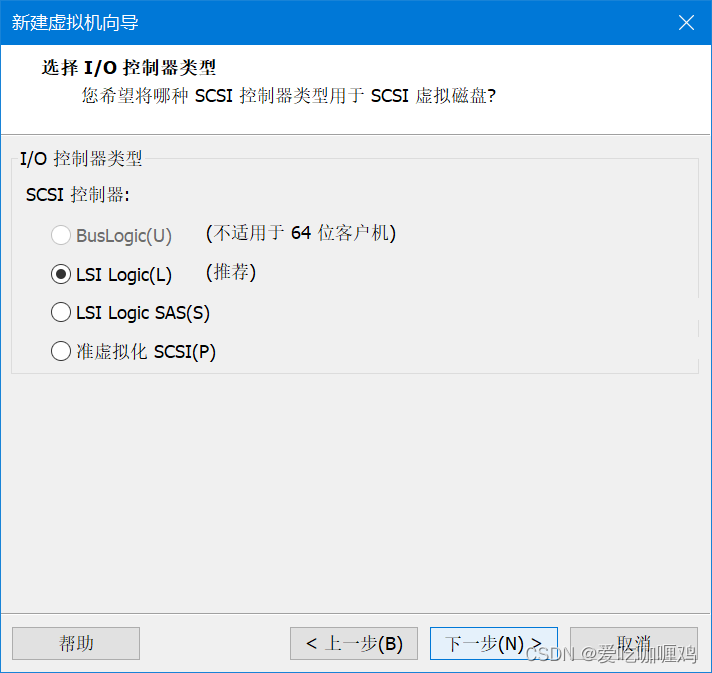
10、默认下一步
11、默认下一步

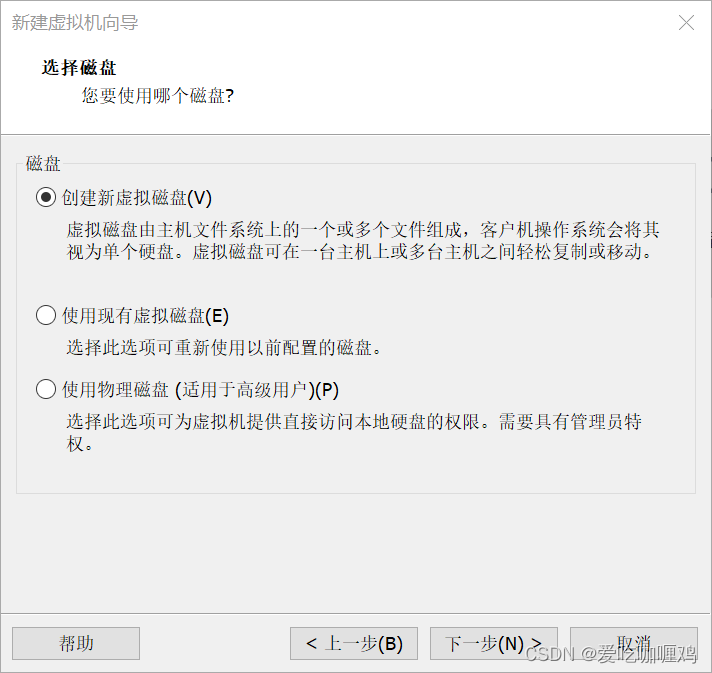
12、磁盘选择:创建新虚拟磁盘,下一步
13、磁盘容量,建议选择20GB,下一步

14、磁盘文件地址我这里选择默认,下一步

15、完成创建

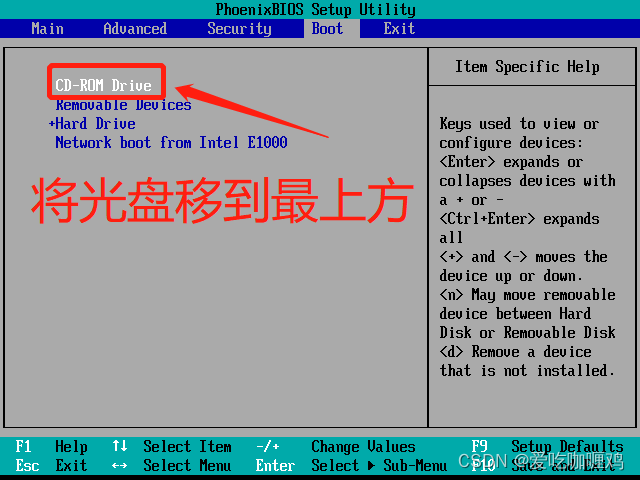
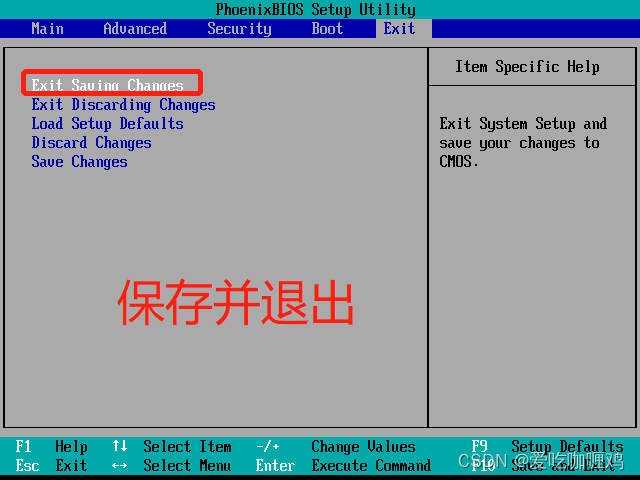
16、让VM虚拟机启动时直接进入BISO
有的时候要设置VM虚拟机从光驱或者U盘启动,VMware的启动界面太快 往往F2按爆还不一定进得去BISO,偶然在网上发现:
找到虚拟机的配置文件***.vmx ,用记事本或其它文本编辑软件打开,在末尾加上属性 bios.forceSetupOnce = "TRUE"就可以在该虚机启动的时候直接进入BISO 免去的按F2的烦恼
注意:该属性只生效一次,虚机开启后 bios.forceSetupOnce会自动设置为FALSE,下次还想要进入BISO需要再修改一次

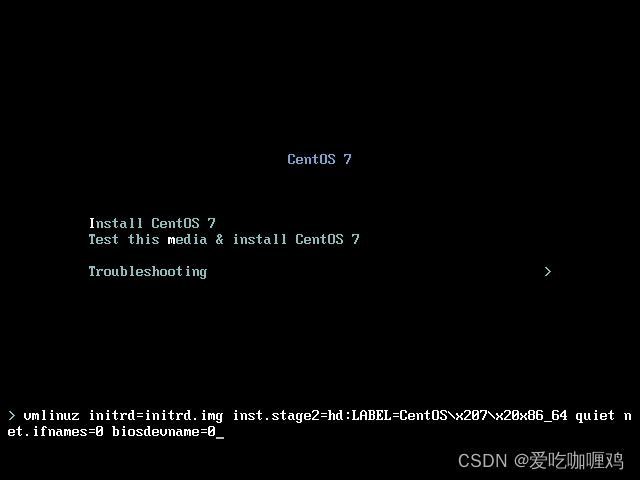
17、开启对应修改配置的虚拟机
18、按住TAB键,输入net.ifnames=0 biosdevname=0,再按回车键

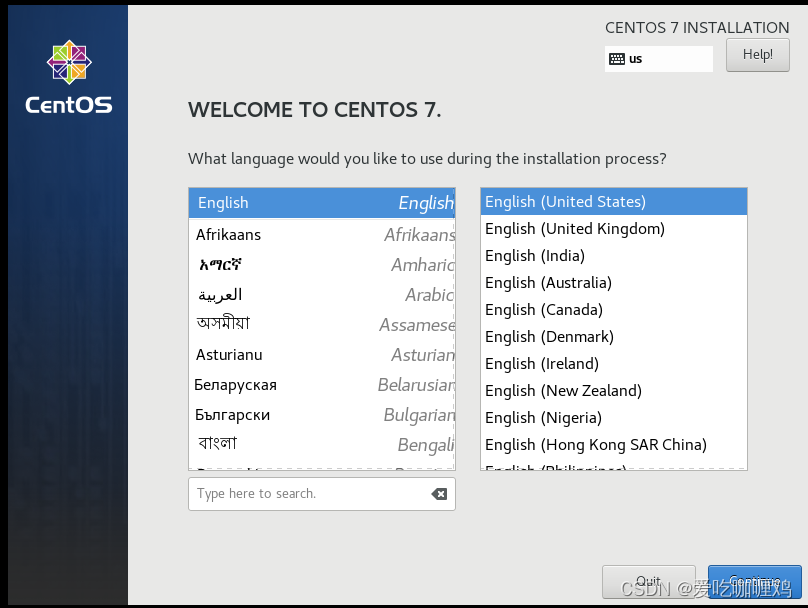
19、选择默认的语言,进行下一步
20、修改日期时间


选择上海对应的时间,然后按done

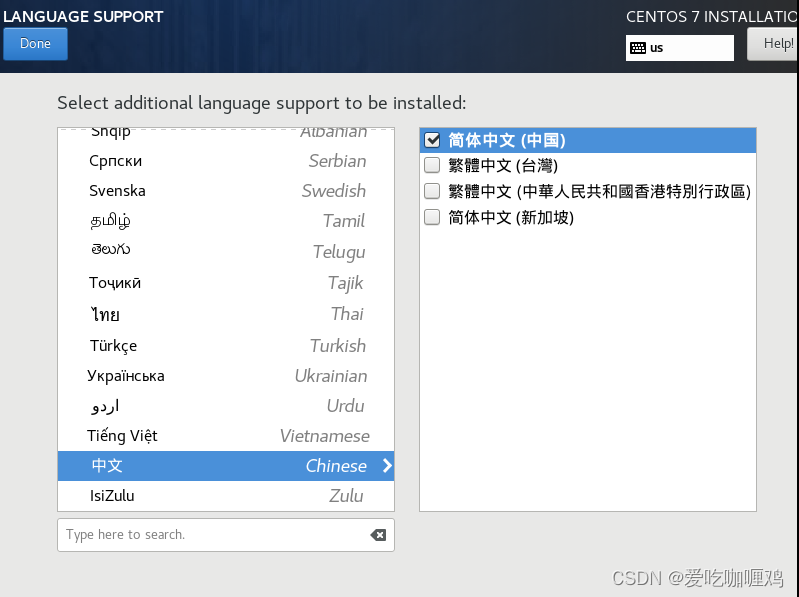
21、添加语言支持(可以多添加中文支持),然后按done

22、软件包的选择,然后按done

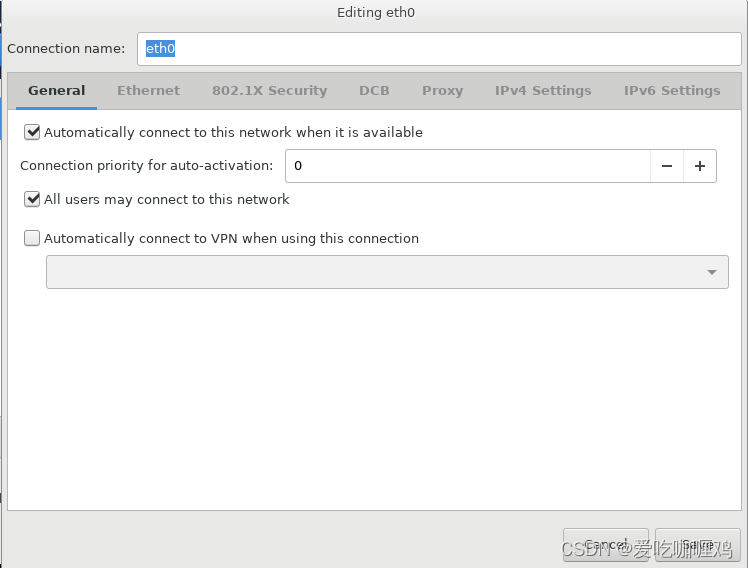
23、进行网络和主机的配置
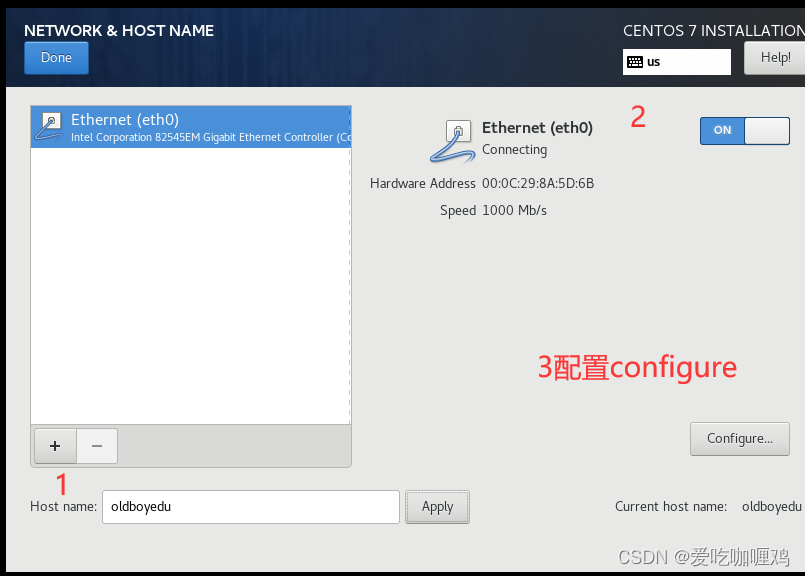

检查是否成功,再点击done

233.5.5.5修改为223.5.5.5
24、设置磁盘


选择接受

25、进行安装

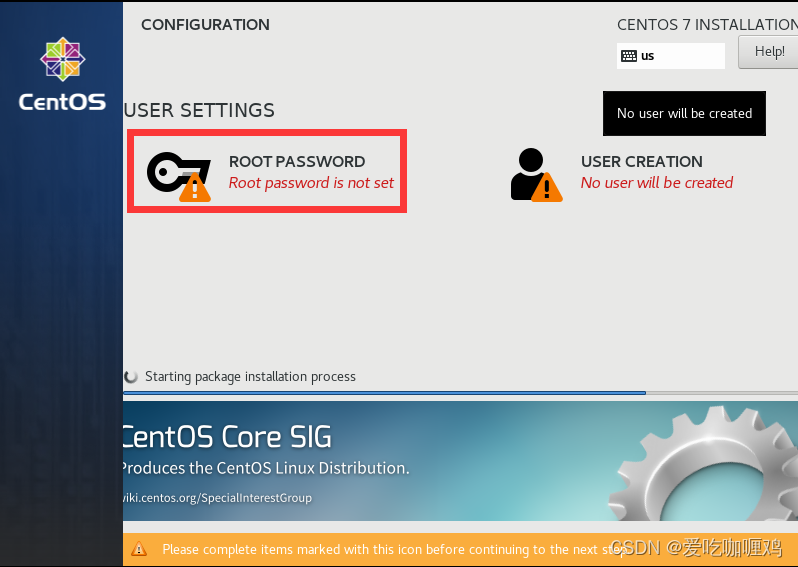
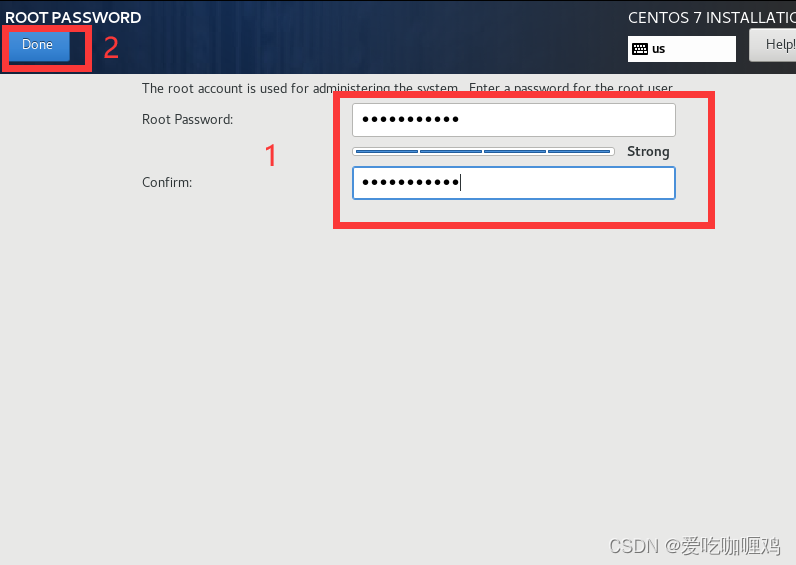
26、设置密码
27、设置用户


28、进行安装
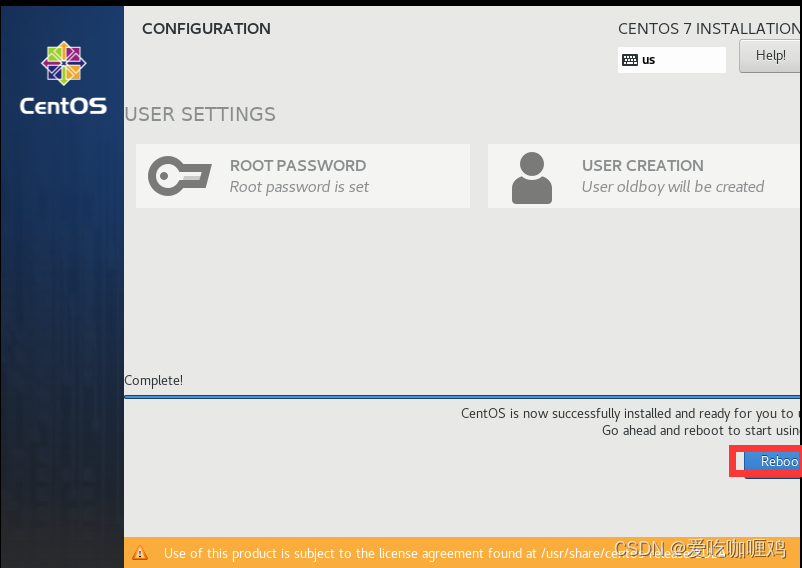
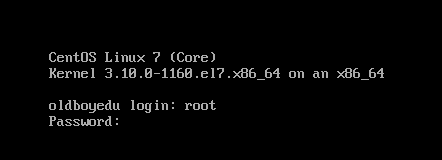
29、安装完成填写用户名和密码
30、检测网络是否可用
网络未通

调整网络
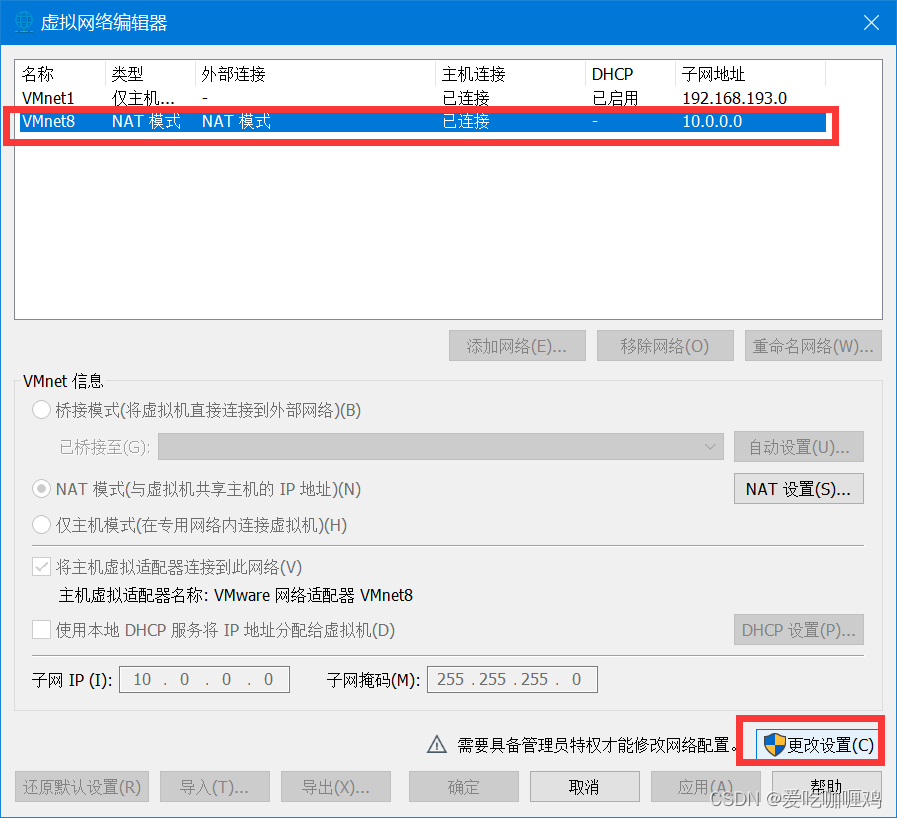
鼠标点击编辑的虚拟网络编辑器

选择更改设置
再点击nat的设置


31、再次进行测试

已ping通,结束。

