一、nginx虚拟主机域名配置
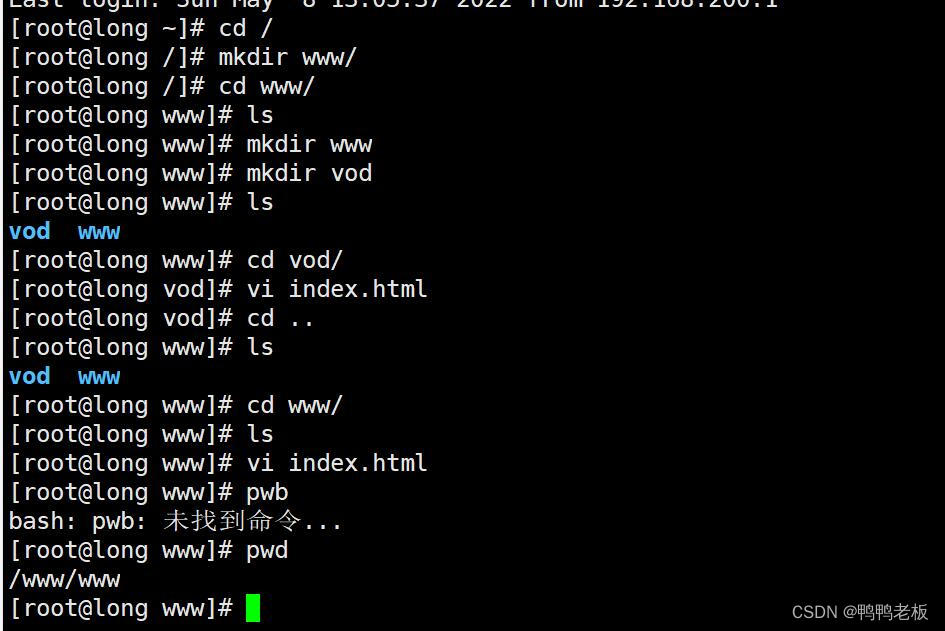
1.1、创建好站点
?1.2、在nginx的配置文件中设置
修改nginx.conf文件
worker_processes  1;


events {
    worker_connections  1024;
}


http {
    include       mime.types;
    default_type  application/octet-stream;

    sendfile        on;
    keepalive_timeout  65;


    server {
        listen       80;
        server_name  localhost;

        location / {
            root  /www/www;
            index  index.html index.htm;
        }


        error_page   500 502 503 504  /50x.html;
        location = /50x.html {
            root   html;
        }

    }


    server {
        listen       81;
        server_name  localhost;

        location / {
            root   /www/vod;
            index  index.html index.htm;
        }


        error_page   500 502 503 504  /50x.html;
        location = /50x.html {
            root   html;
        }

    }

}
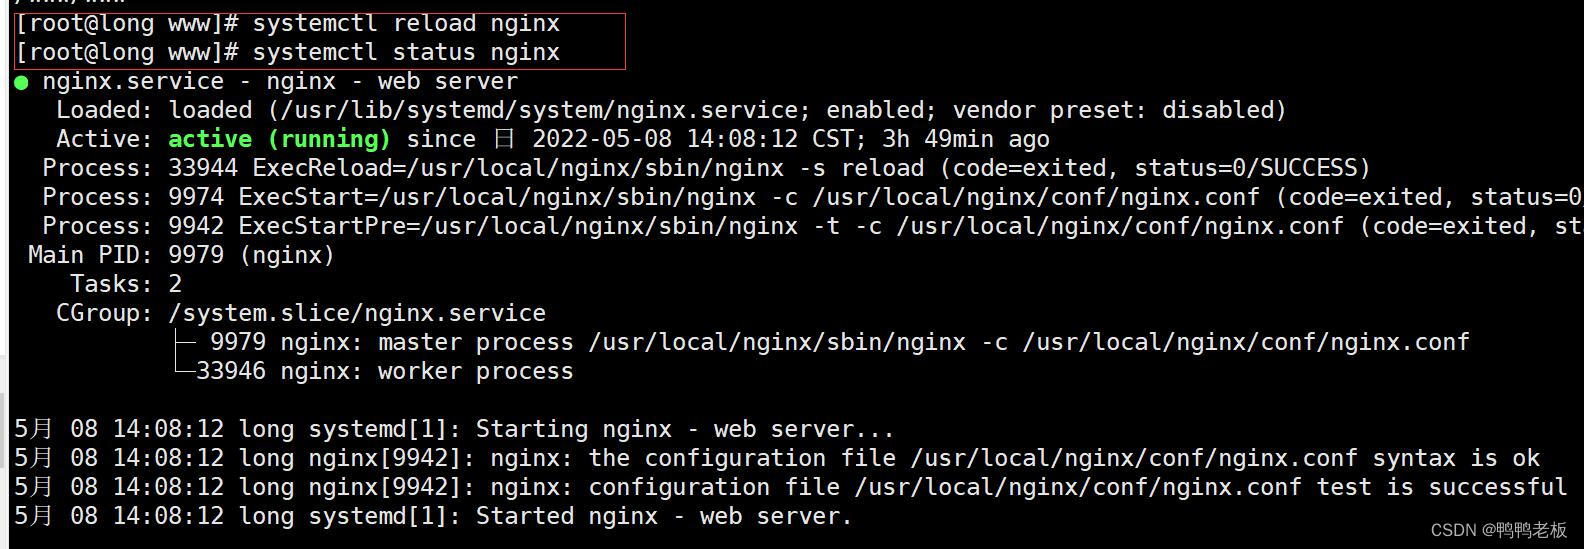
1.3、重新启动nginx服务
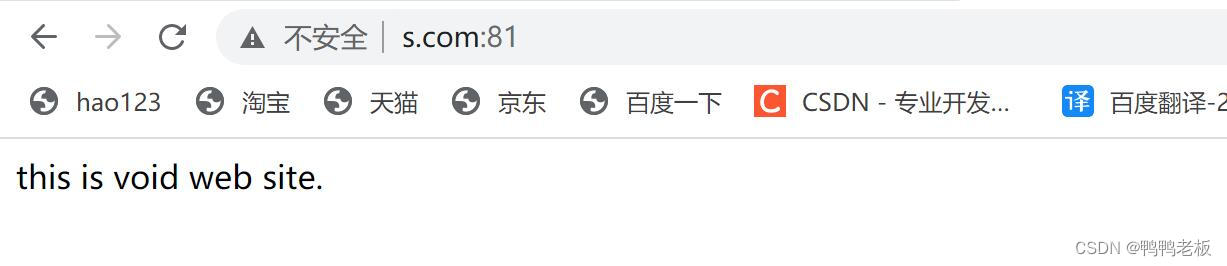
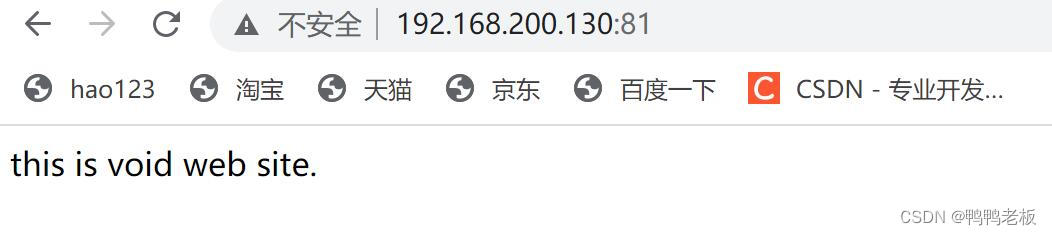
?访问成功:
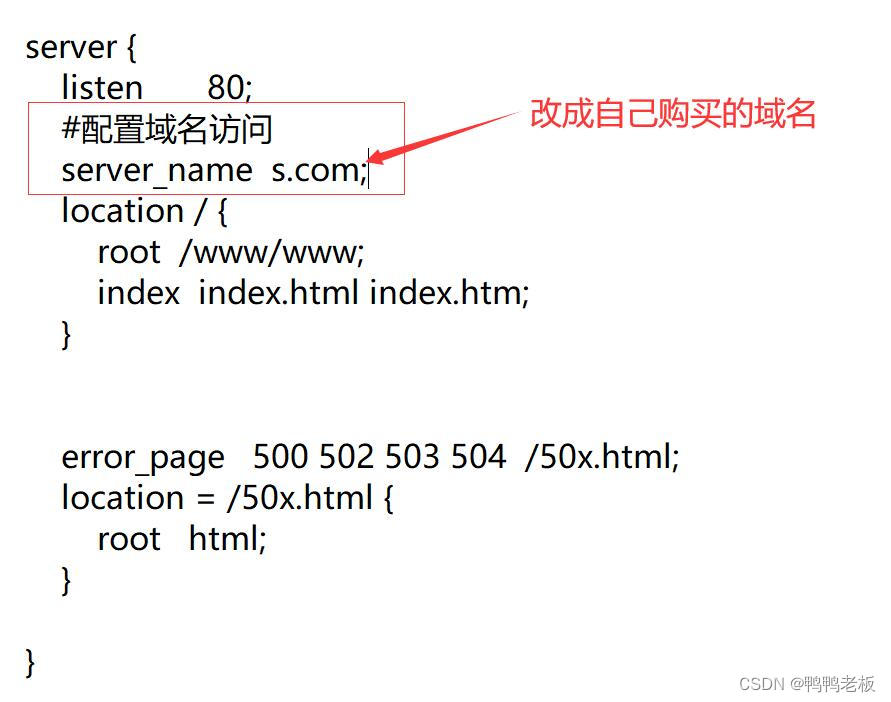
1.4 配置域名访问
改完需要重新启动服务
?测试访问: