一、将web日志和nginx日志转换为JSON格式
1.将Nginx日志转换为JSON日志
# json日志格式
    log_format json '{"@timestamp": "$time_iso8601", '
                        '"remote_addr": "$remote_addr", '
                        '"referer": "$http_referer", '
                        '"request": "$request", '
                        '"status": $status, '
                        '"bytes": $body_bytes_sent, '
                        '"agent": "$http_user_agent", '
                        '"x_forwarded": "$http_x_forwarded_for", '
                        '"up_addr": "$upstream_addr",'
                        '"up_host": "$upstream_http_host",'
                        '"up_resp_time": "$upstream_response_time",'
                        '"request_time": "$request_time"'
                        ' }';

    access_log  logs/access.log  json;
默认的log_format main 不进行删除和注释。
1.1日志打印效果:
{"@timestamp": "2022-05-05T15:34:35+08:00", "remote_addr": "127.0.0.1", "referer": "-", "request": "GET /gen/smic?cosmicList=COSV100084518,COSV100084520&pageNum=0&pageSize=10 HTTP/1.1", "status": 200, "bytes": 1225, "agent": "PostmanRuntime/7.29.0", "x_forwarded": "-", "up_addr": "121.46.19.89:8080","up_host": "-","up_resp_time": "0.054","request_time": "0.054" }
1.2 Nginx时间格式:
Nginx的时间格式分为两种:
$time_iso8601 生成格式:2013-09-25T15:16:35+08:00
$time_local 生成格式: 25/Sep/2013:15:12:13 +0800
2.将web日志转换为JSON格式
2.1 引入依赖
<!--日志以json格式输出所需-->
<dependency>
       <groupId>net.logstash.logback</groupId>
       <artifactId>logstash-logback-encoder</artifactId>
       <version>6.6</version>
</dependency>
<!--springboot日志-start-->
<dependency>
       <groupId>org.springframework.boot</groupId>
       <artifactId>spring-boot-starter-logging</artifactId>
</dependency>
2.2解决异步线程mdc不能传递的问题
原理:从MDC线程获取了主线程的上下文,然后在子线程中将主线程的上下文set给子线程
@Component
public class MdcTaskDecorator implements TaskDecorator {
/**
*使异步线程池获得主线程的上下文
* @param runnable
* @return
*/
@Override
public Runnable decorate(Runnable runnable) {
Map<String,String> map = MDC.getCopyOfContextMap();
return () -> {
try{
MDC.setContextMap(map);
runnable.run();
} finally {
MDC.clear();
}
};
}
}

//异步线程配置中进行设置
hreadPoolTaskExecutor executor = new ThreadPoolTaskExecutor();
.
.
.
executor.setTaskDecorator(new MdcTaskDecorator());
2.3 修改logback-spring.xml 文件
<!--   info 日志打印 -->
<encoder  charset="UTF-8"
class="net.logstash.logback.encoder.LoggingEventCompositeJsonEncoder">  <providers>
<pattern>
<pattern>
{
"day": "%date{yyyy-MM-ddTHH:mm:ss.SSS}",
"time": "%date{HH:mm}",
"thread": "%thread",
"uuid": "%X{logUuid}",
"uri": "%X{logUri}",
"message": "%message"
}
</pattern>
</pattern>
</providers>
</encoder>

<!--   error 日志打印 -->

<encoder  charset="UTF-8"
class="net.logstash.logback.encoder.LoggingEventCompositeJsonEncoder">  <providers>
<pattern>
<pattern>
{
"day": "%date{yyyy-MM-ddTHH:mm:ss.SSS}",
"time": "%date{HH:mm}",
"thread": "%thread",
"uuid": "%X{logUuid}",
"uri": "%X{logUri}",
"message": "%message",
"details":"%xEx"
}
</pattern>
</pattern>
</providers>
</encoder>
二、windows 下配置EFK
1. 软件下载(本次使用最新版的EFK,版本为8.2.0)
下载地址:elasticsearch:
elasticsearch 下载
filebeat 下载
kibana 下载
2. 启动并连接EFK
2.1、启动elasticsearch
进入 elasticsearch 的bin目录下,执行cmd命令(直接点击运行后会自动退出)
elasticsearch.bat
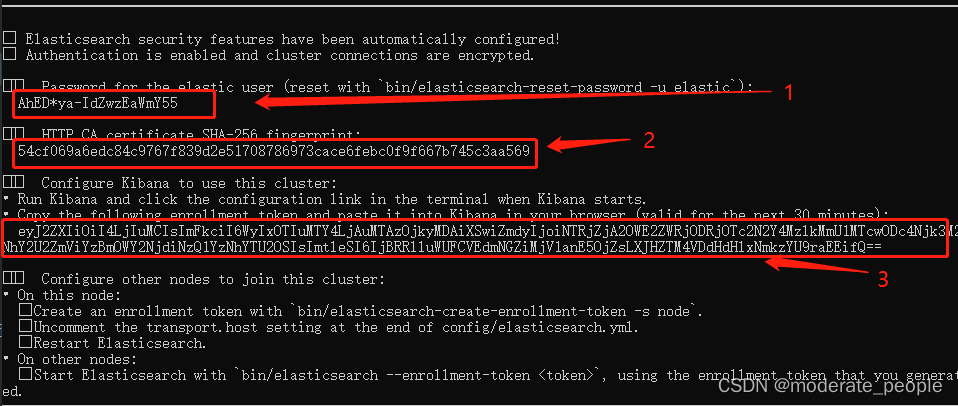
第一次运行elasticsearch时,需要将上图部分的输出效果复制出来。其中,1 为密码,2 为CA证书,3 为token(token有效期为30分钟)
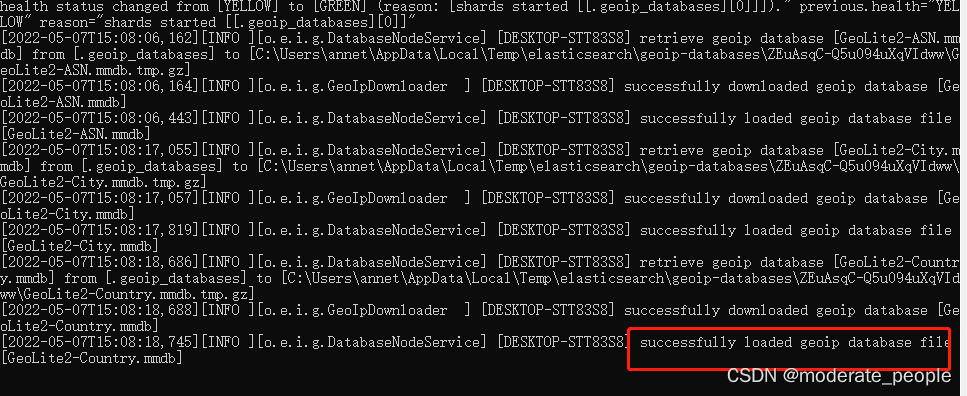
如上图所示,表示elasticsearch 已经成功运行。
相比较与elasticsearch7.X版本,当前版本的地址也发生了变化,新地址为:
https://localhost:9200/
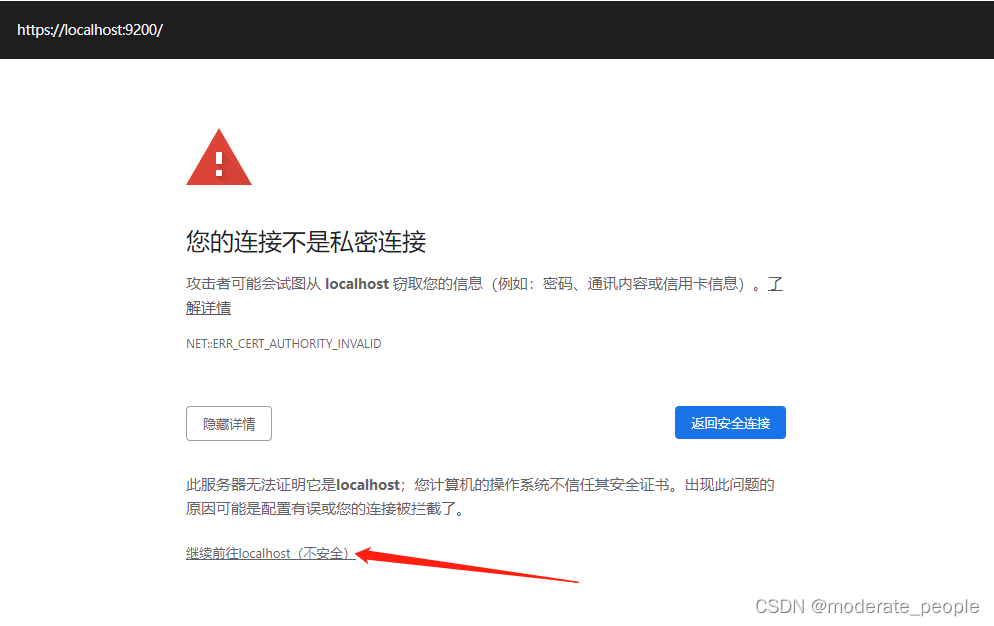
点击后会弹出窗体:
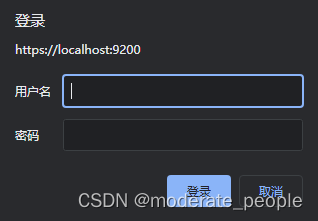
其中 用户名为:elastic ,密码为:启动elasticsearch时,复制的密码1。
输入后效果为:
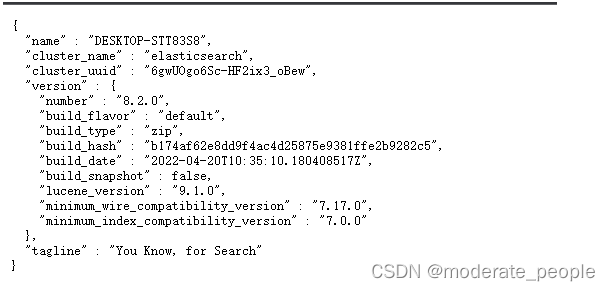
2.2、启动kiabna
将下载文件解压后,直接进入bin目录,点击执行 kibana.bat

复制控制台中的链接,拷贝到浏览器中打开:
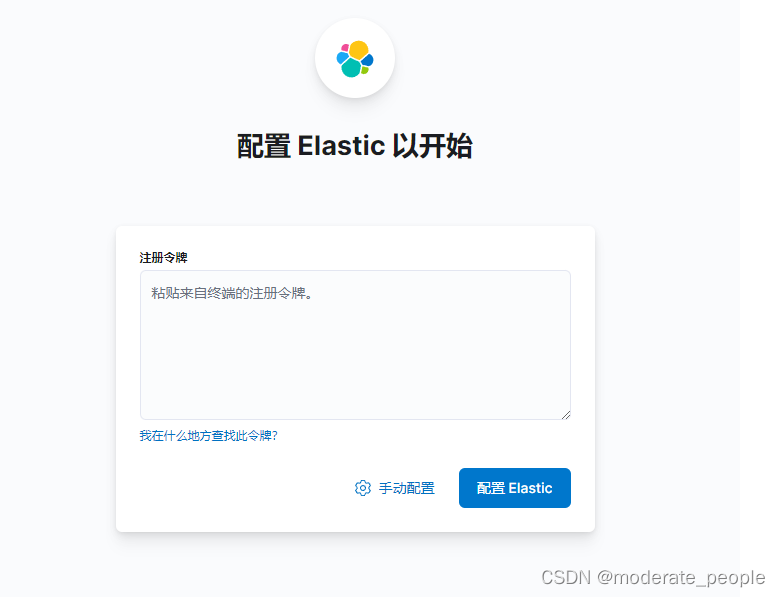
粘贴启动elasticsearch是出现的token(2),进入下面的页面
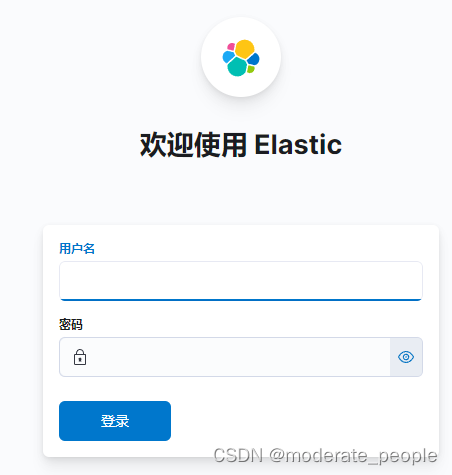
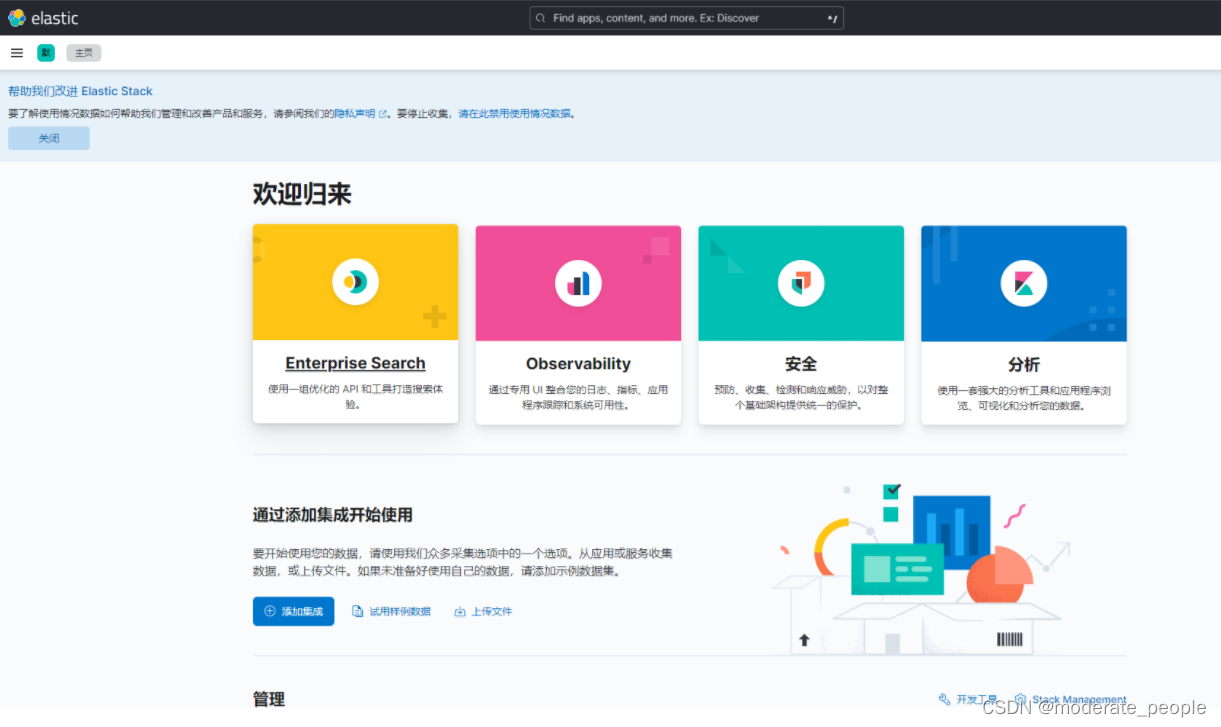
用户名为:elastic ,密码为:启动elasticsearch时,复制的密码1。点击登录后,进入页面。
2.3 、配置并启动filebeat
2.3.1、配置filebeat.yml
1.修改filebeat.inputs 部分的代码
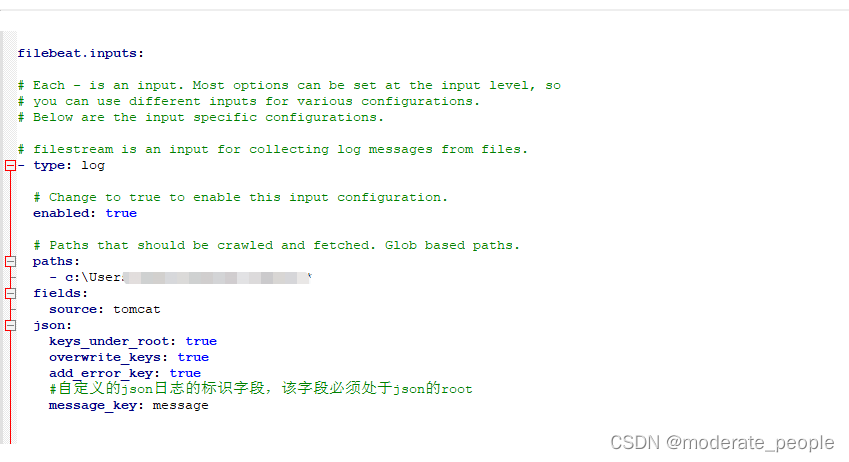
- type: log

  # Change to true to enable this input configuration.
  enabled: true

  # Paths that should be crawled and fetched. Glob based paths.
  paths:
    - c:\Users\*\Desktop\tomcat\*
  fields:
    source: tomcat
  json:
    keys_under_root: true
    overwrite_keys: true
    add_error_key: true
    #自定义的json日志的标识字段,该字段必须处于json的root
    message_key: message
如果存在多个路径,将上面的代码复制,并修改,paths,和fileds.source的值。
2.如果需要自定义索引名称:需要修改下图部分
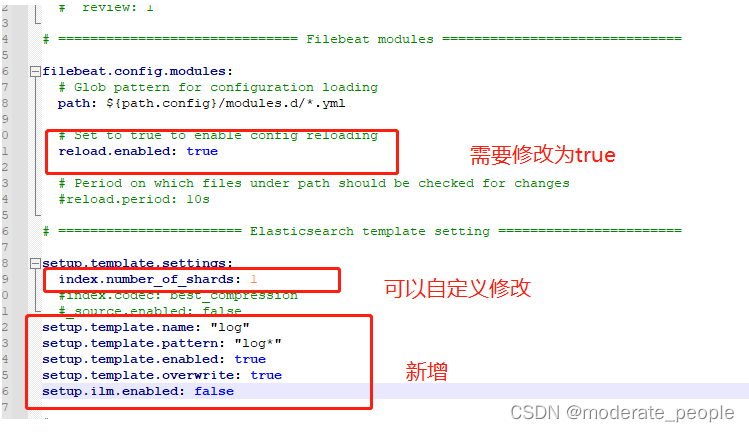
其中新增的代码为:
setup.template.name: "log"
setup.template.pattern: "log*"
setup.template.enabled: true
setup.template.overwrite: true
setup.ilm.enabled: false
3.Elasticsearch Output 部分的代码修改
output.elasticsearch:
  # Array of hosts to connect to.
  #根据elasticsearch 的地址进行修改。
  hosts: ["https://192.168.0.103:9200"]
  #elasticsearch的用户名和密码,密码为elasticsearch启动后输出。
  username: "elastic"
  password: "AhED*ya-IdZwzEaWmY55"
  ssl:
    enabled: true
     #elasticsearch 启动后获得的ca证书。
    ca_trusted_fingerprint: "54cf069a6edc84c9767f839d2e51708786973cace6febc0f9f667b745c3aa569"
  index: "logs-%{[fields.source]}"
  #下面的部分针对多个路径进行选择索引录入
  indices:
    - index: "logs-tomcat"
      when.equals:
        fields:
          source: "tomcat"
    - index: "logs-nginx"
      when.equals:
        fields:
          source: "nginx"
2.3.2、启动filebeat(在当前目录执行cmd)
filebeat.exe -e -c filebeat.yml
稍后,就可以在kibana中看到录入的索引
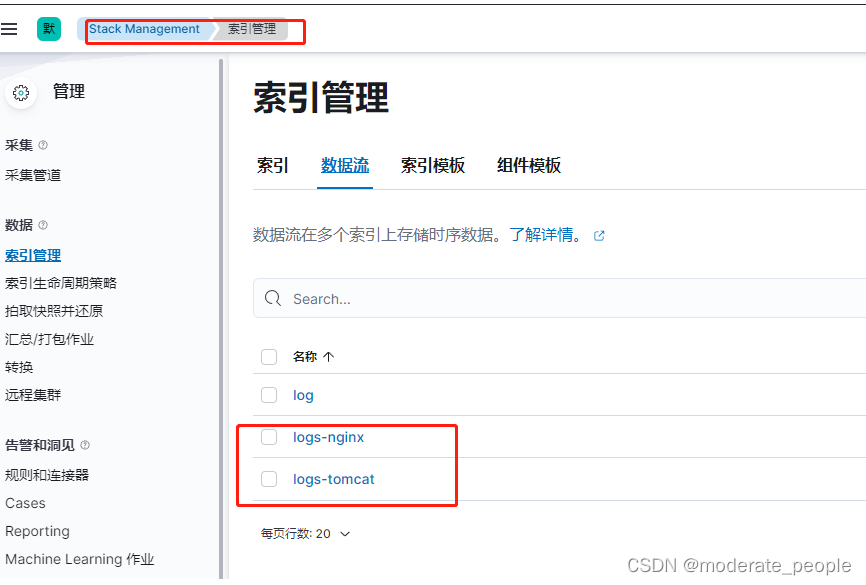
在这里创建数据视图
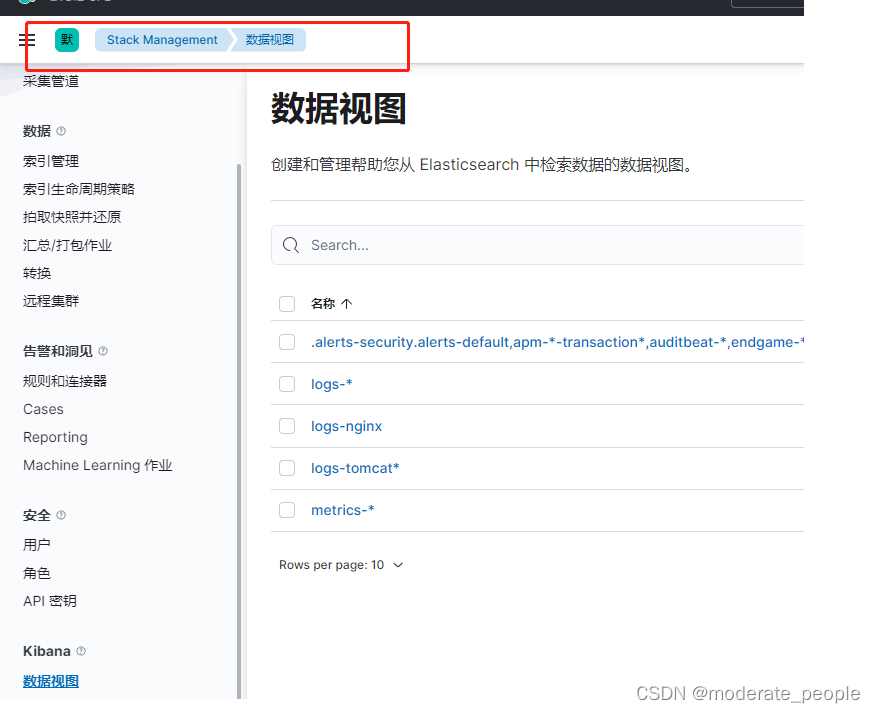
创建视图后,在discover页面进行查看

这里进行查询

三、注意事项
3.1、token的有效期为30分钟
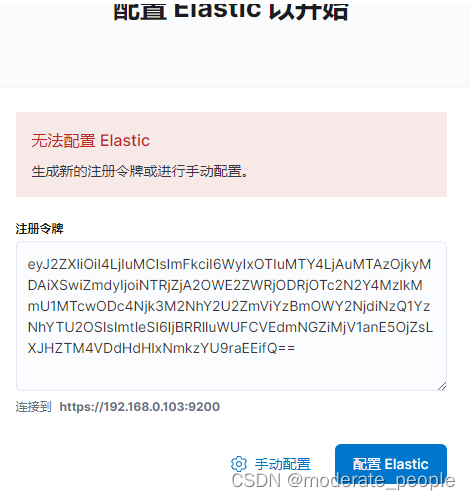
第一次启动kibana,如果token失效了,需要重新获取token值,到elasticsearch的bin目录下执行cmd命令
elasticsearch-create-enrollment-token -s kibana
结果为:

将获取的token值重新输入即可。
3.2、第一次启动elasticsearch所获得的密码和ca证书需要进行保存,后续启动elasticsearch将不会显示。
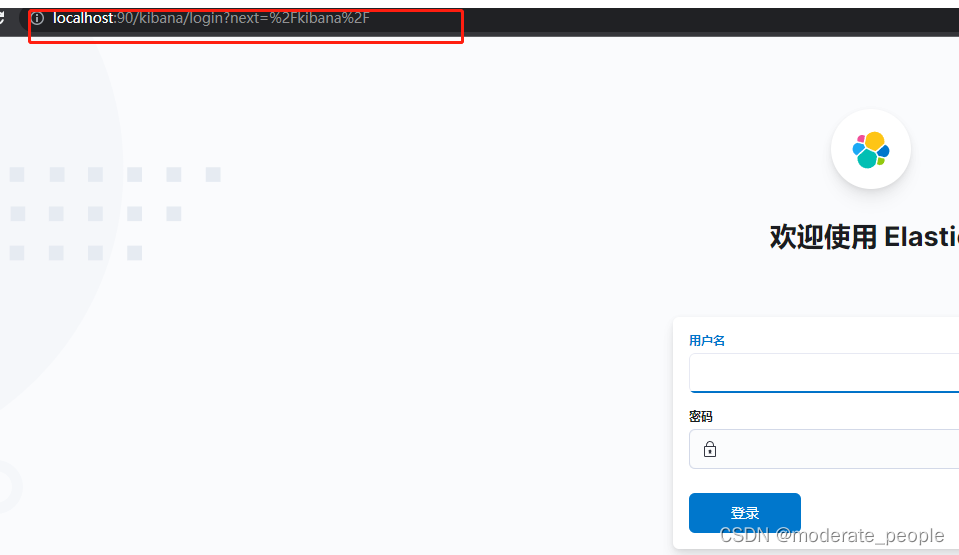
3.3、对kibana进行代理操作
3.3.1、对kibana.yml 最后添加代码
server.basePath: "/kibana"
3.3.2、nginx 的配置
location /kibana{
	   proxy_redirect off;

			#下面几个的参数的作用是向后端转发的时候添加头信息;
			proxy_set_header Host $host;
			proxy_set_header X-Real-IP $remote_addr;
			proxy_set_header X-Forwarded-For $proxy_add_x_forwarded_for;
			proxy_pass http://127.0.0.1:5601/ ;
			rewrite ^/kibana/(.*)$ /$1 break;
	   }
代理后,原路径不可用。
