步骤如下:
第1步、构建自定义的docker镜像。
Dockerfile如下:
FROM ubuntu:18.04

# 替换为阿里云镜像,如不需要可以去掉本部分
RUN printf '\n\
deb http://mirrors.aliyun.com/ubuntu/ bionic main restricted universe multiverse \n\
deb http://mirrors.aliyun.com/ubuntu/ bionic-security main restricted universe multiverse \n\
deb http://mirrors.aliyun.com/ubuntu/ bionic-updates main restricted universe multiverse \n\
deb http://mirrors.aliyun.com/ubuntu/ bionic-proposed main restricted universe multiverse \n\
deb http://mirrors.aliyun.com/ubuntu/ bionic-backports main restricted universe multiverse \n\
deb-src http://mirrors.aliyun.com/ubuntu/ bionic main restricted universe multiverse \n\
deb-src http://mirrors.aliyun.com/ubuntu/ bionic-security main restricted universe multiverse \n\
deb-src http://mirrors.aliyun.com/ubuntu/ bionic-updates main restricted universe multiverse \n\
deb-src http://mirrors.aliyun.com/ubuntu/ bionic-proposed main restricted universe multiverse \n\
deb-src http://mirrors.aliyun.com/ubuntu/ bionic-backports main restricted universe multiverse' > /etc/apt/sources.list

# 安装开发环境必要的包, 可根据自己需要调整
RUN apt-get update
RUN apt-get install -y ssh openssh-server
RUN apt-get install -y build-essential
RUN apt-get install -y gcc g++ gdb gdbserver cmake
RUN apt-get install -y net-tools
RUN apt-get install -y tar
RUN apt-get install -y rsync
RUN apt-get install -y vim
RUN apt-get install -y git
# 安装manpage
RUN sed -i 's:^path-exclude=/usr/share/man:#path-exclude=/usr/share/man:' \
        /etc/dpkg/dpkg.cfg.d/excludes
RUN apt-get install -y man manpages-posix manpages-dev manpages-posix-dev

# 安装zsh
RUN apt-get install -y git zsh \
    && git clone https://github.com/ohmyzsh/ohmyzsh.git ~/.oh-my-zsh \
    && cp ~/.oh-my-zsh/templates/zshrc.zsh-template ~/.zshrc

# 时区
RUN DEBIAN_FRONTEND=noninteractive apt-get install -y --no-install-recommends tzdata
RUN TZ=Asia/Shanghai \
    && ln -snf /usr/share/zoneinfo/$TZ /etc/localtime \
    && echo $TZ > /etc/timezone \
    && dpkg-reconfigure -f noninteractive tzdata

# Clean apt-cache
RUN apt autoremove -y \
    && apt clean -y \
    && rm -rf /var/lib/apt/lists/*

ENTRYPOINT [ "/bin/zsh" ]
运行如下命令构建镜像:
docker build -t "ubuntu-c-develop" .
第2步、vscode在docker容器中开发
(1)打开项目目录
(2)新建目录 .devcontainer,在该目录下新建文件devcontainer.json,把上面的自定义镜像名称配置到该文件中:
{
    "image": "lvhao/ubuntu-c-develop"
}

(3)shift + cmd + p 打开命令窗口,执行“Reopen in Container”命令:

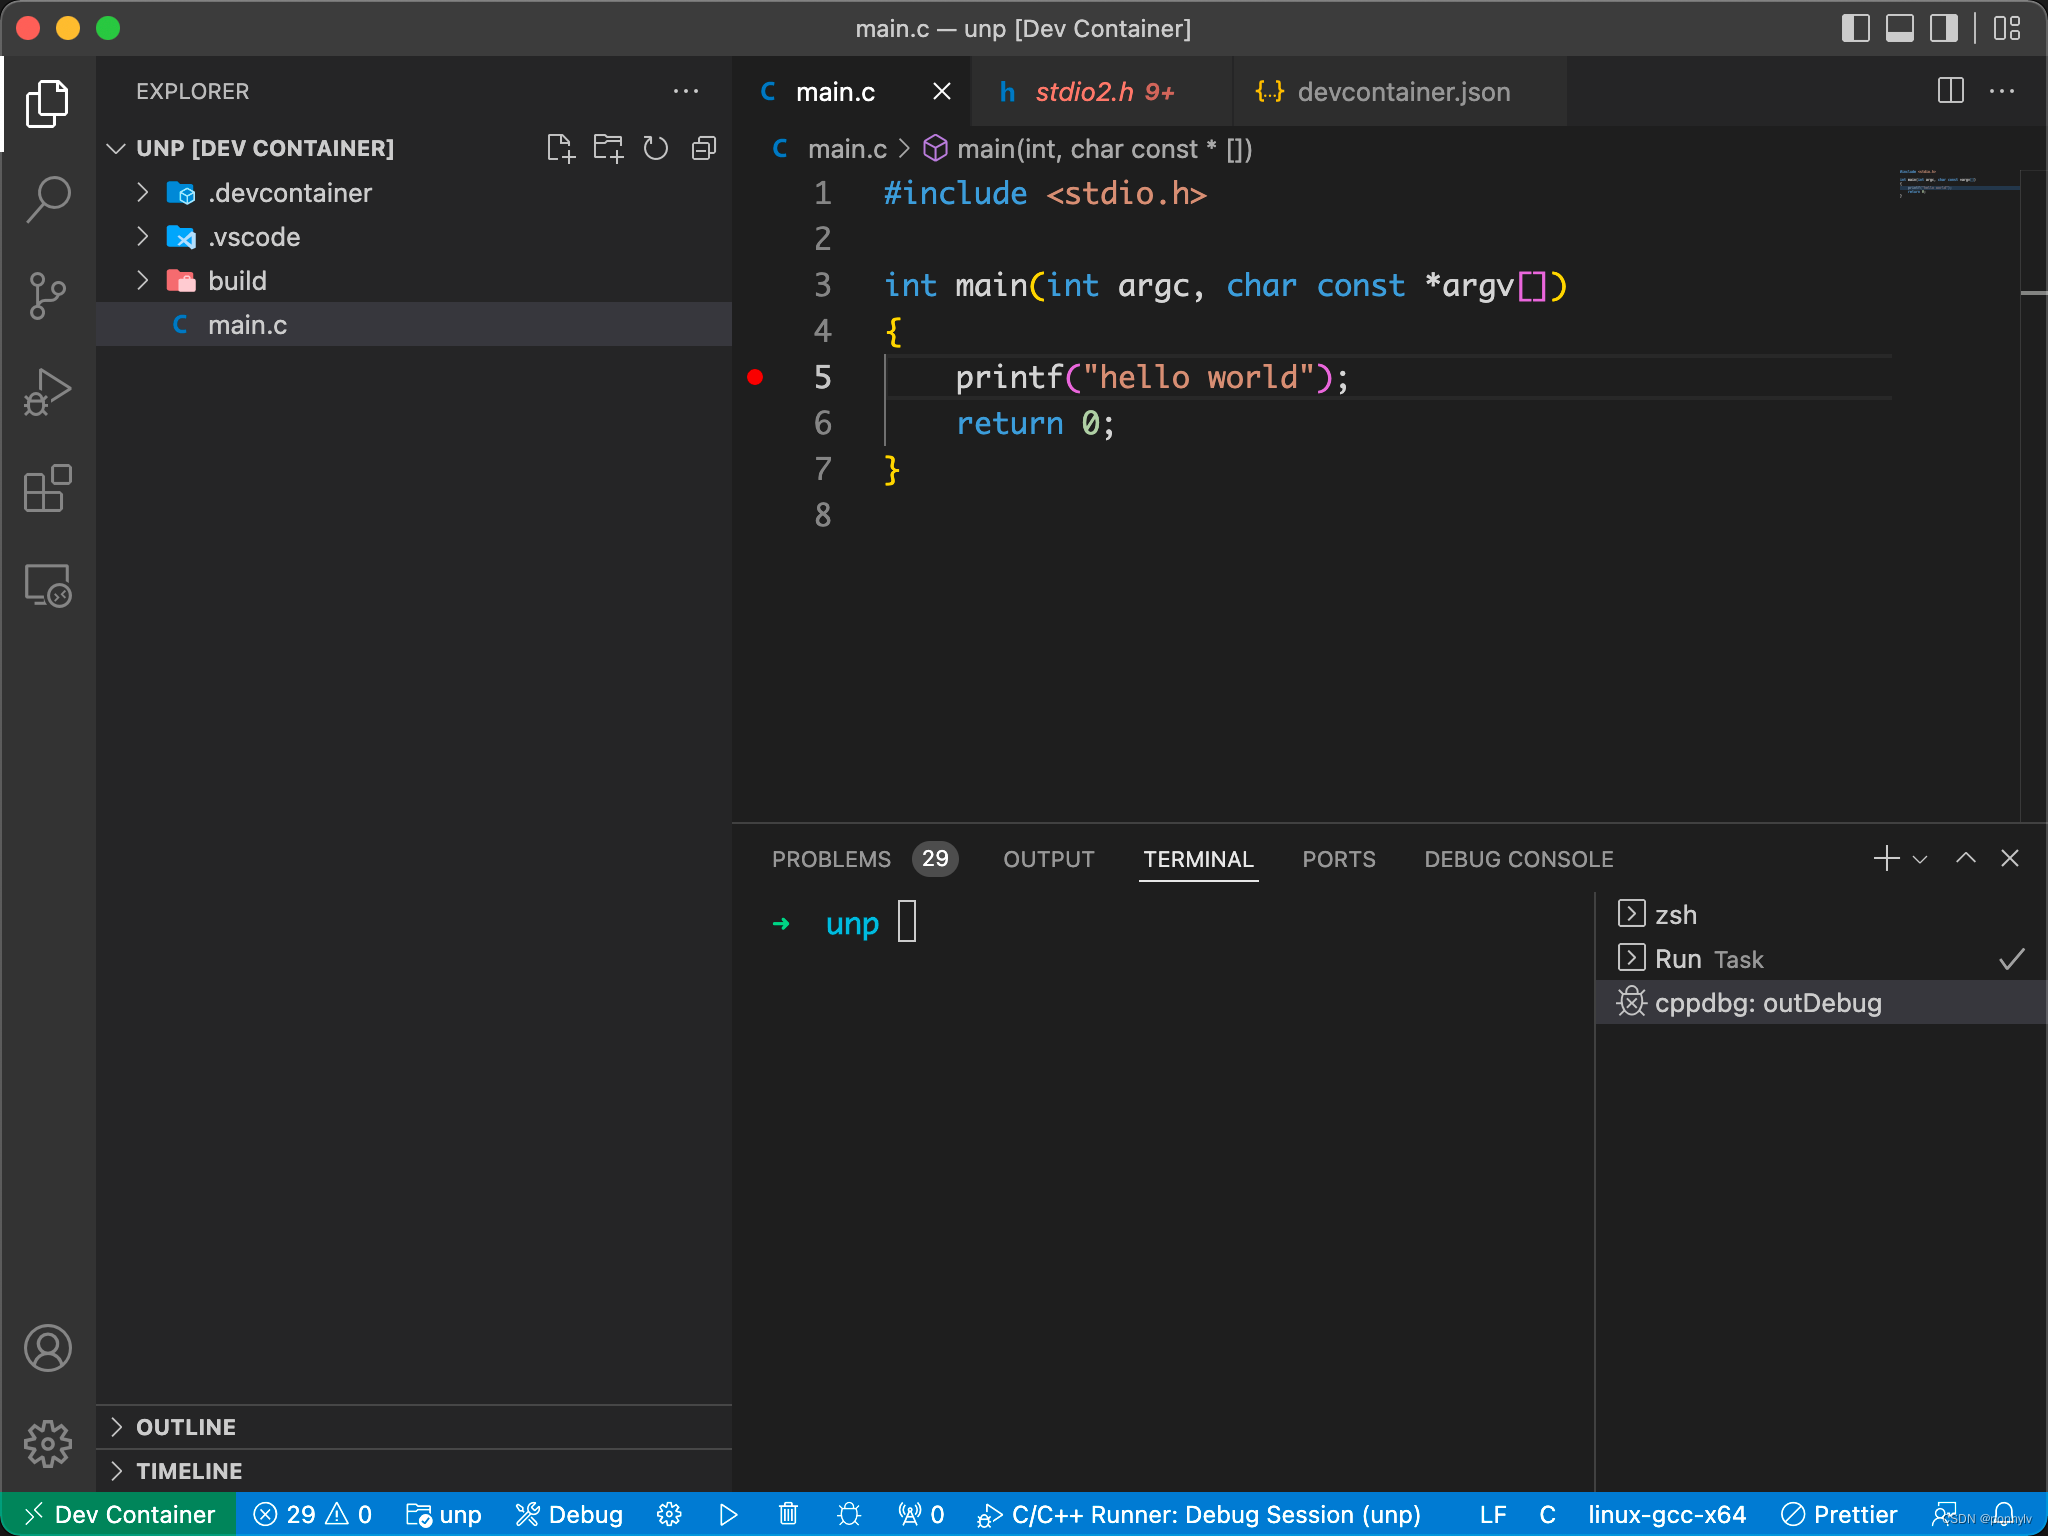
执行命令后,vscode会自动为我们创建指定镜像的容器,并在容器中打开项目。
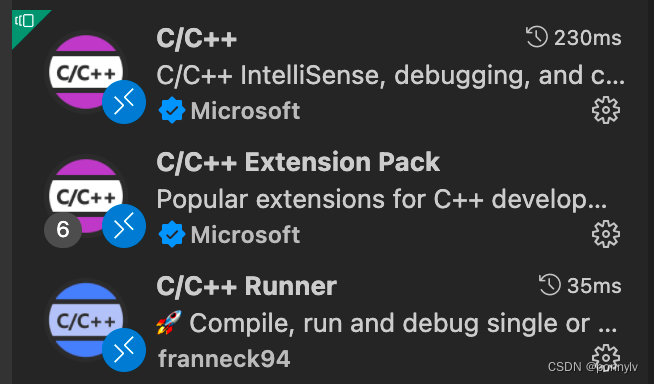
(4)安装必要插件

经过以上的配置后,就可以在docker容器中进行linux c开发了。

