在前面,ESP8266 是作为网络服务器使用的,
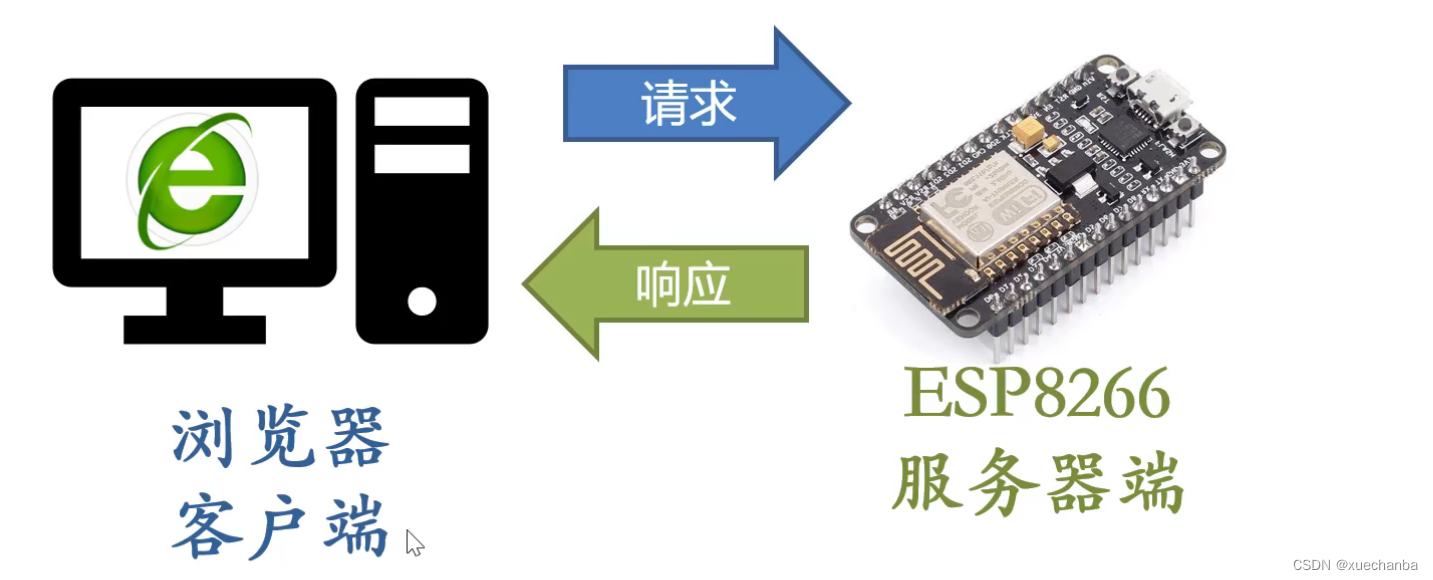
而在下面,将 ESP8266 是作为客户端来使用。
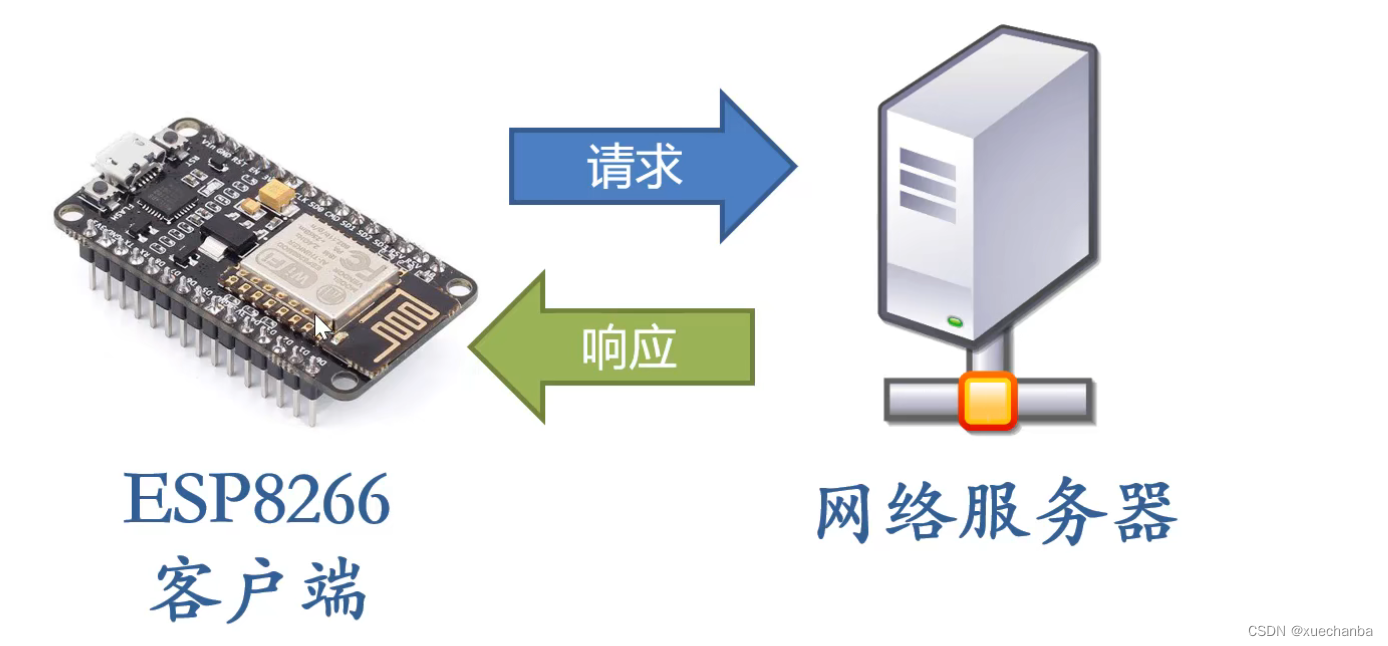
当然,也可以使用两块 ESP8266 开发板,这两块开发板,一块作为客户端来使用,一块则作为服务器端来使用。
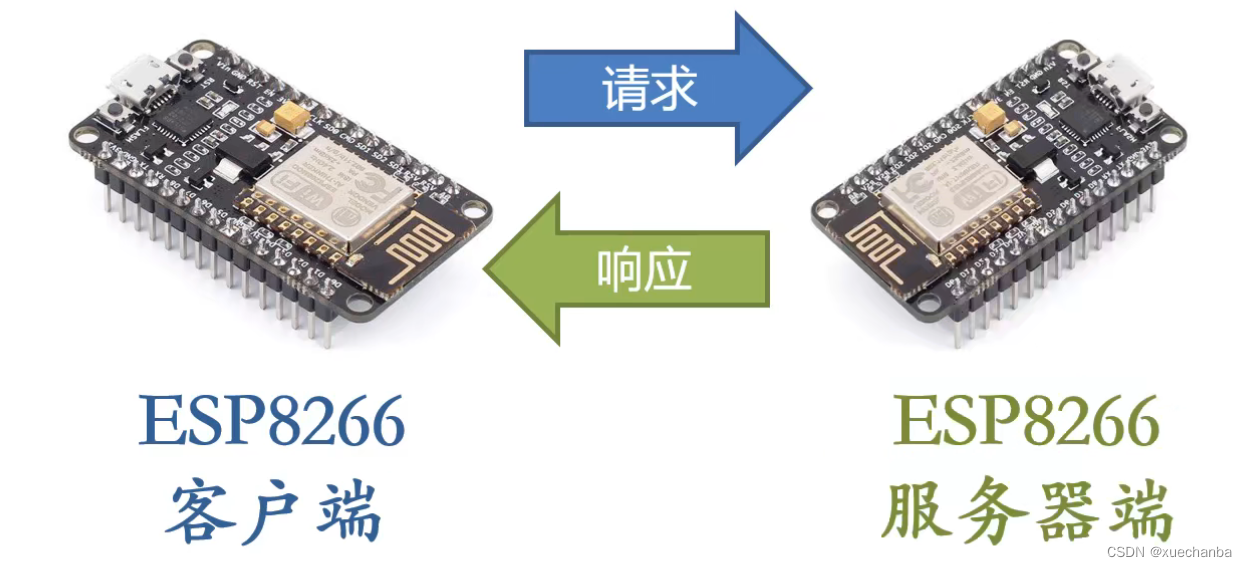
下面来看看,如何让 ESP8266 开发板作为客户端通过互联网来向一个网络服务器来发送请求信息,同时呢,网络服务器会将响应再通过互联网发送给 ESP8266 开发板 。
视频资料链接:http://www.taichi-maker.com/homepage/esp8266-nodemcu-iot/iot-c/esp8266-nodemcu-web-client/
ESP8266 网络客户端基本操作(一)
示例 1 :使用 ESP8266 的 HTTPClient 库实现网络通讯
在看代码之前,我们先来看看代码的功能。
在这个代码中,开发板会向 www.example.com 这个网址所在的网络服务器发送请求信息。网站服务器在接收到请求信息之后,将会把它的首页信息响应给 ESP8226 开发板(客户端)。而 ESP8226 开发板在收到响应信息之后呢,将通过串口监视器将网络服务器发送的首页信息给打印出来。
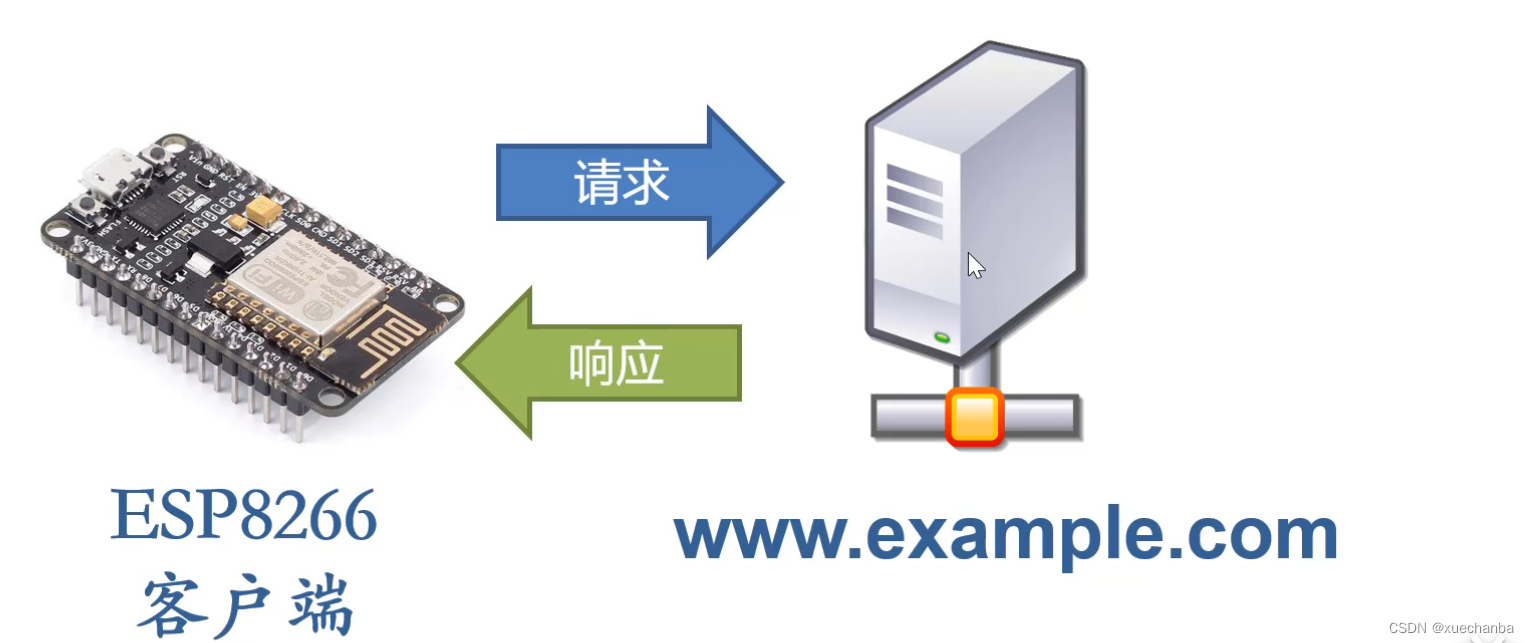
我们先使用浏览器,来看下这个网址都有什么信息。
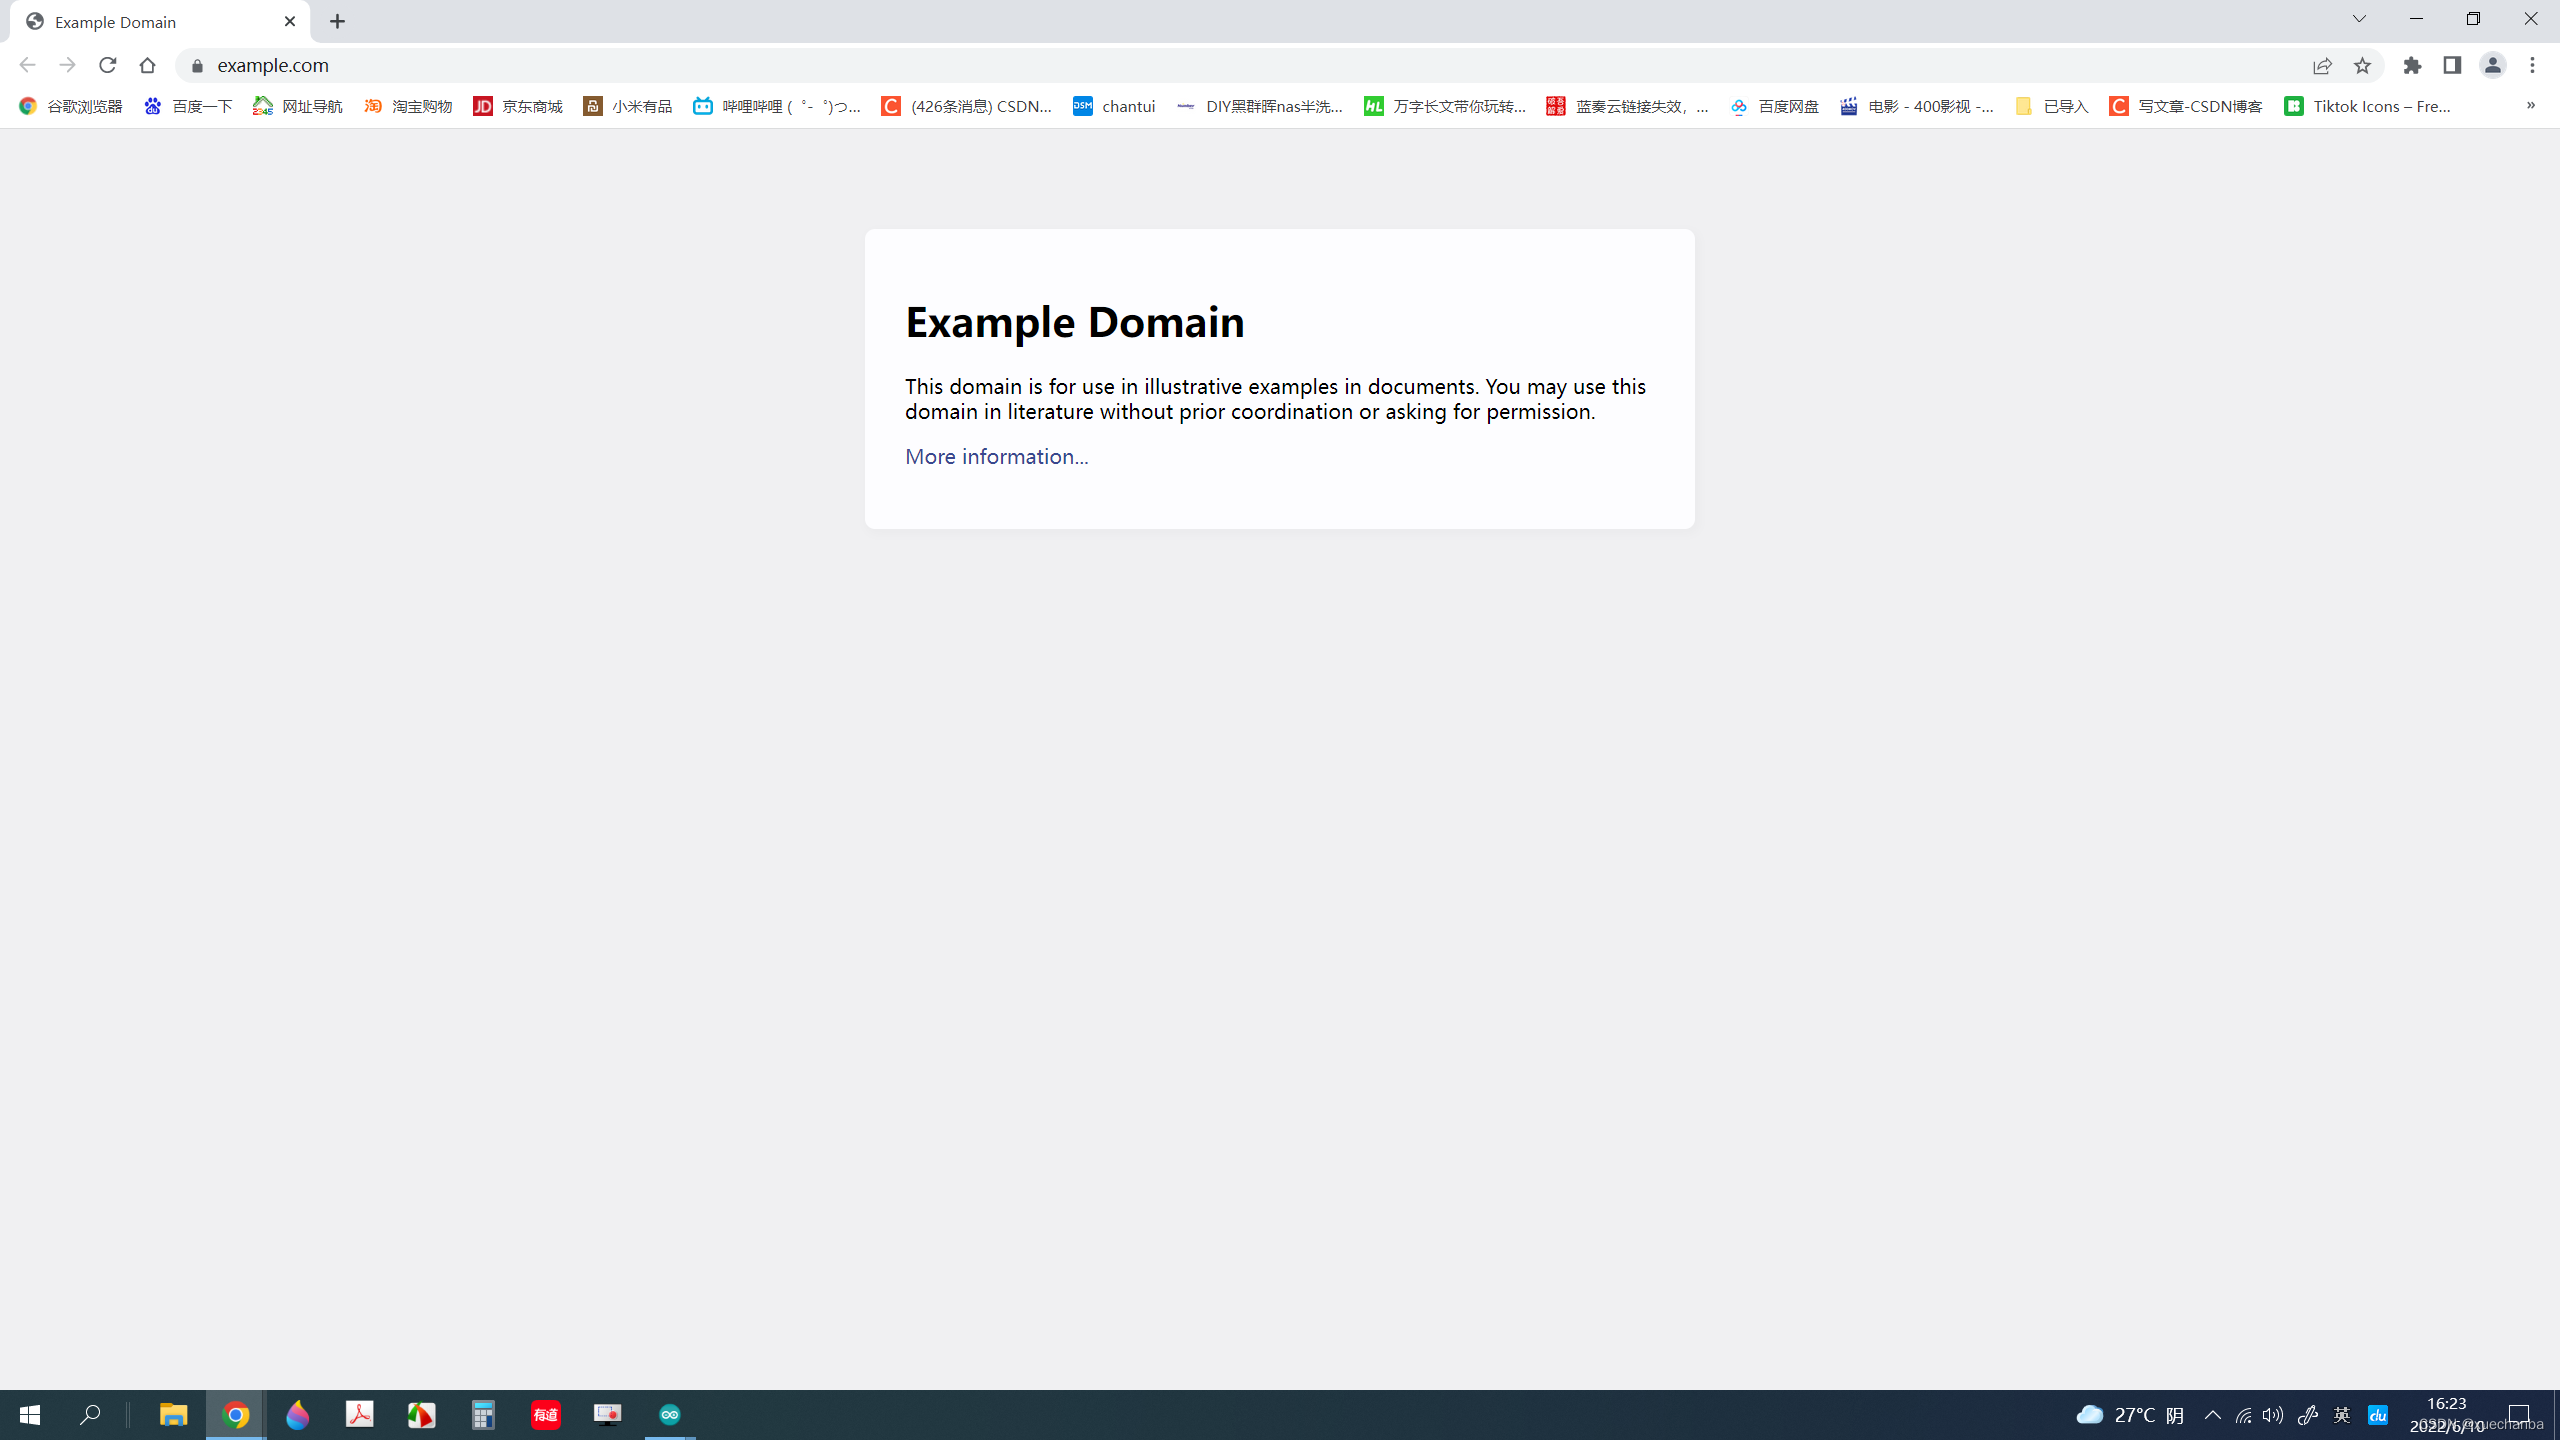
可以看到首页信息已经显示出来了。
(这个 www.example.com 的功能就是作为测试使用的)
/**********************************************************************
  项目名称/Project          : 零基础入门学用物联网
  程序名称/Program name     : HTTPClient_request_basic
  团队/Team                : 太极创客团队 / Taichi-Maker (www.taichi-maker.com)
  作者/Author              : Dapenson
  日期/Date(YYYYMMDD)     : 20200325
  程序目的/Purpose          :
  此程序用于演示如何使用ESP8266来向www.example.com网站服务器发送HTTP请求并通过串口
  监视器将网站服务器响应信息通过串口监视器显示出来。
  -----------------------------------------------------------------------
  修订历史/Revision History
  日期/Date    作者/Author      参考号/Ref    修订说明/Revision Description
  20200411      CYNO朔           001        将请求服务器改为www.example.com
  -----------------------------------------------------------------------
  本示例程序为太极创客团队制作的《零基础入门学用物联网》中示例程序。
  该教程为对物联网开发感兴趣的朋友所设计和制作。如需了解更多该教程的信息,请参考以下网页:
  http://www.taichi-maker.com/homepage/esp8266-nodemcu-iot/iot-c/esp8266-nodemcu-web-client/http-request/
***********************************************************************/
#include <ESP8266WiFi.h>
#include <ESP8266HTTPClient.h>

// 测试HTTP请求用的URL。注意网址前面必须添加"http://"
#define URL "http://www.example.com"

// 设置wifi接入信息(请根据您的WiFi信息进行修改)
const char* ssid = "FAST_153C80";
const char* password = "123456798";

void setup() {
  //初始化串口设置
  Serial.begin(9600);

  //设置ESP8266工作模式为无线终端模式
  WiFi.mode(WIFI_STA);

  //开始连接wifi
  WiFi.begin(ssid, password);

  //等待WiFi连接,连接成功打印IP
  while (WiFi.status() != WL_CONNECTED) {
    delay(1000);
    Serial.print(".");
  }
  Serial.println("");
  Serial.print("WiFi Connected!");

  httpClientRequest();
}

void loop() {}

// 发送HTTP请求并且将服务器响应通过串口输出
void httpClientRequest(){

  WiFiClient client;

  //重点1 创建 HTTPClient 对象
  HTTPClient httpClient;

  //重点2 通过begin函数配置请求地址。此处也可以不使用端口号和PATH而单纯的
  httpClient.begin(client, URL);
  Serial.print("URL: ");
  Serial.println(URL);

  //重点3 通过GET函数启动连接并发送HTTP请求
  int httpCode = httpClient.GET();
  Serial.print("Send GET request to URL: ");
  Serial.println(URL);

  //重点4. 如果服务器响应HTTP_CODE_OK(200)则从服务器获取响应体信息并通过串口输出
  //如果服务器不响应HTTP_CODE_OK(200)则将服务器响应状态码通过串口输出
  if (httpCode == HTTP_CODE_OK) {
    // 使用getString函数获取服务器响应体内容
    String responsePayload = httpClient.getString();
    Serial.println("Server Response Payload: ");
    Serial.println(responsePayload);
  } else {
    Serial.println("Server Respose Code:");
    Serial.println(httpCode);
  }

  //重点5. 关闭ESP8266与服务器连接
  httpClient.end();
}
这里需要修改一个地方,是因为我的库版本是 3.0.0 之后的版本,所以与视频中所使用的库文件有一些不同。
// 发送HTTP请求并且将服务器响应通过串口输出
void httpClientRequest(){

  WiFiClient client;

  //重点1 创建 HTTPClient 对象
  HTTPClient httpClient;

  //重点2 通过begin函数配置请求地址。此处也可以不使用端口号和PATH而单纯的
  httpClient.begin(client, URL);
  Serial.print("URL: ");
  Serial.println(URL);
也就是这里。
之后,运行代码,打开串口监视器。
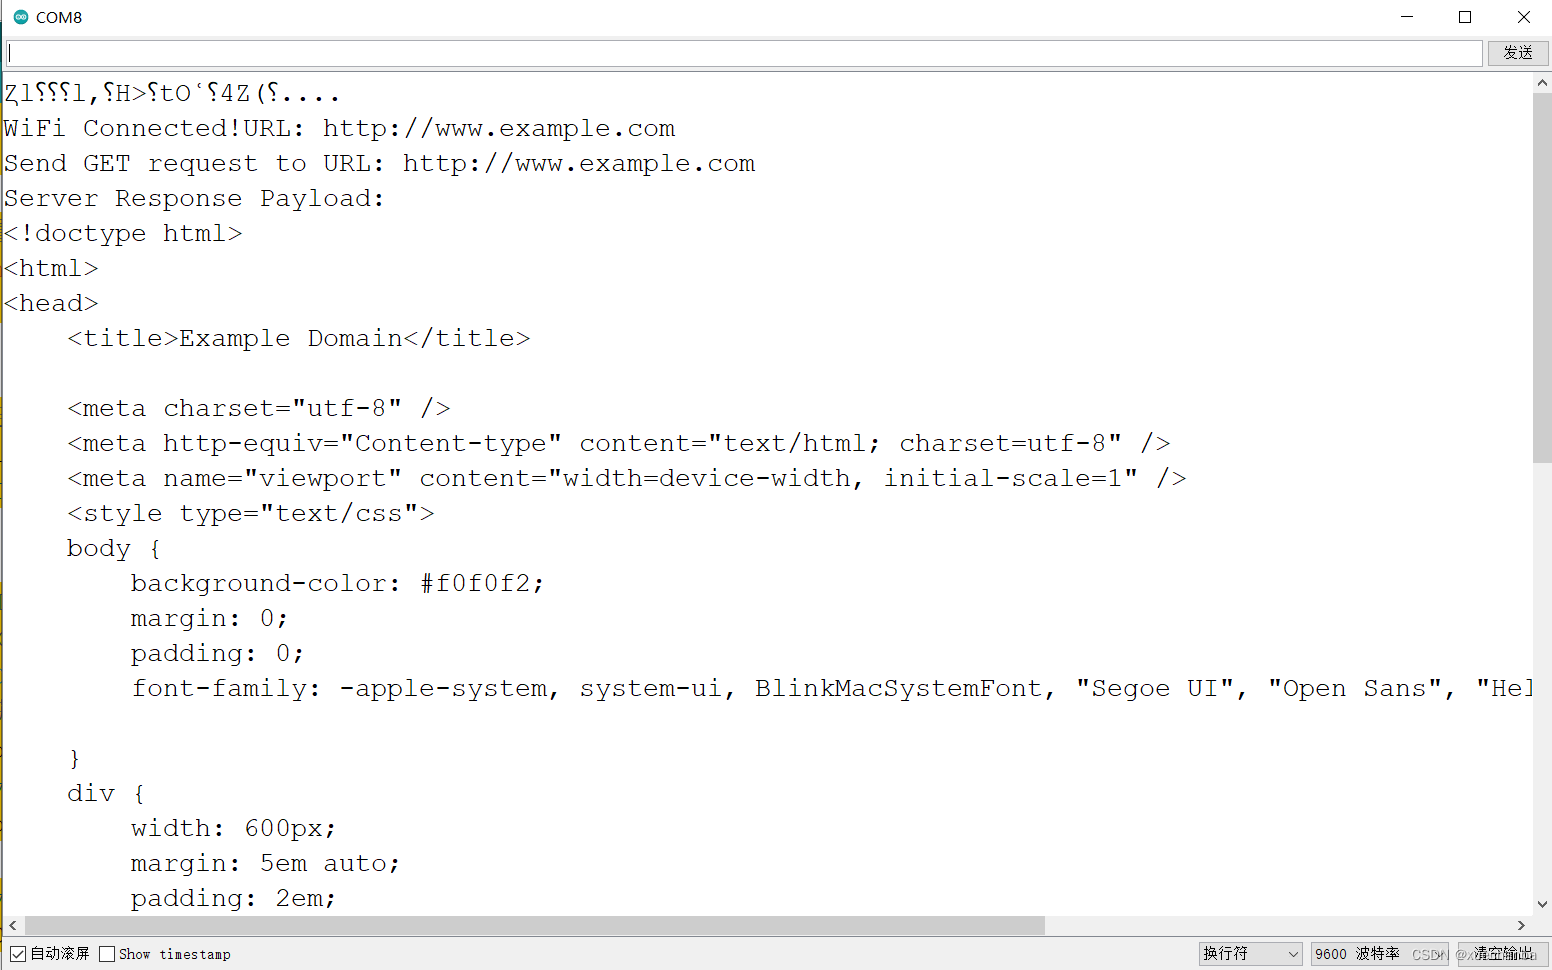
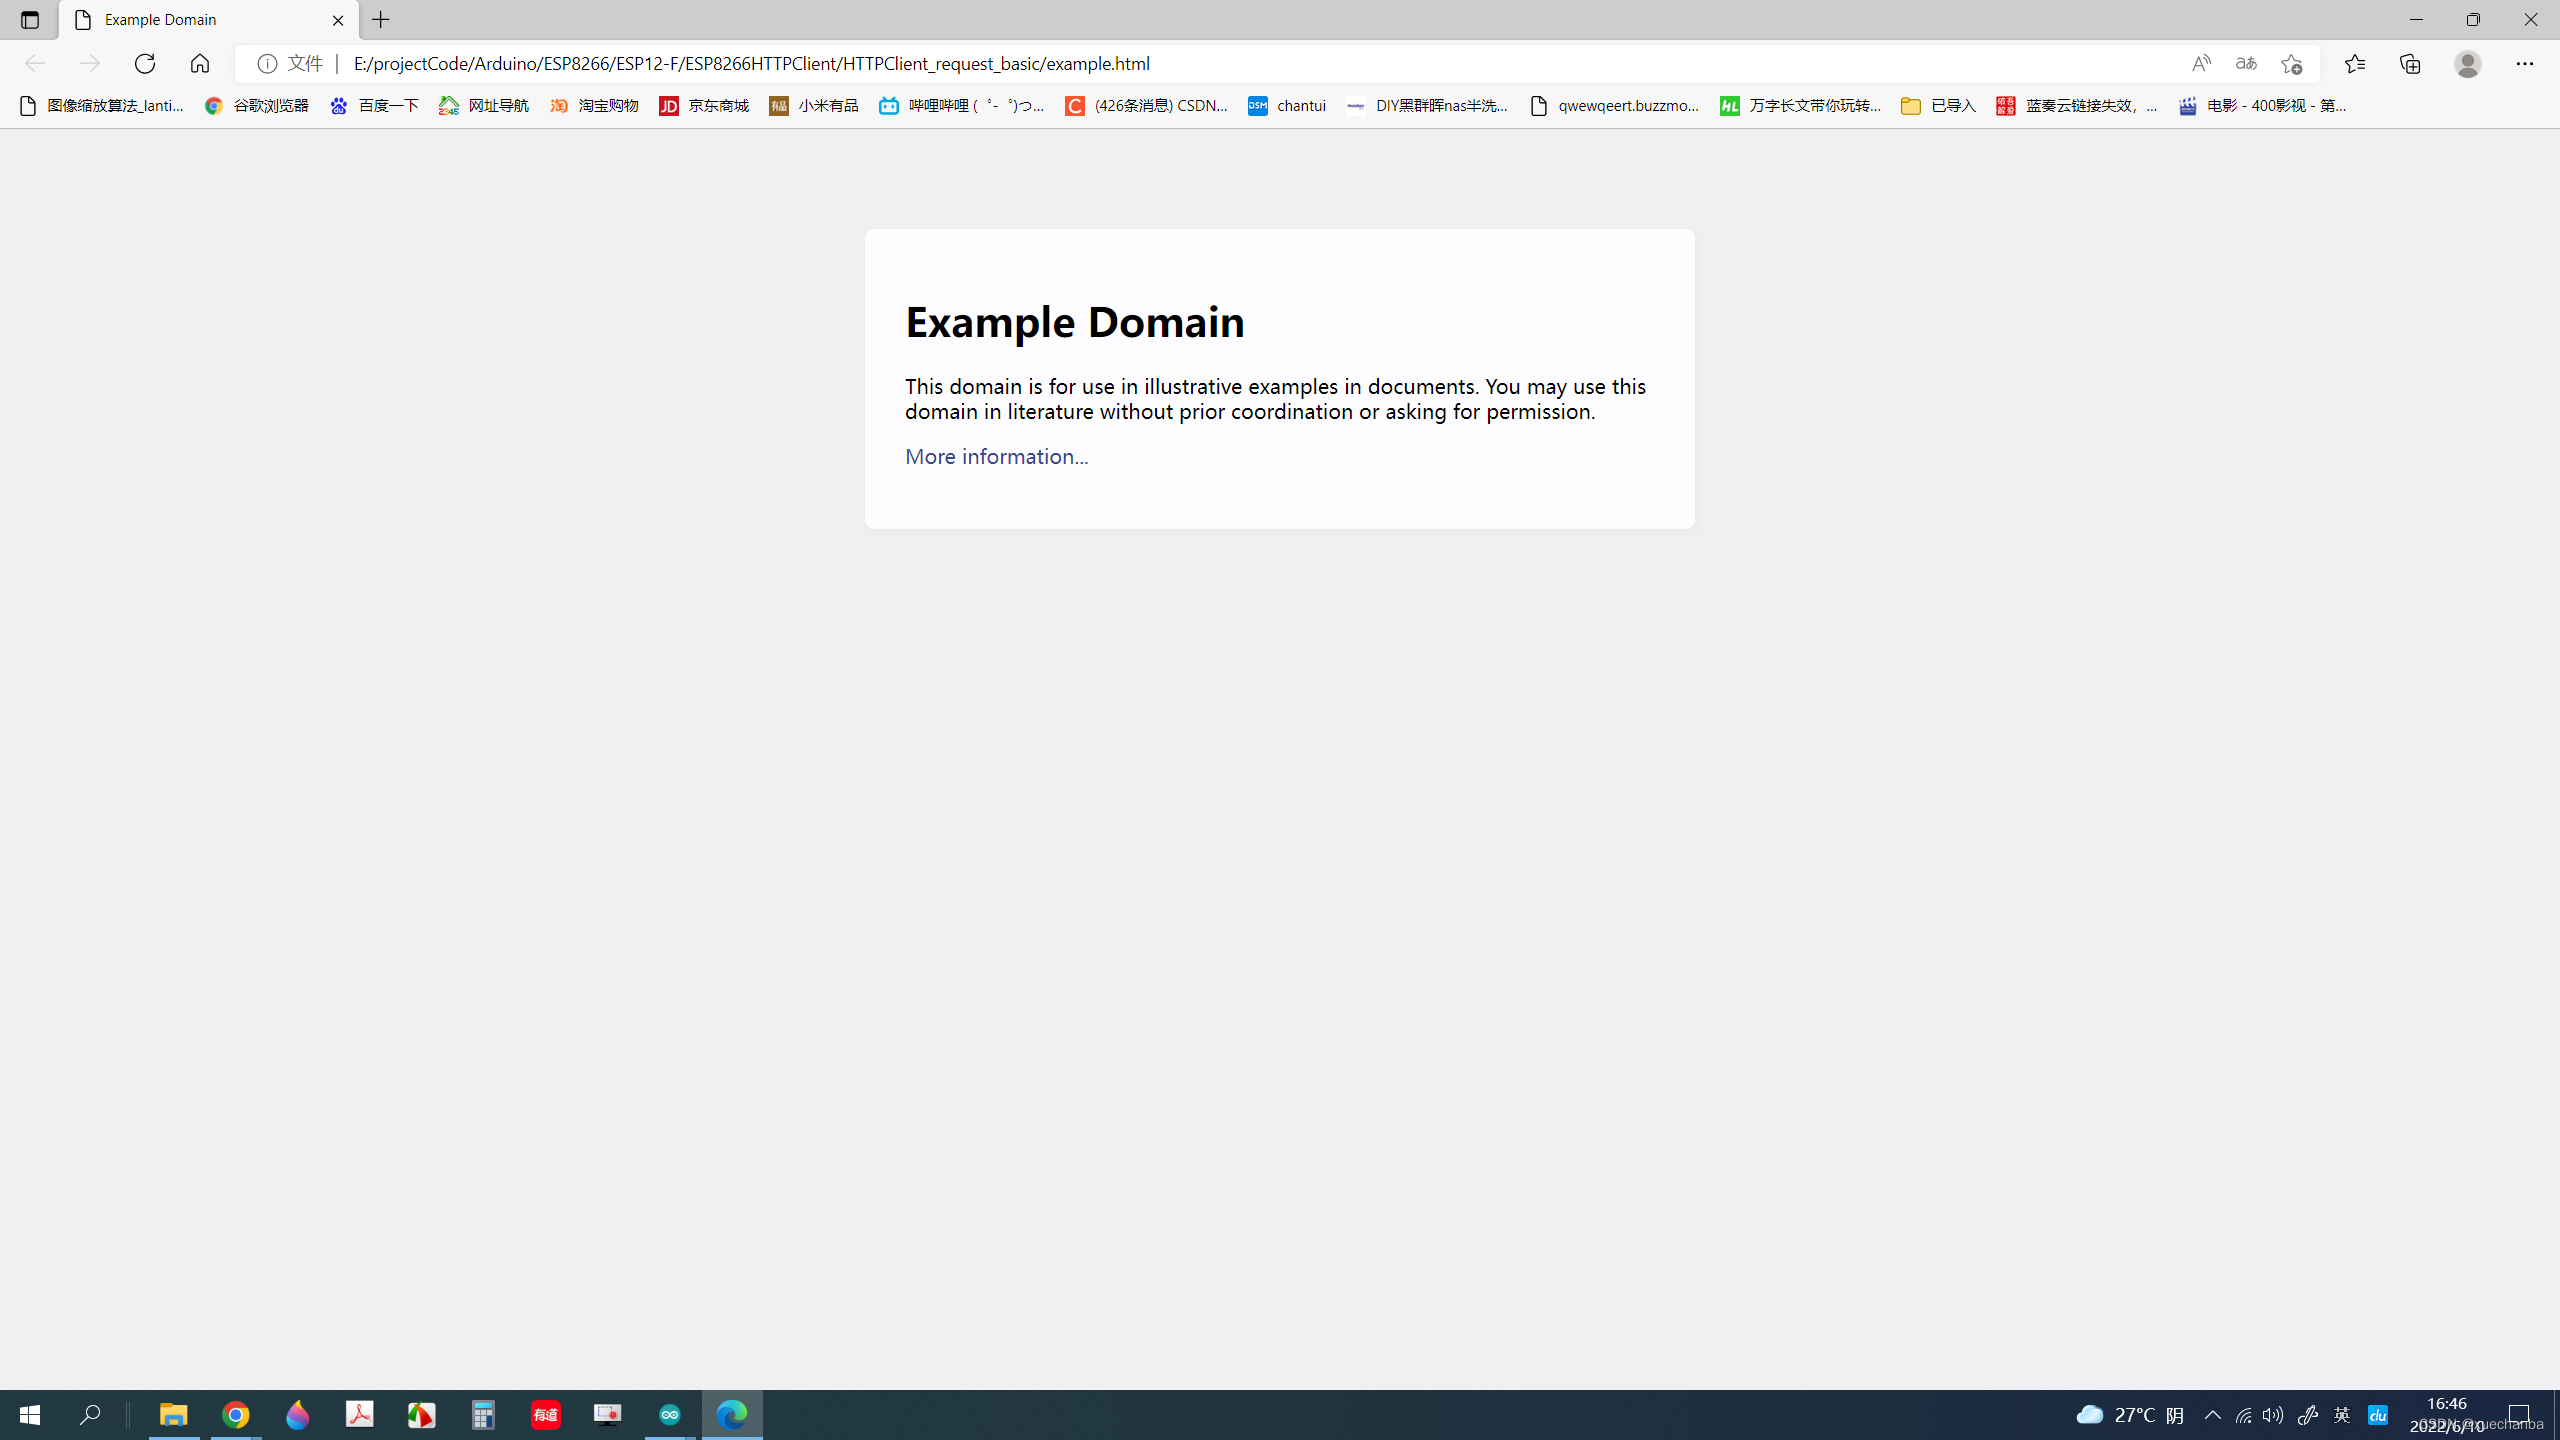
我们将这个响应信息复制到 Notepad++ ,然后保存为网页文件,之后再使用浏览器来打开这个网页文件。

可以发现,这与原网页一致。
下面来介绍下代码,
第一点,这里用到了两个库文件
#include <ESP8266WiFi.h>
#include <ESP8266HTTPClient.h>
其中,第一个库是用于连接 WiFi 的,第二个库则是开发板使用 Http 协议作为客户端来使用的功能库。
第二点,要将ESP8266工作模式设置为无线终端模式。
(具体更多细节和功能可以看链接中的介绍: http://www.taichi-maker.com/homepage/iot-development/iot-dev-reference/esp8266-c-plus-plus-reference/)
第三点,这里用到了 httpClientRequest() 这个库函数, 在该函数中,首先,创建了WiFiClient 对象 和 HTTPClient 对象,其中的 WiFiClient 对象用来表明 WiFi 模块正使用 WiFi 作为客户端来使用,而 HTTPClient 对象则是将通过 begin 函数来配置请求地址。之后,通过 GET 函数启动连接并发送 HTTP 请求,
int httpCode = httpClient.GET();
当服务器接收到请求后,就会返回一个响应信息,这个响应信息由几个部分组成,其中之一就是响应状态码,响应状态码包括 200 , 404 这些数值,这些数值正是 httpClient.GET(); 这个函数的返回值。
回顾下,
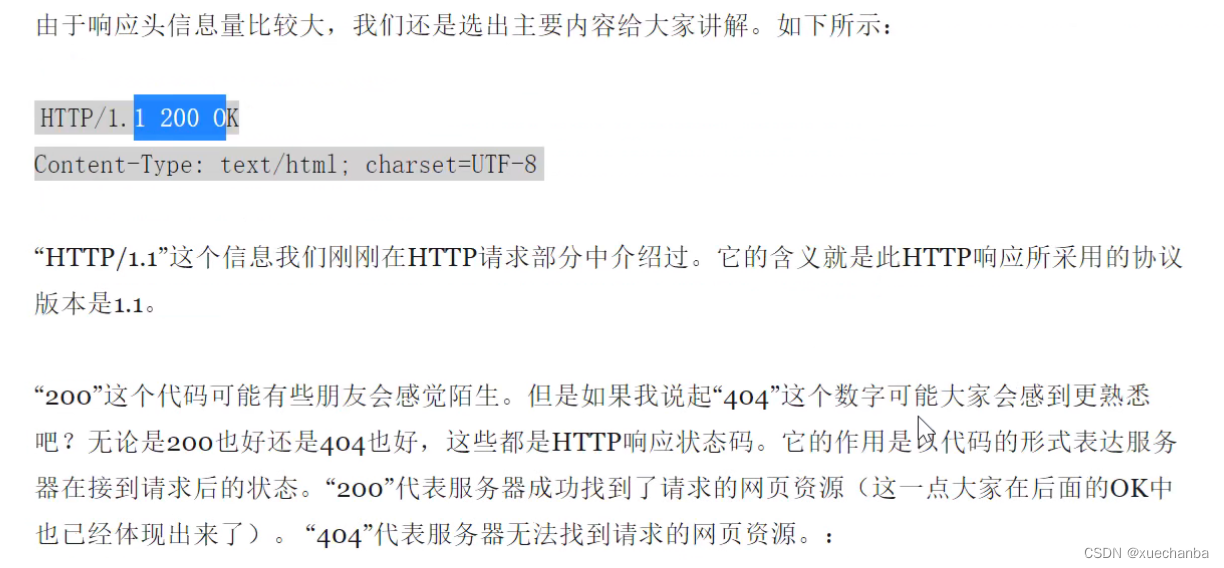
然后,如果服务器响应 HTTP_CODE_OK(200) ,则从服务器获取响应体信息并通过串口输出。如果服务器不响应 HTTP_CODE_OK(200) 则将服务器响应状态码通过串口输出。获取响应体信息使用 getString() 这个函数来获取。
最后,还需要使用 end() 函数来关闭 ESP8266 客户端 与 服务器连接。
ESP8266 网络客户端的其他基本操作
ESP8266 网络客户端的其他基本操作除了上面介绍的,还有很多其他的功能。
这些其他的功能在链接 http://www.taichi-maker.com/homepage/iot-development/iot-dev-reference/esp8266-c-plus-plus-reference/esp8266httpclient/ 中。
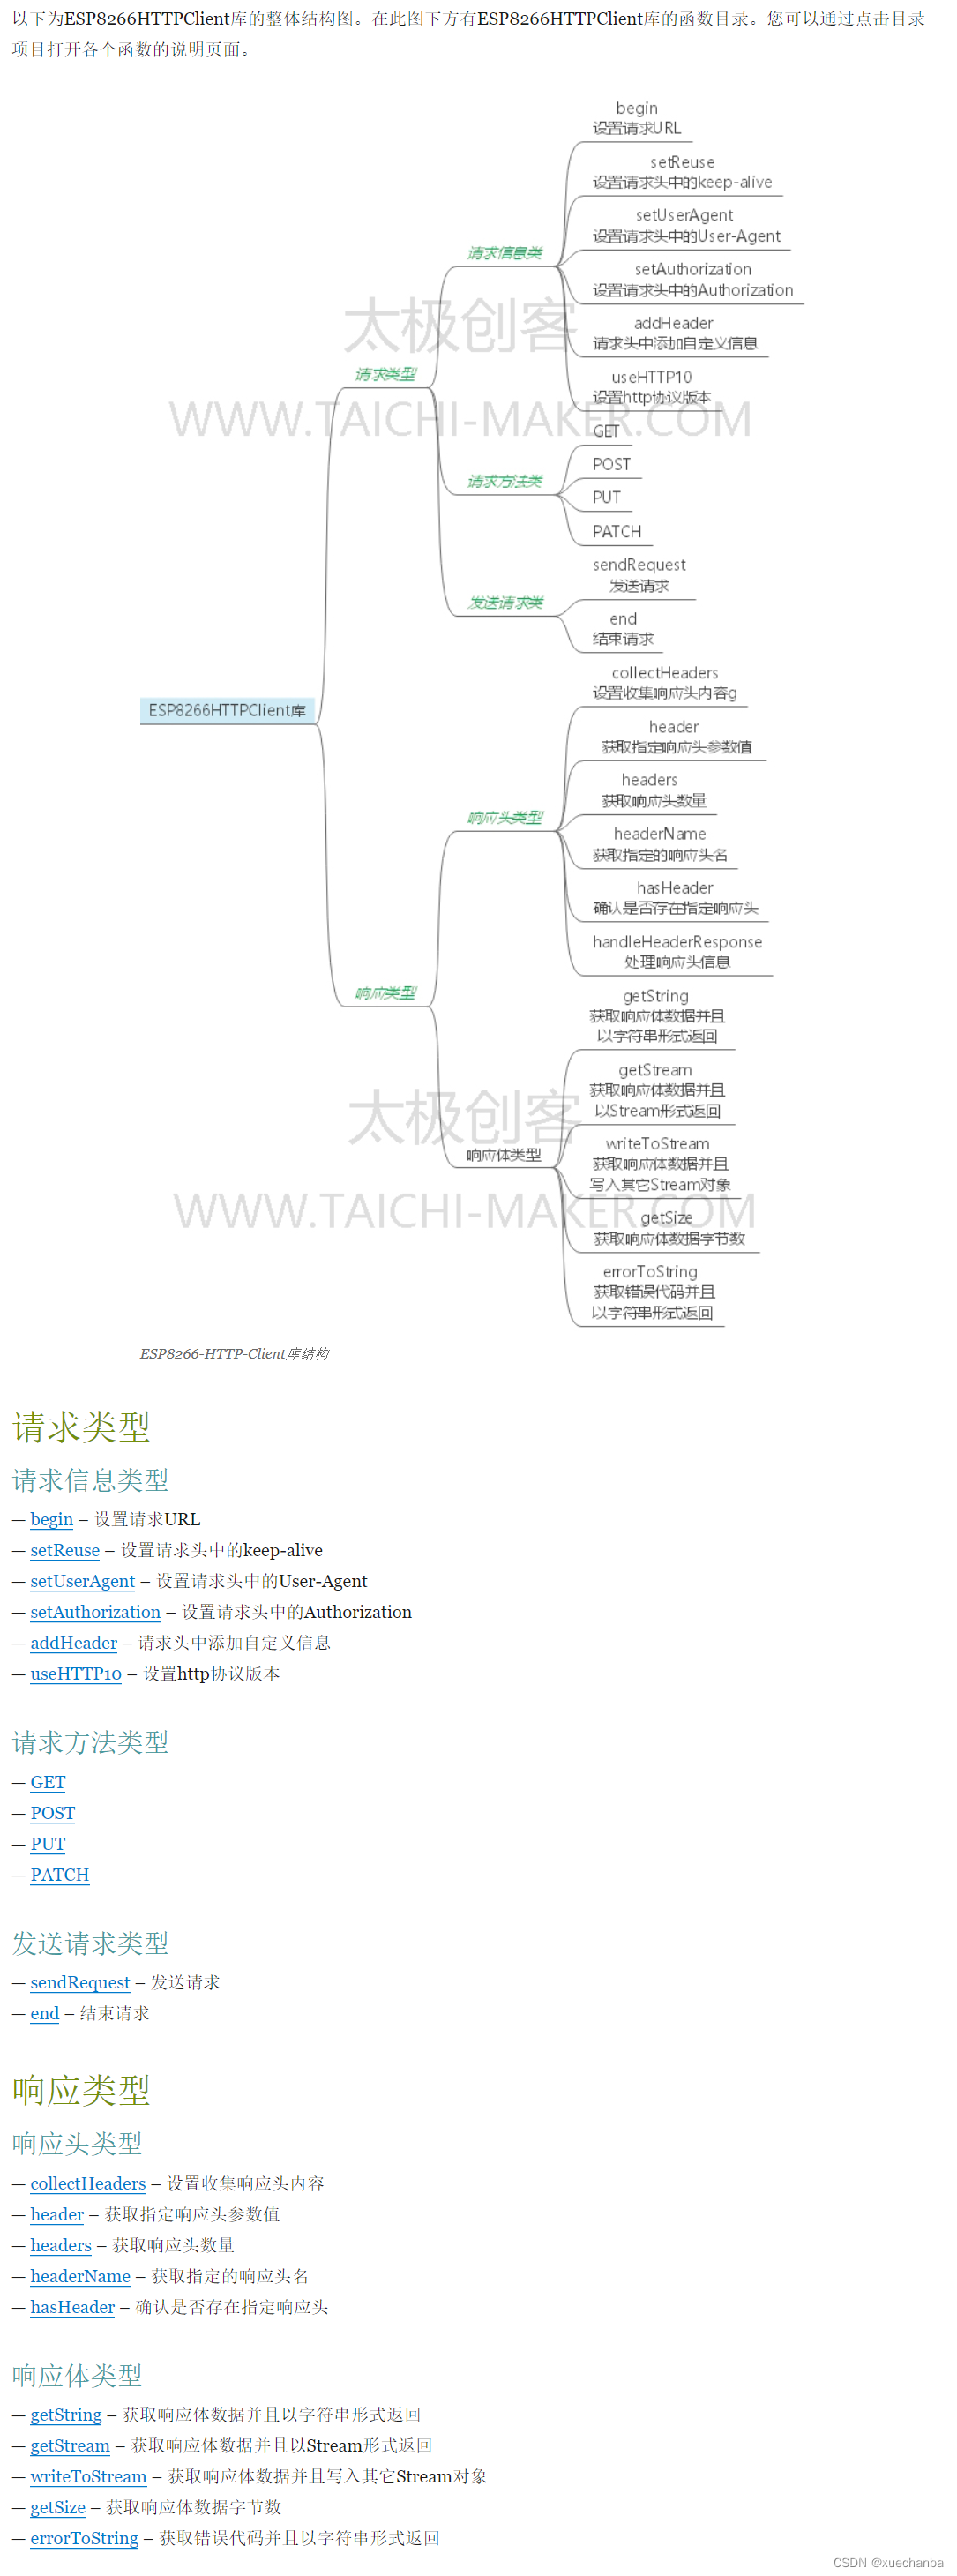
每个知识点不可能面面俱到,只能用到时再来这里找。假设,我们要想要对服务器的响应头做一个操作。但是我们不知道如何操作,就来这里搜索,搜索到 collectHeaders 这个函数,就点击进去看下。
ESP8266 网络客户端基本操作(二)
示例 2 :使用 WiFiClient 库实现网络通讯
/**********************************************************************
项目名称/Project          : 零基础入门学用物联网
程序名称/Program name     : wifiClient_request_basic
团队/Team                : 太极创客团队 / Taichi-Maker (www.taichi-maker.com)
作者/Author              : Dapenson
日期/Date(YYYYMMDD)     : 20200325
程序目的/Purpose          :
此程序用于演示如何使用esp8266作为互联网客户端向www.example.com网站服务器发送http请求,
并且将网站服务器响应的信息输出在屏幕中
-----------------------------------------------------------------------
修订历史/Revision History
日期/Date    作者/Author      参考号/Ref    修订说明/Revision Description
20200411      CYNO朔           001        将请求服务器改为www.example.com
-----------------------------------------------------------------------
本示例程序为太极创客团队制作的《零基础入门学用物联网》中示例程序。
该教程为对物联网开发感兴趣的朋友所设计和制作。如需了解更多该教程的信息,请参考以下网页:
http://www.taichi-maker.com/homepage/esp8266-nodemcu-iot/iot-c/esp8266-nodemcu-web-client/http-request/
***********************************************************************/
#include <ESP8266WiFi.h>

const char* host = "www.example.com"; // 网络服务器地址
const int httpPort = 80;              // http端口80

// 设置wifi接入信息(请根据您的WiFi信息进行修改)
const char* ssid = "taichimaker";
const char* password = "12345678";

void setup() {
  //初始化串口设置
  Serial.begin(9600);
  Serial.println("");

  //设置ESP8266工作模式为无线终端模式
  WiFi.mode(WIFI_STA);

  //开始连接wifi
  WiFi.begin(ssid, password);

  //等待WiFi连接,连接成功打印IP
  while (WiFi.status() != WL_CONNECTED) {
    delay(1000);
    Serial.print(".");
  }
  Serial.println("");
  Serial.println("WiFi Connected!");

  wifiClientRequest();
}

void loop(){}

// 向服务器发送HTTP请求
void wifiClientRequest(){
  // 建立WiFi客户端对象,对象名称client
  WiFiClient client;

  // 建立字符串,用于HTTP请求
  String httpRequest =  String("GET /") + " HTTP/1.1\r\n" +
                        "Host: " + host + "\r\n" +
                        "Connection: close\r\n" +
                        "\r\n";

  // 通过串口输出连接服务器名称以便查阅连接服务器的网址
  Serial.print("Connecting to ");
  Serial.print(host);

  // 连接网络服务器,以下段落中的示例程序为本程序重点1
  // 请参考太极创客网站中关于本程序的讲解页面获取详细说明信息。网址:
  // http://www.taichi-maker.com/homepage/esp8266-nodemcu-iot/iot-c/esp8266-nodemcu-web-client/http-request/
  if (client.connect(host, httpPort)){
    Serial.println(" Success!");        // 连接成功后串口输出“Success”信息

    client.print(httpRequest);          // 向服务器发送HTTP请求
    Serial.println("Sending request: ");// 通过串口输出HTTP请求信息内容以便查阅
    Serial.println(httpRequest);

    // 通过串口输出网络服务器响应信息, 以下段落中的示例程序为本程序重点2
    // 请参考太极创客网站中关于本程序的讲解页面获取详细说明信息。网址:
    // http://www.taichi-maker.com/homepage/esp8266-nodemcu-iot/iot-c/esp8266-nodemcu-web-client/http-request/
    Serial.println("Web Server Response:");
    while (client.connected() || client.available()){
      if (client.available()){
        String line = client.readStringUntil('\n');
        Serial.println(line);
      }
    }

    client.stop();                      // 断开与服务器的连接
    Serial.print("Disconnected from "); // 并且通过串口输出断开连接信息
    Serial.print(host);

  } else{    // 如果连接不成功则通过串口输出“连接失败”信息
    Serial.println(" connection failed!");
    client.stop();
  }
}
看下运行结果:
(从串口监视器中复制的一行信息中带有回车换行(\r\n))
?2dO?4`lMM?x?E??`??8IX
....
WiFi Connected!
Connecting to www.example.com Success!
Sending request:
GET / HTTP/1.1
Host: www.example.com
Connection: close


Web Server Response:
HTTP/1.1 200 OK

Accept-Ranges: bytes

Age: 591527

Cache-Control: max-age=604800

Content-Type: text/html; charset=UTF-8

Date: Mon, 13 Jun 2022 13:24:59 GMT

Etag: "3147526947"

Expires: Mon, 20 Jun 2022 13:24:59 GMT

Last-Modified: Thu, 17 Oct 2019 07:18:26 GMT

Server: ECS (sab/5774)

Vary: Accept-Encoding

X-Cache: HIT

Content-Length: 1256

Connection: close


<!doctype html>
<html>
<head>
    <title>Example Domain</title>

    <meta charset="utf-8" />
    <meta http-equiv="Content-type" content="text/html; charset=utf-8" />
    <meta name="viewport" content="width=device-width, initial-scale=1" />
    <style type="text/css">
    body {
        background-color: #f0f0f2;
        margin: 0;
        padding: 0;
        font-family: -apple-system, system-ui, BlinkMacSystemFont, "Segoe UI", "Open Sans", "Helvetica Neue", Helvetica, Arial, sans-serif;

    }
    div {
        width: 600px;
        margin: 5em auto;
        padding: 2em;
        background-color: #fdfdff;
        border-radius: 0.5em;
        box-shadow: 2px 3px 7px 2px rgba(0,0,0,0.02);
    }
    a:link, a:visited {
        color: #38488f;
        text-decoration: none;
    }
    @media (max-width: 700px) {
        div {
            margin: 0 auto;
            width: auto;
        }
    }
    </style>
</head>

<body>
<div>
    <h1>Example Domain</h1>
    <p>This domain is for use in illustrative examples in documents. You may use this
    domain in literature without prior coordination or asking for permission.</p>
    <p><a href="https://www.iana.org/domains/example">More information...</a></p>
</div>
</body>
</html>
Disconnected from www.example.com
再来分析下代码。
重点1、函数 wifiClientRequest()
其中,字符串变量 httpRequest 存储的内容是 http 请求信息,
 // 建立字符串,用于HTTP请求
  String httpRequest =  String("GET /") + " HTTP/1.1\r\n" +
                        "Host: " + host + "\r\n" +
                        "Connection: close\r\n" +
                        "\r\n";
整理下,
 // 建立字符串,用于HTTP请求
GET / HTTP/1.1
Host: www.example.com
Connection: close
我们来分析下这个请求信息中的内容,这一点涉及到 http 协议的相关知识,可以看下笔记https://blog.csdn.net/xuechanba/article/details/125268706
GET 是请求方法,/ 是请求的内容(这里是网站首页),HTTP/1.1 是协议版本号,
Host: www.example.com 是请求的网址,
Connection: close 表示是否需要持久连接,这里是不需要。HTTP/1.1 默认是进行持久连接(Keep-Alive)。
空行(\r\n)是告诉服务器,整个请求信息结束。
笔记中也提到,请求信息包括请求行、请求头和请求体,但大多数请求信息中是没有请求体的,但是对于有请求体的请求信息来说,请求头又是如何和请求体区分的呢?答案是空行。
换句话说,当服务器接收到第一个空行的时候,就会将这个空行当作是请求头和请求行分隔的标志,当只有一个空行时,就是整个请求信息结束。所以在建立请求信息时,不能随意加空行。
重点2、为什么 client 也可以调用 print 方法,它和Serial 有什么联系。
client.print(httpRequest); // 向服务器发送HTTP请求
通过 WiFiClient 创建的对象 client ,它和 Serial 对象都隶属于 STREAM 类,关于 STREAM 类的讲解,在后面的笔记中有。
重点3、通过串口输出网络服务器响应信息时,要注意 while 语句中的循环条件。
// 通过串口输出网络服务器响应信息, 以下段落中的示例程序为本程序重点
    // 请参考太极创客网站中关于本程序的讲解页面获取详细说明信息。网址:
    // http://www.taichi-maker.com/homepage/esp8266-nodemcu-iot/iot-c/esp8266-nodemcu-web-client/http-request/
    Serial.println("Web Server Response:");
    while (client.connected() || client.available()){
      if (client.available()){
        String line = client.readStringUntil('\n');
        Serial.println(line);
      }
    }
我们需要注意 while 语句中的循环条件,这里有两个函数,第一个是 client.connected() ,它与前面代码中 client.connect(host, httpPort) 函数非常的相似,表示开发板要连接服务器,而 client.connected() 是返回开发板连接的状态。
第二个函数 client.available() ,表示的是当前 ESP8266 开发板有没有接收到服务器发送过来的响应信息,如果当前开发板接收到了响应信息,那么将会返回 true ,否则返回 false 。available 这个单词的意思就是有没有获取到。再来看循环体中的内容,为什么在 if 中还会再进行判断一次呢?这是因为当开发板向服务器发送请求信息以后,开发板可能不会马上接收到服务器的响应信息,可能会因为网络速度不会特别好而造成信息延迟。如果接收到响应信息以后,就会通过 client.readStringUntil(‘\n’) 这个函数来读取服务器的响应信息。
关于 readStringUntil 这个函数的功能是每次读取一行(遇到终止字符就停止,(不包括终止字符),这里指定的终止字符是 ‘\n’ )。
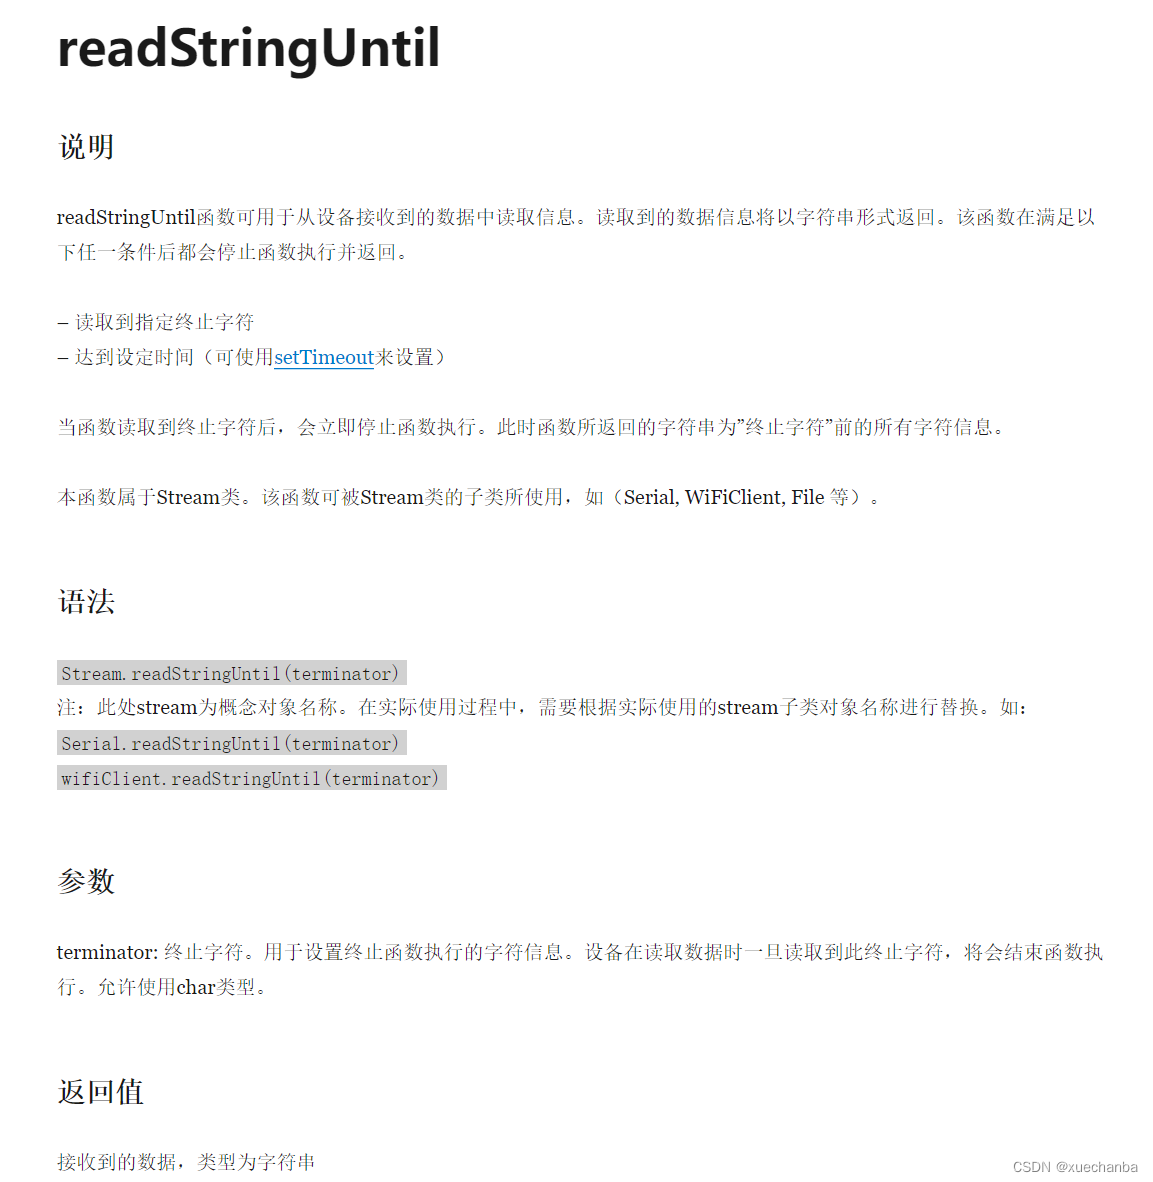
这个函数的参数不能是字符串类型,只能是字符类型。
参数指定为 ‘\r\n’ 时,以最后一个字符为准,所以相当于是 ‘\n’, 当参数指定为 “\r\n” 时,程序报错,因为指定的参数只能是字符(char)类型。
需要注意,‘\r’ 和 ‘n’ 的区别,当指定参数为 ‘\r’ 时,输出结果如下:
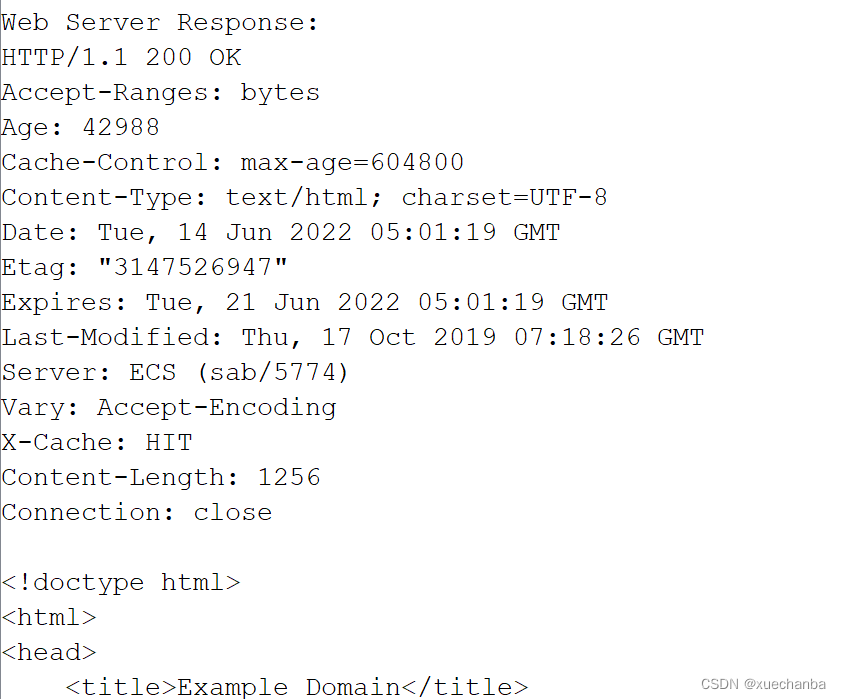
当指定参数为 ‘\n’ 时,输出结果如下:
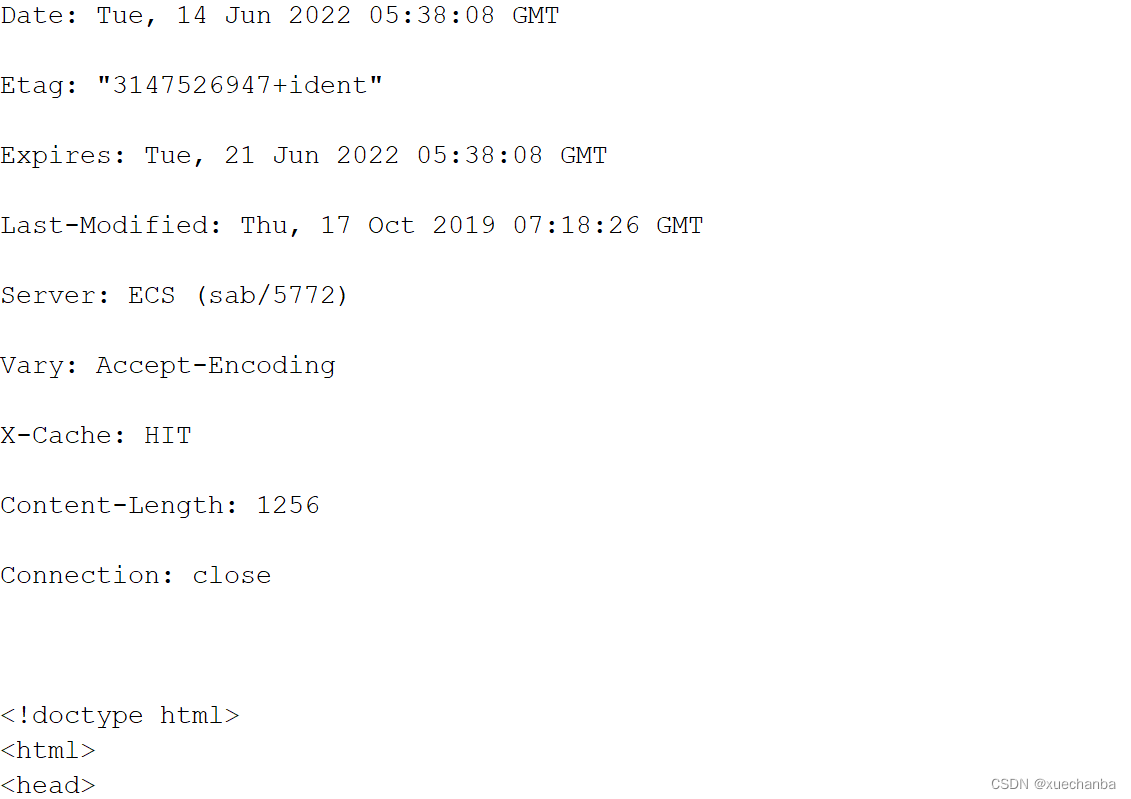
具体来分析下,
以这一行为例,
HTTP/1.1 200 OK
当指定为 ‘\r’ 时,读取的是“HTTP/1.1 200 OK”,此时定位符在第二行行首,所以再通过代码
Serial.println(line);
得到的就是有空行的输出结果。
而当指定为 ‘\n’ 时,读取的是“HTTP/1.1 200 OK\r”,此时定位符在第一行行首,所以再通过代码
Serial.println(line);
得到的就是没有空行的输出结果。
总结:这两个例子的功能都是打印服务器的响应信息,第一个示例程序使用的是 HTTPClient 库来实现的,第二个示例程序使用的是 WiFiClient 库来实现的,WiFiClient 库和 HTTPClient 库相比,WiFiClient 库的功能更强大。因为 WiFiClient 库可以更好的、更容易的去分析响应信息。