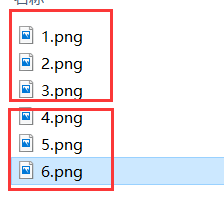
这两天接了一个需求,让我把服务器上无序的图片资源按 班级、姓名 目录结构进行压缩
| 任务 | 解释 |
|---|---|
| 场景 | 老师发布某活动(对应activityId),学生可以在上面提交作品(workId) 每个作品可以对应多张图片(资源路径List<String>) |
| 需求 | 传入一个指定的活动activityId,将这个活动下的作品,分班级、姓名 作为层级关系打包至zip压缩包中 |
| 要点1 :自定义压缩包的层级关系 | 主要是要自定义层级关系,因此需要在DAO层得到的dto中就开始结构的设计以方便遍历 当时卡在不知道如何指定一个层级关系,后来不断尝试发现ZipOutPutStream中的putZipEntry()形参中可以通过 dir1//dir2//picture.png来指定生成的zip中的层级关系, 但是前提是,整个过程完成之前不能关闭流 |
| 要点2:直接把生成的结果放入响应体,不存入服务器 | 因为作品时常变动,生成的zip不一定是最终的,所以不能放入服务器。因此直接放入HttpServletResponse.getOutPutStream()中 |
| 省略一些步骤 | 需求中有大量的业务相关,十分繁琐的步骤,因此这个帖子直接贴一个demo(在自己的电脑上做一个demo) |
| 注意 | 这个demo不是现成的工具类,使用时需要自己改造 |
1.压缩流ZipOutPutStream介绍
主要是介绍两个重要API
putNextEntry( ZipEntry entry),在流结束之前,存入下一个要加入压缩包的文件(不是文件夹),并命名(zip包中该文件的名字)new ZipEntry(String name),指定下一个压缩文件的名字
大概的使用流程是:
  File zip = new File(输出路径);//输出路径
  FileOutputStream zipFOS = new FileOutputStream(zip);//输出流
  ZipOutputStream zipZipOS = new ZipOutputStream(zipFOS);//压缩流
  BufferedOutputStream zipBufferOS = new BufferedOutputStream(zipZipOS);//缓冲流
虽然最外层是缓冲流,但上面两个API还是针对于压缩流的对象进行操作
zipZipOS.putNextEntry(new ZipEntry("一年级1班\\张三\\1.png"));
zipZipOS.putNextEntry(new ZipEntry("一年级1班\\李四\\2.png"));
zipZipOS.putNextEntry(new ZipEntry("一年级2班\\王八\\3.png"));
然后用最外层的缓冲流进行读写
BufferedInputStream fileBIS = new BufferedInputStream( //缓冲输入流
                          new FileInputStream(
                          new File(资源路径));
  len = 0;
  while( (len = fileBIS.read(buffer)) != -1){
  zipBufferOS.write(buffer);
  }
最后关闭 最外层流,就可以了(关闭最外层流的时候内层会自动优先关闭,只需要写一遍)
  fileBIS.close(); //最外层缓冲输入流,调用几次就开 关 几次
  zipBufferOS.close();//最外层缓冲输出流,最后关闭一次即可
2.demo演示
看main方法可知,将我电脑上的无序资源,前三个放在一年级1班,后三个放在二年级2班

这里的演示为了更清晰,没有使用try-catch
2.1控制层
@RestController
@RequestMapping("download")
public class ToZipController {

  @Autowired
  ZipService zipService;//获取dots 处理文件压缩

  @GetMapping("/zip")
  public String getZipFromServerToResponse(
                                HttpServletResponse res) throws IOException {

    List<Dto> dtoList = zipService.getDtoList();

	//在处理输出流之前添加
	//res.setHeader("Content-Disposition", "attachment; filename=" + URLEncoder.encode("活动测试") + ".zip");
	//可以设置文件输出的名字以及格式,测试后适配所有主流浏览器
    zipService.doCompressToResponse(dtoList,res.getOutputStream());


    return "succeed";
	  }


  @GetMapping("/zip/server")
  public String getZipFromServerToServer(HttpServletResponse res) throws IOException{

    List<Dto> dtoList = zipService.getDtoList();
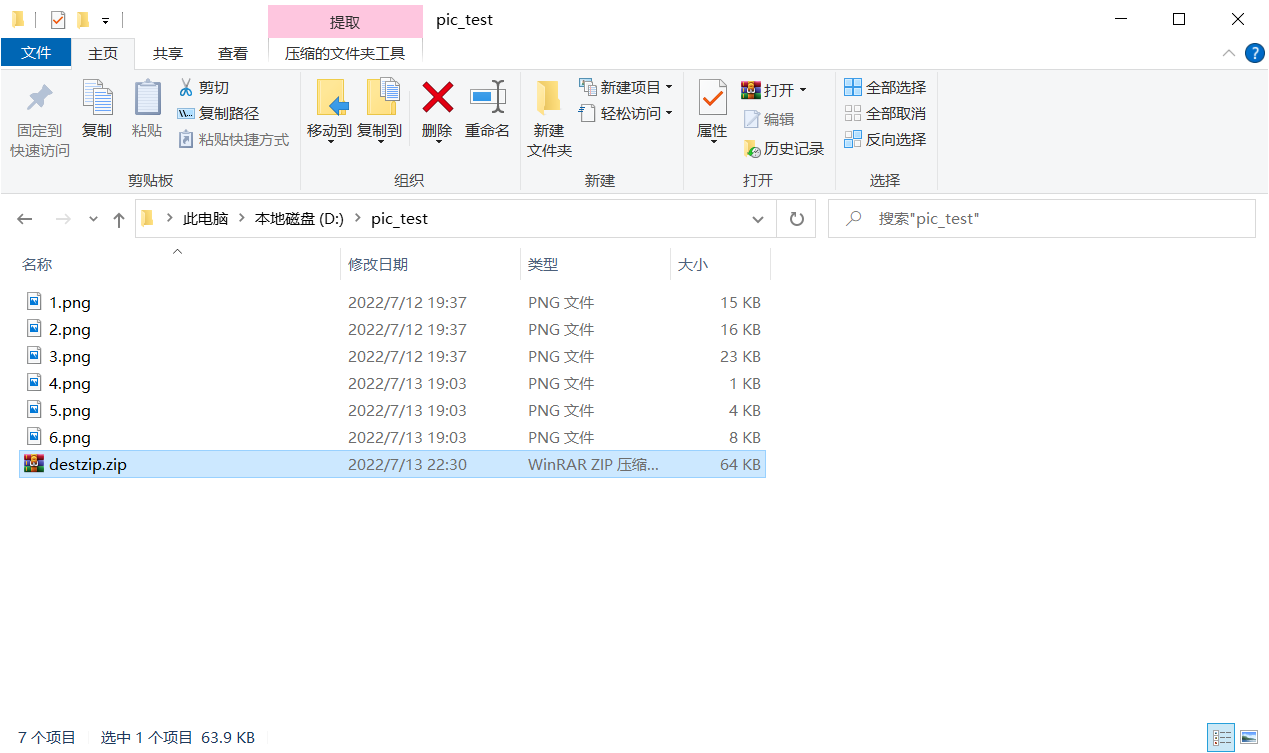
    zipService.doCompressToDestZip(dtoList,"D:\\pic_test\\destzip.zip");
    return "succeed";
  }
2.2Dto实体类
@Data
@AllArgsConstructor
public class Dto {

private String activityId;//活动id
private String activityName;//活动名称
private String className;//班级名称
private String studentName;//学生姓名
private String url;//图片地址

}
2.3业务层
2.3.1模拟获取List<Dto>
  /**
    *   获取将需要被压缩的图片的基本信息
   */
  public List<Dto> getDtoList() throws IOException {
    ArrayList<Dto> dtos = new ArrayList<>();
    dtos.add(new Dto("11","分享你的假期生活","一年级1班","张三","D:\\pic_test\\1.png"));
    dtos.add(new Dto("11","分享你的假期生活","一年级1班","张三","D:\\pic_test\\2.png"));

    dtos.add(new Dto("11","分享你的假期生活","一年级1班","李四","D:\\pic_test\\3.png"));

    dtos.add(new Dto("11","分享你的假期生活","九年级2班","王八","D:\\pic_test\\4.png"));
    dtos.add(new Dto("11","分享你的假期生活","九年级2班","王八","D:\\pic_test\\5.png"));
    dtos.add(new Dto("11","分享你的假期生活","九年级2班","王八","D:\\pic_test\\6.png"));
    return dtos;
  }
2.3.2压缩方法1:写入HttpServletResponse
  /**  方案1:写入response,不指定输出zip的位置
   *   通过todoList中的信息来分层级压缩,放入res.outPutStream()
   */
  public void doCompressToResponse(List<Dto> todoList, OutputStream os) throws IOException{
    System.out.println(111);
      //1.开启流
    ZipOutputStream zipOS = new ZipOutputStream(os);
    BufferedOutputStream bufZipOS = new BufferedOutputStream(zipOS);

      //2.遍历
    Iterator<Dto> iterator = todoList.iterator();
    while(iterator.hasNext()){
      Dto next = iterator.next();
        //2.1下一个待压缩的元素

      /**
       *
       * 根据业务需要,可以针对文件生成的名字进行修改
       *
       */
      zipOS.putNextEntry(new ZipEntry(next.getActivityName()+"\\"+
                                            next.getClassName()+"\\"+
                                            next.getStudentName()+"\\"+
                                      UUID.randomUUID().toString()+".png"
          ));


        //2.2获取输入流  (缓冲)   根据url
      BufferedInputStream fileBIS = new BufferedInputStream(
          new FileInputStream(   //根据业务,如果允许,可以直接传byte[]
              new File(next.getUrl())));

        //2.3写入
      int len = 0;
      while( (len = fileBIS.read(BUFFER)) != -1){//fileBIS读取流到BUFFER数组
        bufZipOS.write(BUFFER);   //BUFFER数组内容写入到bufZipOS中
      }

        //2.4每次写完之后一定要flush刷新
      bufZipOS.flush();
        //2.4关闭每次的输入流
      fileBIS.close();
    }


      //3.遍历结束,全部完成,此时关闭zip流
      bufZipOS.close();//关最外层即可
  }
需要十分注意的是:
- 遍历循环时,每次开启、关闭一个输入流 ;
- 当所有元素遍历结束之后,才会关闭输出流
- 遍历时,每次读取一个文件都需要刷新输出流,否则会导致内部文件无法打开
2.3.3压缩方法2:指定位置持久化
-
此接口可以通过返回一个url,让前端异步获取资源
-
方案1 2 其实大体上差不多,区别在于输出流的指定,一个是直接res.outPutStream() 一个是通过new File()来持久化


   /**
     *   方案2:形参是一个地址,直接持久化
     *   而不是写入response响应
      *
     */
    public void doCompressToDestZip(List<Dto> todoList, String destZip) throws IOException{
      //1.开启流
      File                 file     = new File(destZip);
      FileOutputStream      fIS = new FileOutputStream(file);
      ZipOutputStream zipOS = new ZipOutputStream(fIS);
      BufferedOutputStream bufZipOS = new BufferedOutputStream(zipOS);

      //2.遍历
      Iterator<Dto> iterator = todoList.iterator();
      while(iterator.hasNext()){
        Dto next = iterator.next();

        /**
         *
         * 根据业务需要,可以针对文件生成的名字进行修改
         *
         */

        //2.1下一个待压缩的元素
        zipOS.putNextEntry(new ZipEntry(next.getActivityName()+"\\"+
            next.getClassName()+"\\"+
            next.getStudentName()+"\\"+
            UUID.randomUUID().toString()+".png"
        ));

        //2.2获取输入流  (缓冲)   根据url
        BufferedInputStream fileBIS = new BufferedInputStream(
            new FileInputStream(  //根据业务,如果允许,可以直接传byte[]
                new File(next.getUrl())));

        //2.3写入
        int len = 0;
        while( (len = fileBIS.read(BUFFER)) != -1){//fileBIS读取流到BUFFER数组
          bufZipOS.write(BUFFER);   //BUFFER数组内容写入到bufZipOS中
        }
        //2.4关闭遍历时每次的输入流
        fileBIS.close();
      }

        //3.遍历结束,全部完成,此时关闭zip流
        bufZipOS.close();//关最外层即可

  }