Konsole使用方法
#root用户
su
su - root
#打开文件修改文件,按 i 编辑,esc退出编辑,然后 :wq 保存退出
vi /etc/selinux/config
#
桌面环境
yum -y groups install "GNOME Desktop"
# 从命令行切换到桌面环境
startx

# 获取当前启动模式
systemctl get-default

# 修改启动模式为图形化
systemctl set-default graphical.target

# 修改启动模式为命令行
systemctl set-default multi-user.target
远程服务——ssh服务
先检查有没有安装ssh服务:rpm -qa | grep ssh
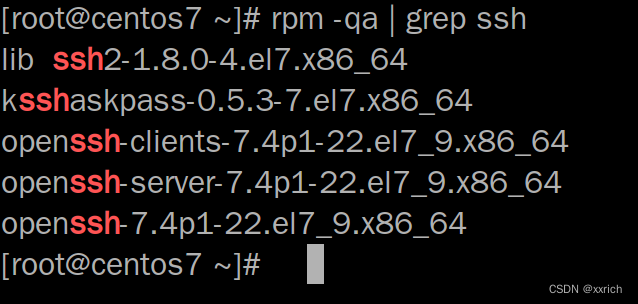
如果没有安装ssh服务就安装 : yum install openssh-server
安装好后在ssh配置文件里进行配置 : vim /etc/ssh/sshd_config
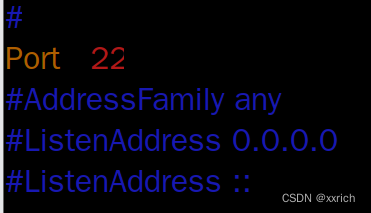
修改端口,加载新配置并重启服务:
systemctl daemon-reload
systemctl restart sshd.socket
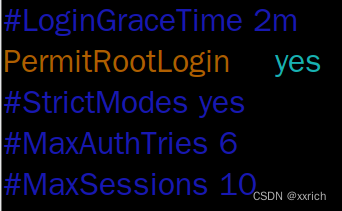
?修改完后用 /bin/systemctl start sshd.service 开启ssh服务,这个命令没有回显
开启后用 ps -e | grep sshd 检查一下ssh服务是否开启
再用netstat -an | grep 22检查一下22端口是否开启
将ssh服务添加到自启动列表中:systemctl enable sshd.service
关闭selinux
vi /etc/selinux/config
?临时关闭SELinux(设置SELinux 成为permissive模式)命令:setenforce 0?
关闭防火墙或者不关闭防火墙,打开3389端口命令
systemctl stop firewalld.service(关闭防火墙)
systemctl disable firewalld.service(关闭防火墙自动启动)
firewall-cmd --permanent --zone=public --add-port=3389/tcp
firewall-cmd --reload
systemctl status firewalld.service(查看防火墙服务状态)
?确认所用 sshd 服务
如果服务由 sshd.socket 提供,配置端口需要配置 sshd.socket 文件;
如果服务由 sshd.service 提供,配置端口则需要配置传统的 sshd_config 文件。CentOS 7 的 sshd 服务默认是由 sshd.service 文件启动的;
VMware配置虚拟机映射,实现局域网络互相访问?
VMware配置虚拟机映射,实现局域网络互相访问_西门一刀-DevPress官方社区 (csdn.net)
?
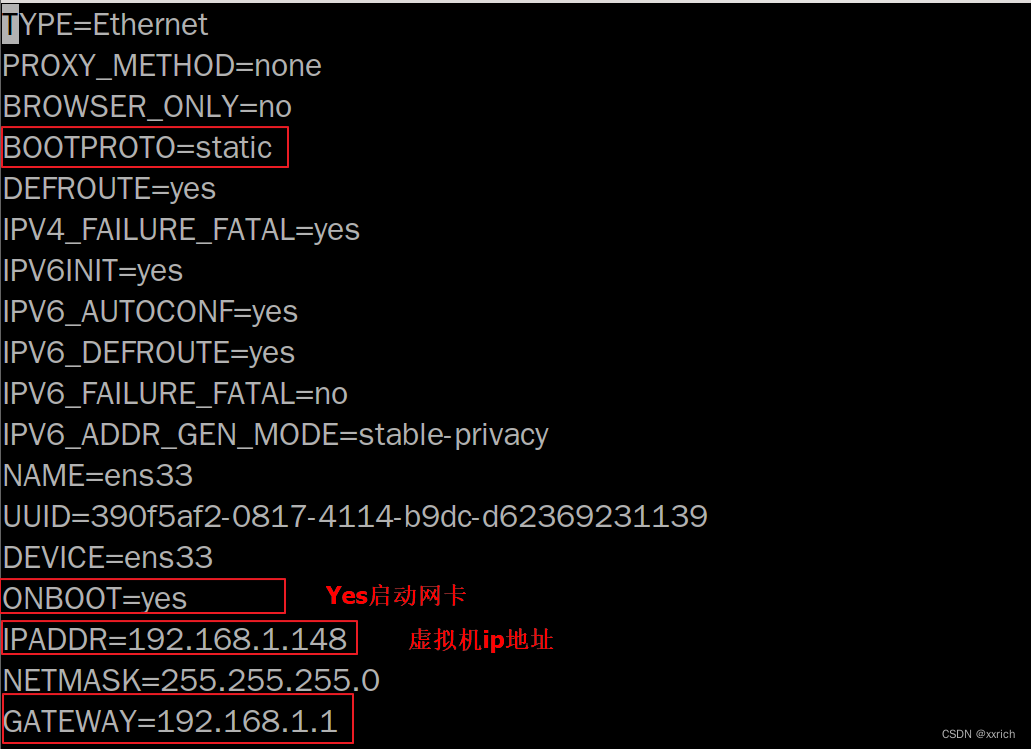
vi /etc/sysconfig/network-scripts/ifcfg-ens33?发现文件ifcfg-ens33中没有内容,手动复制插入
TYPE=Ethernet
PROXY_METHOD=none
BROWSER_ONLY=no
BOOTPROTO=static
DEFROUTE=yes
IPV4_FAILURE_FATAL=yes
IPV6INIT=yes
IPV6_AUTOCONF=yes
IPV6_DEFROUTE=yes
IPV6_FAILURE_FATAL=no
IPV6_ADDR_GEN_MODE=stable-privacy
NAME=ens33
UUID=390f5af2-0817-4114-b9dc-d62369231139
DEVICE=ens33
ONBOOT=yes
IPADDR=192.168.1.148
NETMASK=255.255.255.0
GATEWAY=192.168.1.1
DNS1=8.8.8.8
DNS2=114.114.114.114
?
?
远程桌面——安装xrdp
yum install  epel* -y

安装xrdp

# yum --enablerepo=epel -y install xrdp

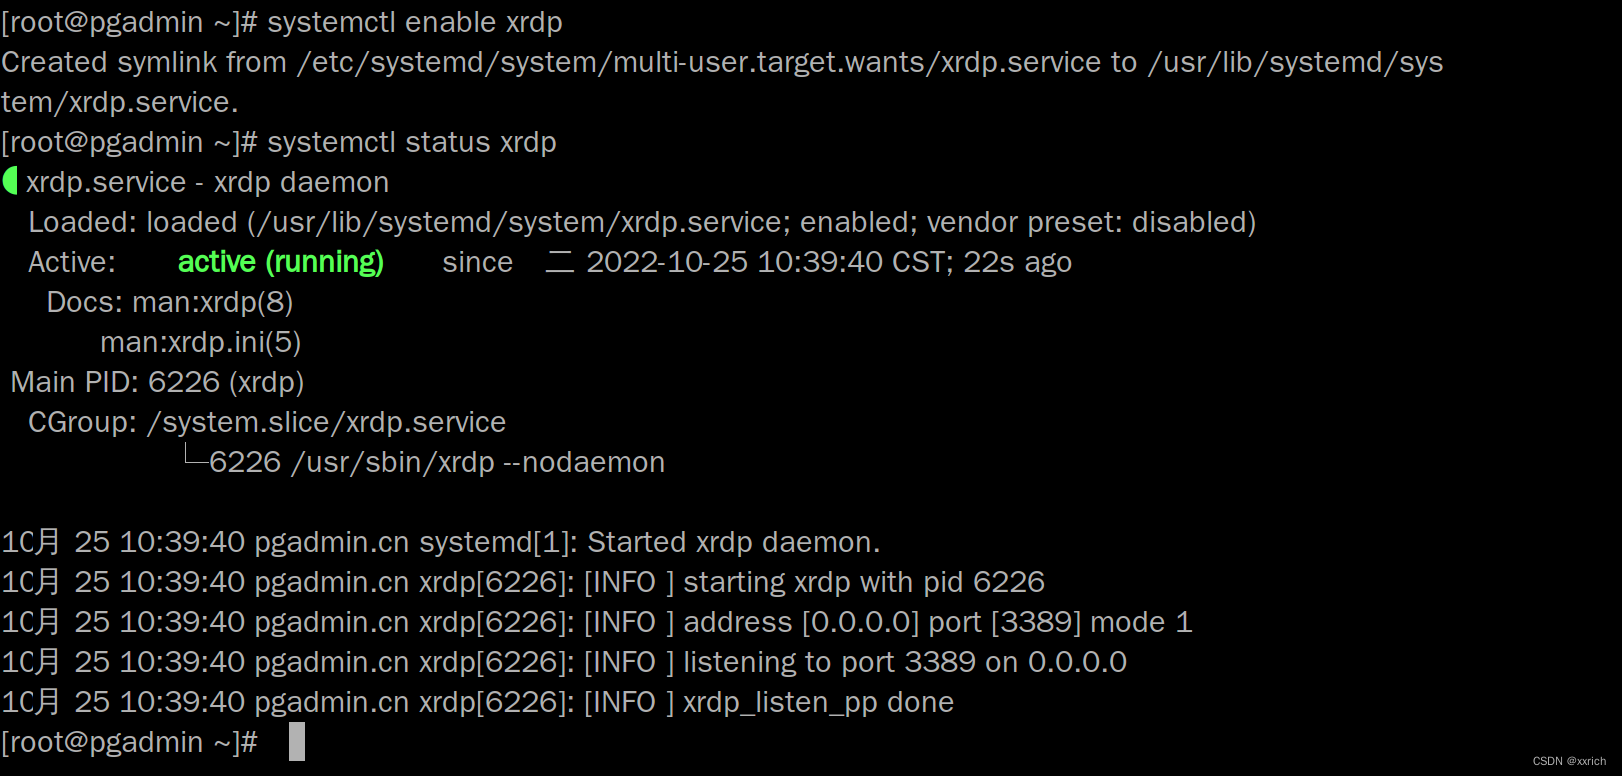
启动xrdp并设置开机启动

# systemctl start xrdp
# systemctl enable xrdp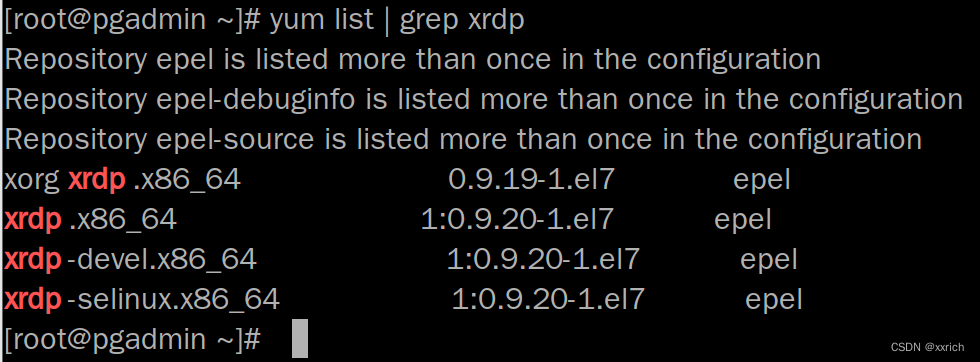

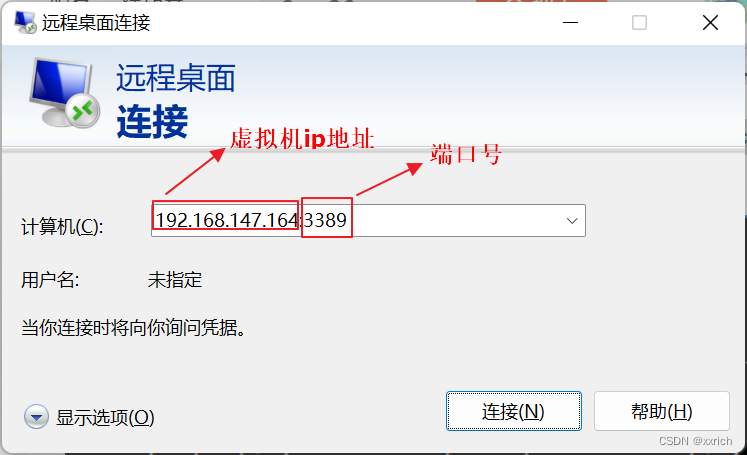
?Win系统下“Win+R”键,在弹出的“运行”框中输入“mstsc“命令,按“确定”,打开Windows远程连接,输入IP地址开始远程连接,在弹出的Xrdp用户验证窗口中输入CentOS7的用户名和密码登录即可。
ip地址查询
[root@centos7 ~]# ip addr
或
[root@centos7 ~]# ifconfig
?
CentOS7安装Postgresql
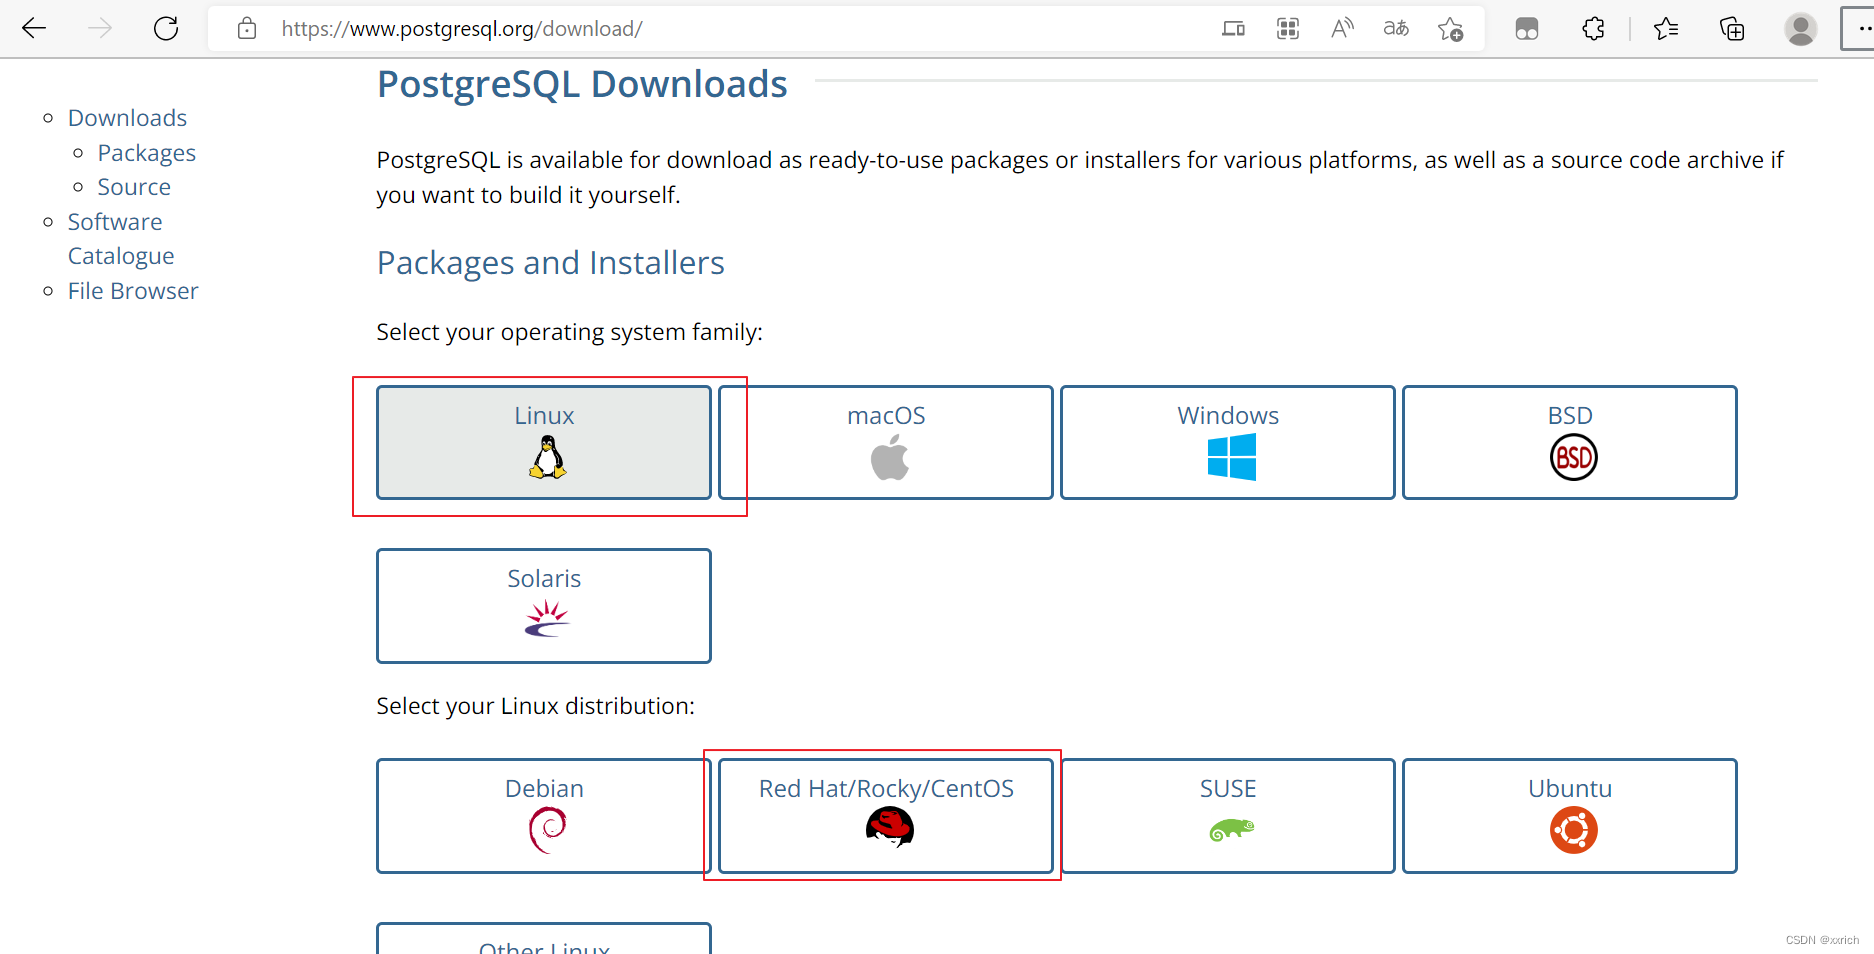
下载rpm
?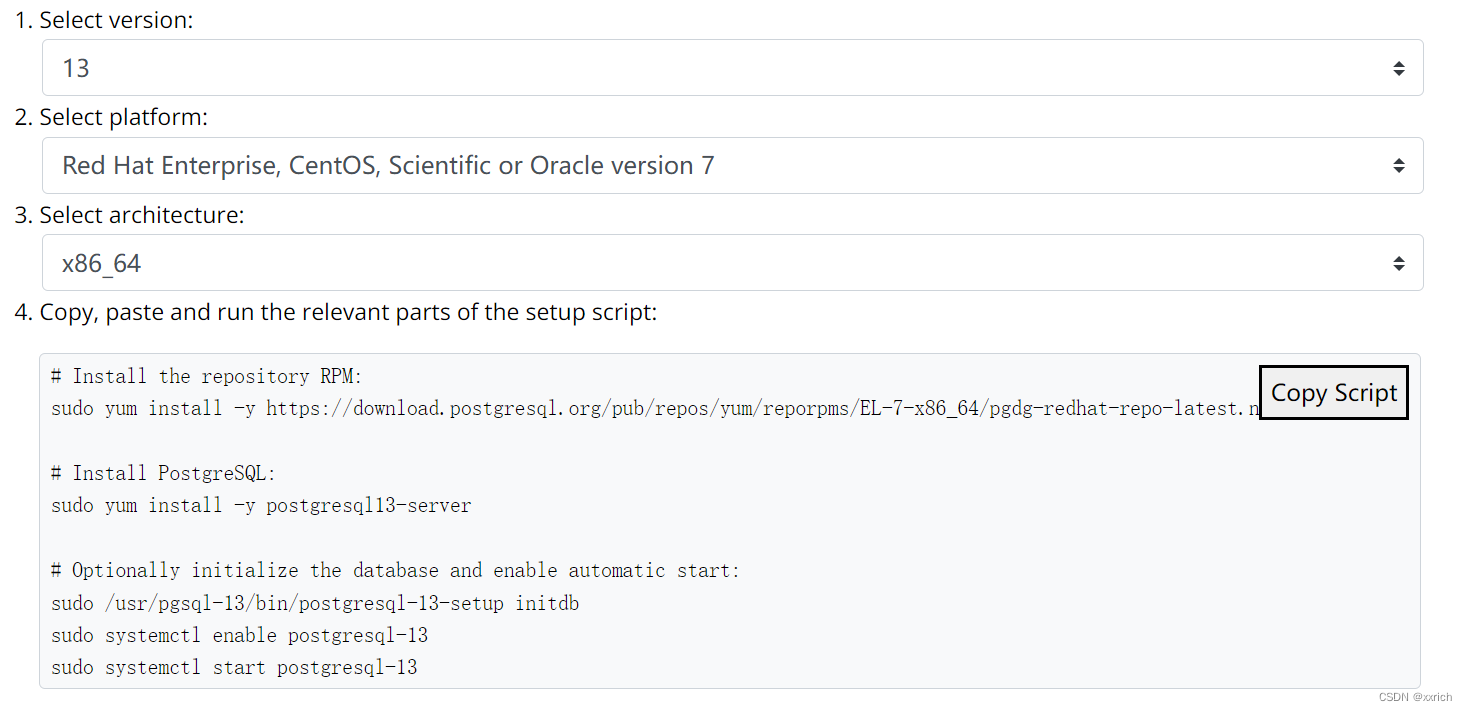
# Install the repository RPM:
sudo yum install -y https://download.postgresql.org/pub/repos/yum/reporpms/EL-7-x86_64/pgdg-redhat-repo-latest.noarch.rpm

# Install PostgreSQL:
yum install postgresql13
sudo yum install -y postgresql13-server
#检验是否安装成功:
rpm -aq| grep postgres

# Optionally initialize the database and enable automatic start:
sudo /usr/pgsql-13/bin/postgresql-13-setup initdb
sudo systemctl enable postgresql-13
sudo systemctl start postgresql-13
sudo systemctl status postgresql-13
sudo systemctl restart postgresql-13
sudo systemctl stop postgresql-13

[root@centos7 ~]# su - postgres
-bash-4.2$ psql
postgres=#
#退出sql
postgres=# \q
-bash-4.2$ exit
[root@centos7 ~]#
开启远程访问:
修改配置文件vi /var/lib/pgsql/13/data/postgresql.conf?
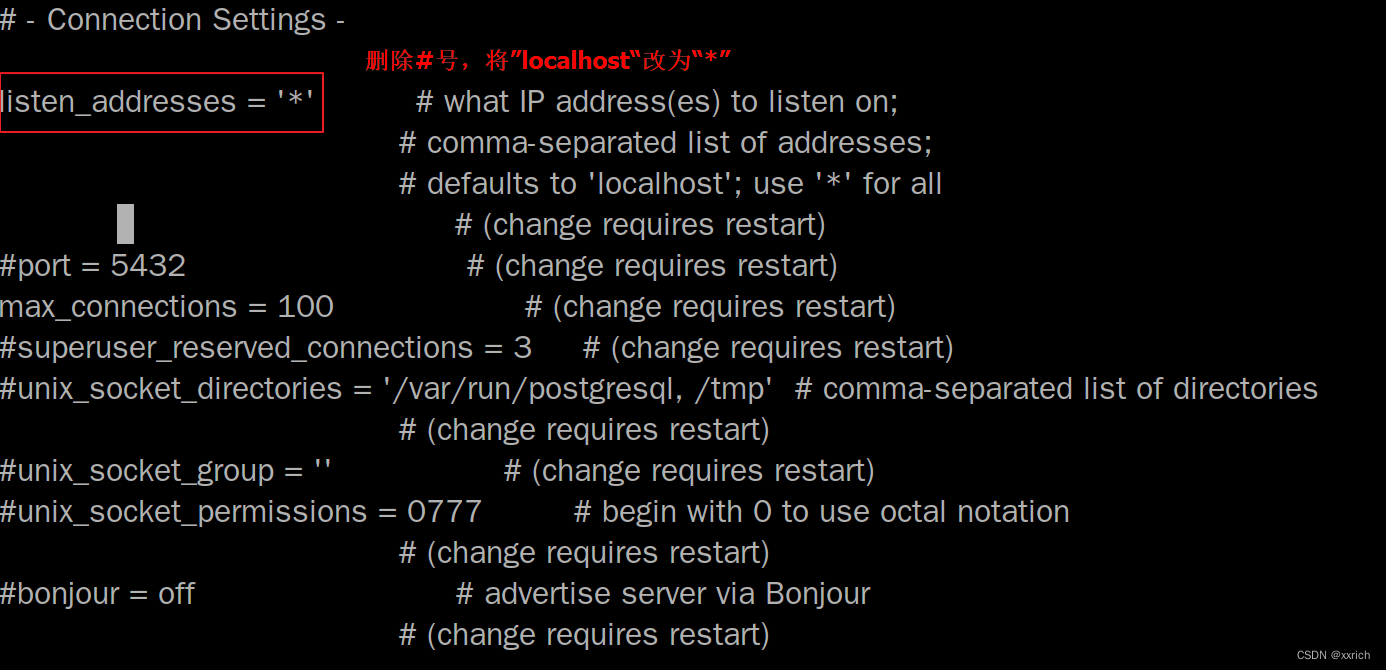
修改vi /var/lib/pgsql/13/data/pg_hba.conf文件,增加下图红框部分内容
#重启数据库
sudo systemctl restart postgresql-13
安装pgadmin
yum list |grep pgagent
yum -y install pgagent_13.x86_64
yum install -y pgadmin4
#把服务http加入防火墙白名单(条件允许可关闭防火墙)
firewall-cmd --permanent --add-service=http
firewall-cmd --reload
#修改selinux
vim /etc/selinux/config
访问网页版http://127.0.0.1/pgadmin4
安装pgagent
pgAgent 是一个用于 PostgreSQL 数据库的任务调度代理,能够基于复杂的调度计划运行多步骤的批处理、shell 脚本以及 SQL 命令。 对于 Unix/Linux 系统,pgAgent 以后台进程的方式运行;对于 Windows 系统,pgAgent 以服务的形式运行。
postgres=# create extension pgagent ;

[root@centos7 ~]# /usr/bin/pgagent_13 -s /var/log/pgagent_13.log hostaddr=localhost dbname=postgres user=postgres port=5432
?
 ?
?
?未完成
